Hey! This site is reader-supported and we earn commissions if you purchase products from retailers after clicking on a link from our site.
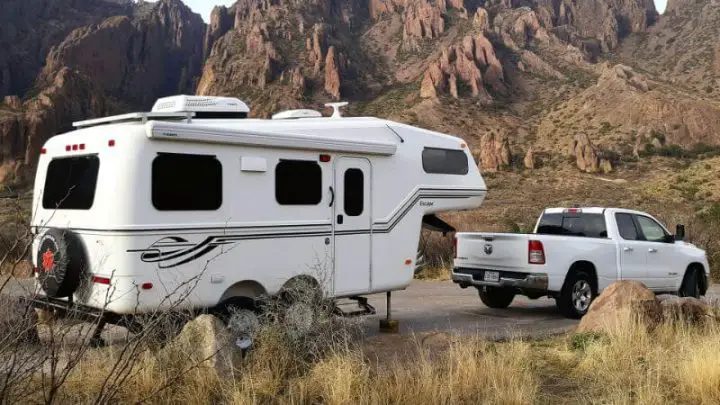
Does your RV fiberglass exterior look faded, worn, or dated, and you’re ready for a new look?
Instead of trading in that RV for a new model, you can save money and modernize the appearance of fiberglass siding by giving it a new paint job.
This guide will explain all the tools, steps, and tips on how to paint RV exterior fiberglass siding to last for years. So if you’re ready to upgrade your RV’s fiberglass siding, this is the article you need to read!
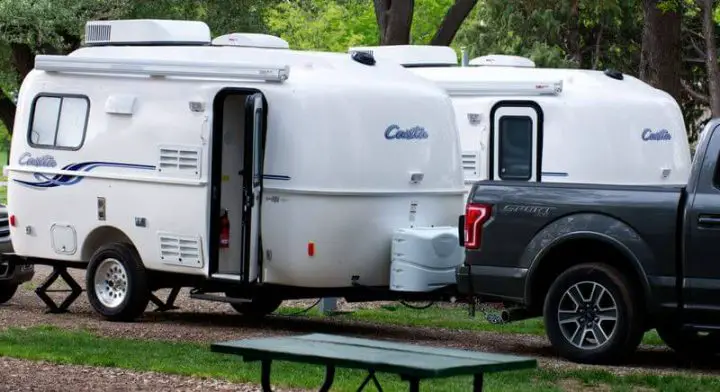
Table of Contents
- Painting Fiberglass RV Siding
- How to Paint RV Exterior Fiberglass
- Preparation of Fiberglass Siding for Paint
- Steps to How to Paint RV Exterior Fiberglass Guide
- Maintaining a Painted RV Fiberglass Exterior
- Conclusion
Painting Fiberglass RV Siding
If you own a fiberglass travel trailer and you are looking to refresh the fiberglass RV exterior siding, it’s helpful to read answers to frequently asked questions about the project.
Why Should I Paint Fiberglass RV Siding?
The most obvious reason to paint the fiberglass siding on any RV is to refresh a faded, discolored, or worn surface. An RV is a huge investment especially if you own a luxury trailer, and keeping the outside looking its best will maintain its value.
Another great reason to paint RV fiberglass siding is to update an older camper’s appearance. With many RV parks turning away guests with older RVs, a new paint job will make your RV look clean and current.
Lastly, you may not like the original color of your RV fiberglass exterior and want to change it to something that fits your aesthetic.
Do You Need Special Paint for Fiberglass?
To ensure the best adhesion and longest lifespan, you want to buy an exterior paint or primer that bonds to fiberglass. Read labels carefully to see what substrates the paint formulation is for for your particular travel trailer
Can You Paint Directly over Fiberglass?
You can paint directly over fiberglass with no prep work like cleaning, sanding, or priming, but don’t expect the new paint job to last long.
Some very high-quality commercial paints state no prep, even cleaning, is necessary for good adhesion, but painting a moving vehicle versus a stationary building is two different things.
Can You Repaint over RV Decals on Fiberglass?
If RV decals are in good shape and only faded, you can repaint them instead of going through the expense and hassle of removing and replacing them during your RV fiberglass siding repainting project.
You’ll need to buy paint specifically for vinyl surfaces, which is the material for most RV decals.
Should I Use a Paintbrush, Roller, or Sprayer to Paint RV Fiberglass?
If you’ve got experience using a paint sprayer, it will provide the nicest finish on your RV fiberglass siding as it eliminates brush or roller lines.
Foam paint rollers do better than a textured nappy roller to keep the paint finish smooth.
You can use a brush to paint fiberglass RV siding, but it will be the least smooth of all the finishes. You can decrease brush marks by buying the highest quality brush you can afford.
How to Paint RV Exterior Fiberglass
Next is a supply list and steps for prepping, priming, and painting your RV fiberglass siding.
- High-quality primer
- Durable exterior paint in color of choice
- Paintable RV caulk
- Paint sprayer, paint brushes, or roller kit
- Fine grit sandpaper
- Drop cloths or plastic sheeting
- Bucket
- Painters tape and newspapers/butcher paper
- Tack clothes, sponges, and rags
- Acetone
- Grease-cutting liquid cleanser
- Denatured alcohol
- Clear coat or wax (optional)
To give your hands and arms an easier time, look for sanding, buffer, and pinstriping/decal removal attachments for a power drill. The spinning action makes quick work of these tasks, but take care not to overwork an area and damage the fiberglass.
Fiberglass RV Paint and Primer
You must select a paint formulation that bonds well to fiberglass for best results. The top choices are acrylic latex paint or urethane paint.
Acrylic latex paint uses fewer chemicals and is water-based, meaning it has less odor, dries fast, and cleans up easier. In addition, acrylic paint is very flexible so that it won’t crack or blister easily.
Urethane is another option that is exceptionally durable for outdoor fiberglass painting projects. Urethane uses chemical solvents in the formulation and is harsher on the nose, eyes, and skin during application.
Urethane comes in both water or oil-based formulas, but choose the water-based for RV fiberglass. Urethane holds up very well against scratches, chipping, cracking, bubbling, and fading while giving the painted surface a beautiful shiny finish.
TIP: A gloss finish paint will provide the strongest protection against the elements. Still, you can choose a satin or even a matte finish; just expect to spend more time maintaining the surface to prevent wear.
Primer for Fiberglass RV Siding
To go under your decorative paint finish, you’ll want to use the best acrylic urethane primer and sealer you can buy, such as Insl-X Stix White Flat Water-Based Acrylic Urethane Bonding Primer.
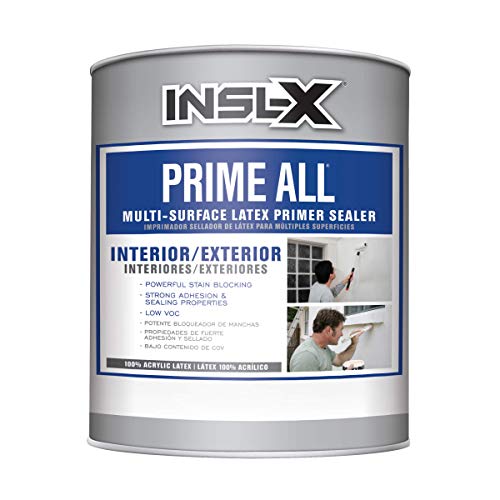
- 100% acrylic primer that provides strong sealing properties to a variety of interior & exterior surfaces
- Easy to apply
- Powerful adhesion and stain blocking properties
- Quick drying; topcoat in as little as one hour
- Provides a mildew resistant coating
- Apply when surface and ambient temperature is above 40 °F (4 °C) and below 90 °F (32 °C)
- 400 – 450 square foot coverage per gallon
- Not recommended for use on floor surfa
Prices pulled from the Amazon Product Advertising API on:
Product prices and availability are accurate as of the date/time indicated and are subject to change. Any price and availability information displayed on [relevant Amazon Site(s), as applicable] at the time of purchase will apply to the purchase of this product.
If your RV siding is especially old and porous, consider the Insl-X Aqua Lock Plus Water-Based Acrylic Primer and Sealer to give you a strong, smooth, and water-tight finish to paint over.

- Multipurpose, 100% acrylic primer sealer that provides excellent adhesion to a variety of interior & exterior surfaces.
- Superior sealing and coverage qualities, product versatility and an excellent base coat for both latex and oil-based finish coatings.
- Excellent stain blocking primer properties.
- Quick drying; Tack free in 30 minutes, topcoat in as little as 1 hour and low VOC.
- 300 - 400 square foot coverage per gallon
- Apply when surface and ambient temperature is above 50 °F (10 °C) and below 90 °F (32 °C).
- Before painting, review the INSL-X Aqua Lock Plus label for proper preparation and application ti
Prices pulled from the Amazon Product Advertising API on:
Product prices and availability are accurate as of the date/time indicated and are subject to change. Any price and availability information displayed on [relevant Amazon Site(s), as applicable] at the time of purchase will apply to the purchase of this product.
Preparation of Fiberglass Siding for Paint
For a new DIY RV fiberglass paint job to look good and last longer, you must start your project by following these steps:
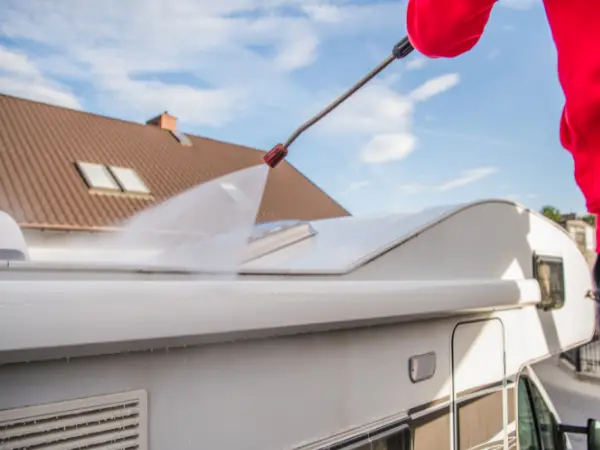
Wash and Dry the RV Exterior
Use a heavy-duty automotive detergent and a brush to wash the entire trailer, including the RV roof. Pay special attention to all the edges and nooks where greasy road grime accumulates.
Once all the bugs, bird droppings, dirt, oil, and mud are gone, rinse the RV with water and let it dry.
Remove RV Decals (Optional)
Remove decals if you plan to replace or paint over them. Use a heat gun and putty knife to scrape the decals off, or use a rubber removal tool, such as the 3M Stripe Off Adhesive Removal Wheel, with an electric drill.
Go over the decal areas with acetone to remove any residual adhesive.
Recaulk Gaps or Holes on RV Exterior
Inspect all the trim, windows, doors, vents, and other features where caulk may be missing and fill in any gaps or holes.
Use a paintable exterior caulk with high elasticity, such as ProFlexRV.
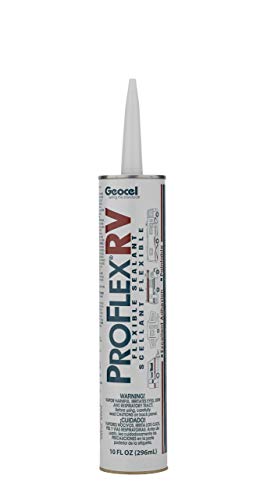
- Crack resistant
- Exceptional flexibility
- Excellent adhesion to many surfaces, even when damp
- UV resistant
- Easily applied, non-stringing formulat
Prices pulled from the Amazon Product Advertising API on:
Product prices and availability are accurate as of the date/time indicated and are subject to change. Any price and availability information displayed on [relevant Amazon Site(s), as applicable] at the time of purchase will apply to the purchase of this product.
Lightly Sand Fiberglass Siding
Fine grit sandpaper made for wet applications is the best option to knock down any high spots or defects in the fiberglass and scuff up the shiny surface.
TIP: If your RV siding is flat, using an orbital sander will save time. If your RV siding is fluted, flexible sanding blocks easily move over the high and low points.
Remove Surface Dust and Debris
Wipe down the entire surface of the RV with a tack cloth to remove dusty residue.
Next, go over the RV again using a rag soaked in denatured alcohol. This step ensures you remove any last bits of sanding dust or oils from the fiberglass surface.
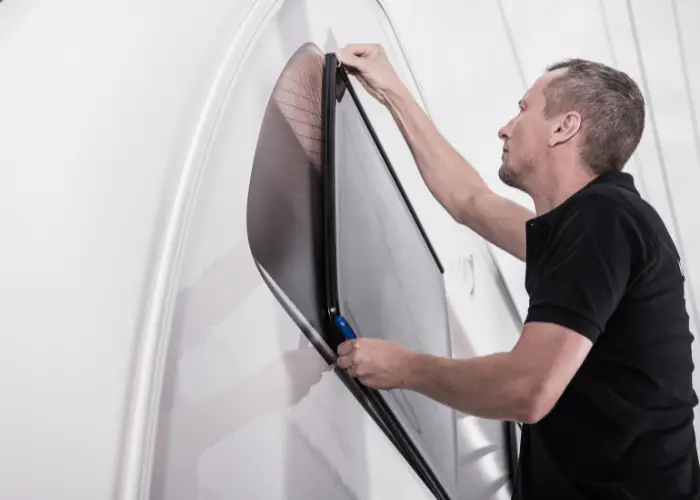
Protect RV Windows and other Features
Before painting your RV fiberglass siding, protect areas you don’t want to paint, especially if using a spray gun.
Carefully use painter’s tape and paper to cover windows, trim, bumpers, mirrors, lights, cameras, ladders, handles, and steps, so the paint lines look crisp after removing the tape.
Steps to How to Paint RV Exterior Fiberglass Guide
How to paint RV exterior fiberglass correctly moves onto these final steps.
However, you first must pick your painting tools and get them ready to go.
TIP: Take your time. Two or even three thinner coats will look smoother than one thick coat that runs or bubbles before it dries.
Step 1. Apply the Primer Coat and Let Dry
Apply an even coat of primer across all the RV fiberglass siding you wish to repaint.
Let the primer dry according to directions. Then, go around the RV looking carefully for any flaws, including areas where the primer coat looks too thin.
TIP: If you see drips, unevenness, or stuck bugs after drying, lightly sand down the defects, use a quality tack cloth to remove all the dust, and use a small sponge roller or your paint sprayer to recoat that area.
Step 2. Apply Two Coats of Decorative Paint
If you’re using a spray gun to DIY your RV fiberglass painting project, you’ll need to clean the machine and hose of the primer and switch the unit over to your decorative paint.
Use your brush, roller, or sprayer to lay down your first coat of paint. Go around tight areas with a small paint brush first, then fill in the larger areas with a bigger brush or a roller.
TIP: Don’t try to overwork an area by repeatedly brushing or rolling over a trouble spot. Because you’re painting outdoors with water-based paint, it will become tacky faster than you think and can end up clumping. Instead, allow the first coat to dry before fixing imperfections.
After you let the first coat dry, lay down a second coat of paint. After the second coat dries, inspect the RV siding again for imperfections and smooth and recoat any problem areas.
Step 3. Apply Protective Topcoat (Optional)
Use a durable automotive clear coat over the paint before removing the paper and tape.
You can also choose to wax the RV exterior and buff it into a high shine, in which case you can remove all the tape and paper.
Maintaining a Painted RV Fiberglass Exterior
The best way to keep your newly painted RV in top condition is to wash the camper regularly using a gentle detergent and apply fresh wax every 6-12 months.
Conclusion
Now you know the secrets on how to paint RV exterior fiberglass to look incredible and last for years. Painting your RV gives it a modern, custom, and clean appearance that will make you love taking camping trips even more, so give it a shot!