Hey! This site is reader-supported and we earn commissions if you purchase products from retailers after clicking on a link from our site.
If you’re going to be doing anything in your van besides sleeping, you’re going to need some space to hang out! I also planned on working on my van so I needed a space I could comfortably sit, eat, and work. Space is limited so I had to get creative with where I was going to put a table and seat that were easily accessible, multi-functional, and not in the way. Don’t table this idea for later – let’s get started!
Timing & People Needs
4-6 hours. This article is discussing building two elements (the seat and table) so set aside some good time for yourself.
1-2 people needed. Having two people is just always easier.
Level of difficulty. Easy to medium. This step basically just involves building a box and building/installing a drawer. So if you have any basic carpentry skills you’ll be all set!
Materials You Need
| Material | How Much You Need | Cost Range | Where to Get It |
|---|---|---|---|
| 12v 30-Liter Refrigerator | 1 | $$$ | Amazon |
| ¾” Plywood | 2 sheets | $ | Home Depot |
| 22″ Drawer Slides | 1 pair | $ | Amazon |
| Drawer Pulls | 1 | $ | Amazon |
| ¾” Self-Lathing Screws | 1 | $ | Home Depot |
| Polyurethane | 1 can | $ | Amazon |
| 4 x 10″ Metal Vents | 2 | $ | Amazon |
| Wood Glue | 1 bottle | $ | Amazon |
Tools You Need
| Tool | Cost Range | Where to Get It |
|---|---|---|
| Table Saw | $$$ | Amazon |
| Jigsaw | $$$ | Amazon |
| Power Drill | $$ | Amazon |
| Nail Gun | $$$ | Amazon |
Cost of Building Your Van Seating Area
The overall cost will vary depending on which refrigerator you decide to purchase. The refrigerator can be substituted for a 30-liter cooler but I didn’t want to have to worry about refilling ice every few days. Having a fully functioning refrigerator has been completely worth the expense! Overall, including the fridge, this project cost about $500.
How To Build a Seating Area in Your Converted Van
- Build a box for your fridge
- Box ventilation and seat cushion
- Build your sliding table and attach to drawer slides
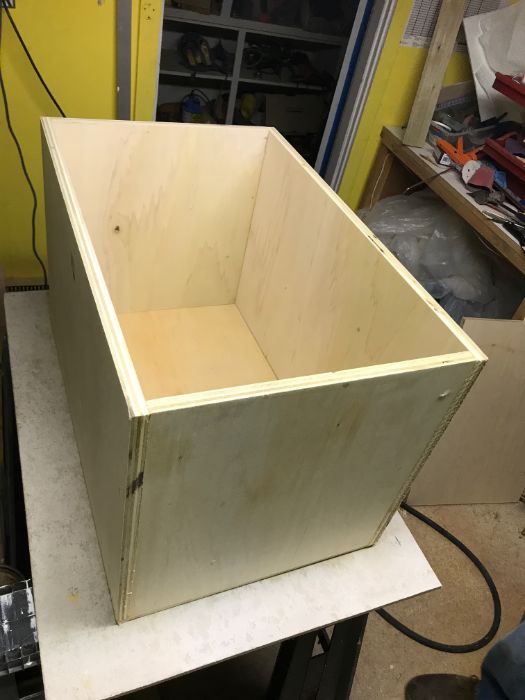
Step 1: Build a box for your fridge
Once you have your fridge/cooler, you’ll be able to use those dimensions to build your box. My particular refrigerator is 23.1 x 14.9 x 15.4 inches and I wanted ample space for ventilation and enough space to comfortably sit on top. In the end the dimension of my box seat was 28 x 18 x 18 inches which is a standard seat height and also had ample room for my fridge. Using the ¾” plywood, I cut out the pieces to form my box according to my dimensions. With just a little bit of wood glue and 1″ nails in my nail gun, I had a storage container for my fridge and the bottom of a seat! Although I prefer the nail gun because of it’s speed and proficiency, ¾” screws or nails would be perfectly sufficient here.
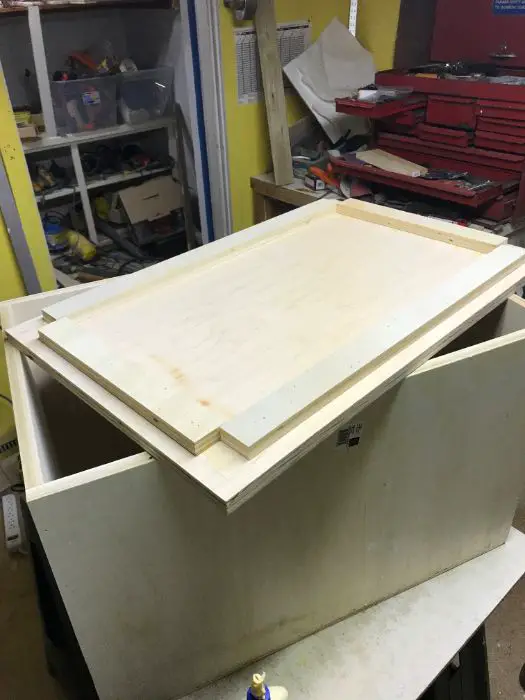
Once I had my bottom put together, I needed to make a top that wouldn’t slide around when I was driving or while people were sitting on it. An easy solution is to use furring strips that will “lock” the top in place. Since the wood for the box is ¾” plywood, I simply measured ¾” in from each side and attached furring strips to the bottom of the seat top like so.
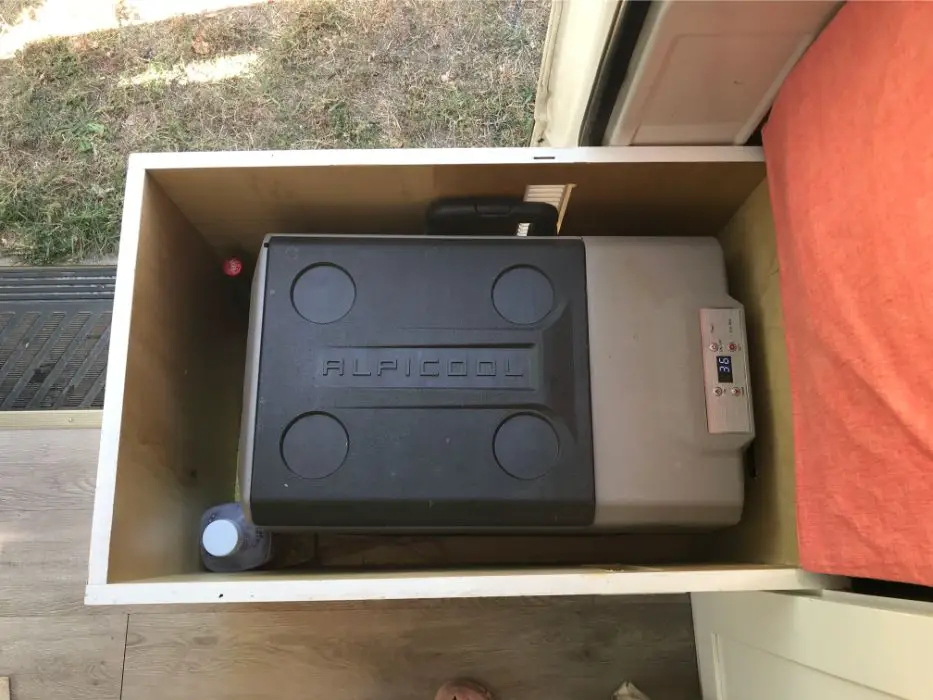
This is how the fridge fits in the box
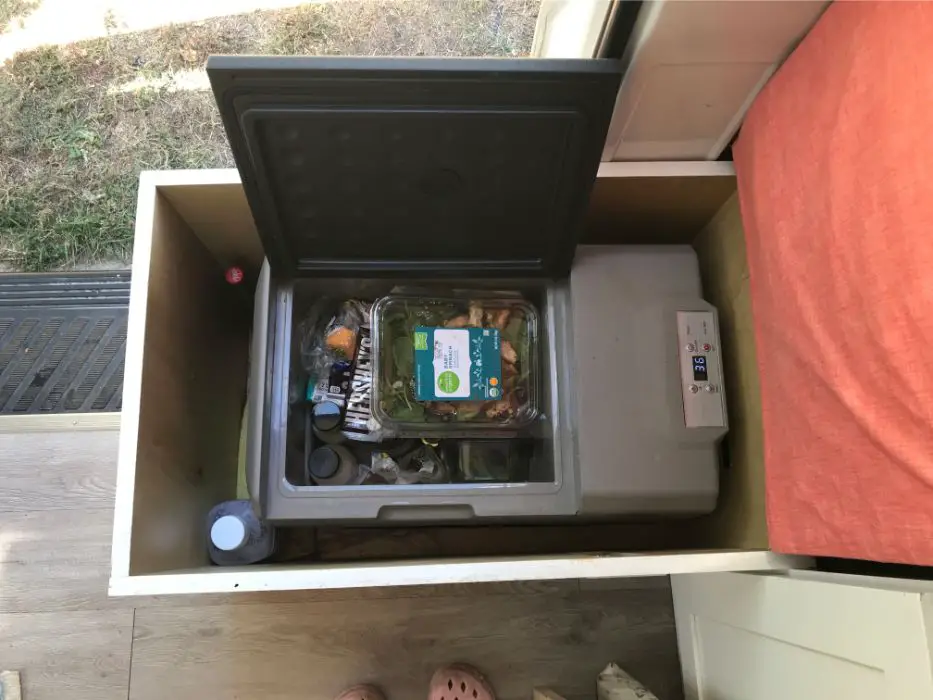
Plenty of space for snacks and beer (most important)
Step 2: Box ventilation and seat cushion
Once I built my box, I realized I needed to create vents so the fridge wouldn’t overheat. This was easy enough to do by cutting a large hole on both sides and covering them with 4 x 10″ metal vents. I used the power drill to drill a hole in each of the four corners and then used the jigsaw to complete the hole. Then all you need to do is use 2 screws to attach it to the box! All of this can technically be done before constructing your box but it wasn’t a problem to install the vents afterwards. Also, because my fridge is electrical and plugs into an outlet, I cut a third hole in the back of the box for the cord.
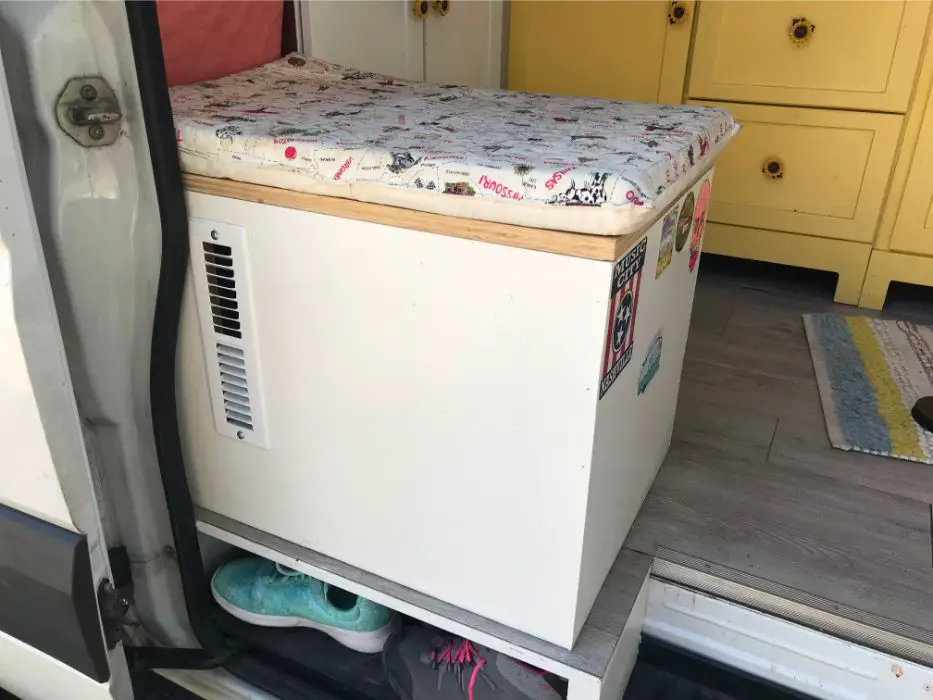
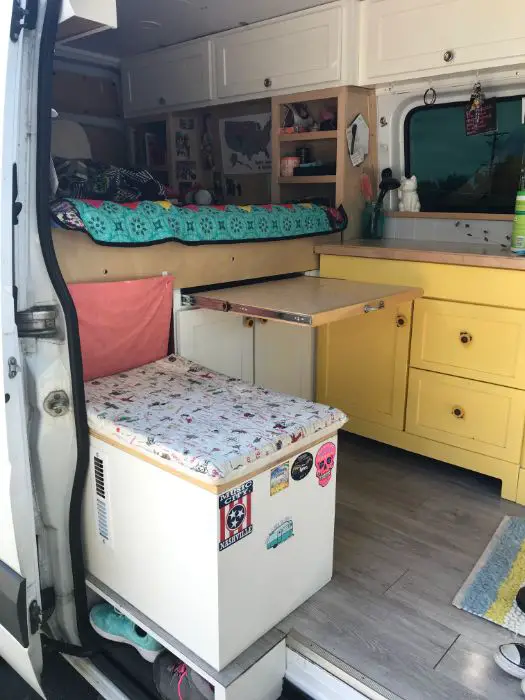
The fridge box installed in my van with the vents on the side
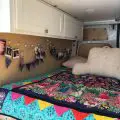
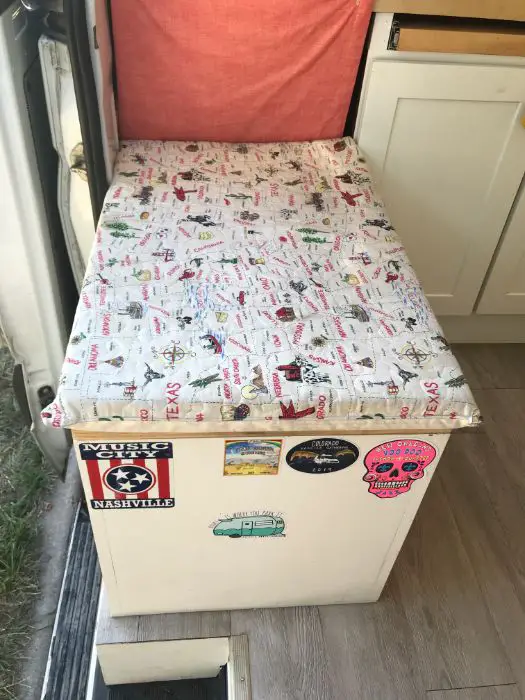
Woohoo the box is done! But you know what’s missing? A comfy cushy for the tushy! I had some leftover 2″ foam from an earlier project so all I had to do was cut out a slice big enough to cover the top of the box and sew a pillowcase for it. Luckily I found some travel-themed fabric that worked perfectly with my decor. The seat cushion is totally up to you – scavenge thrift stores or Target and just follow your hiney.
Step 3: Build your sliding table and attach to drawer slides
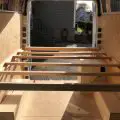
As I’ve mentioned in previous posts, the overall setup of your van will vary based on your personal needs. I knew that I wanted at least some sort of tabletop but it didn’t need to be very big. In order to save space, I decided to build a sliding tabletop on top of my under-bed storage. Basically, my dad and I found a cabinet at a thrift store and installed drawer slides on top and built a custom slab to fit between those slides. Turns out, installing drawer slides is pretty easy and it was an easy way to add instant countertop space as well! This particular setup will also only work if your cabinet has an open top originally meant for a counter or sink because of how you will attach the drawer slides.
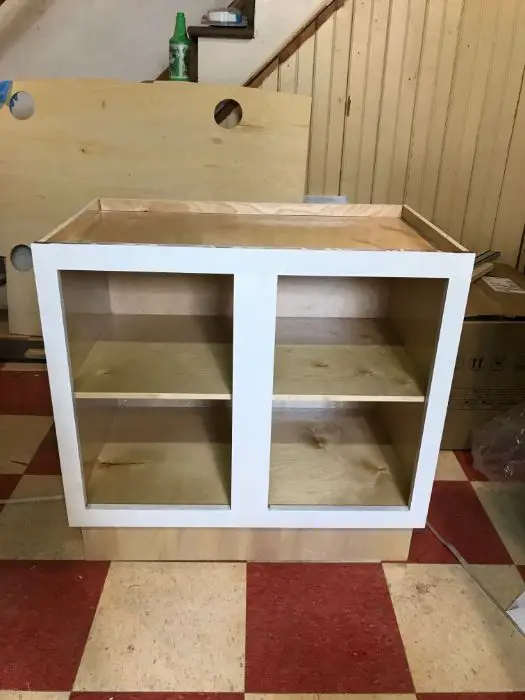
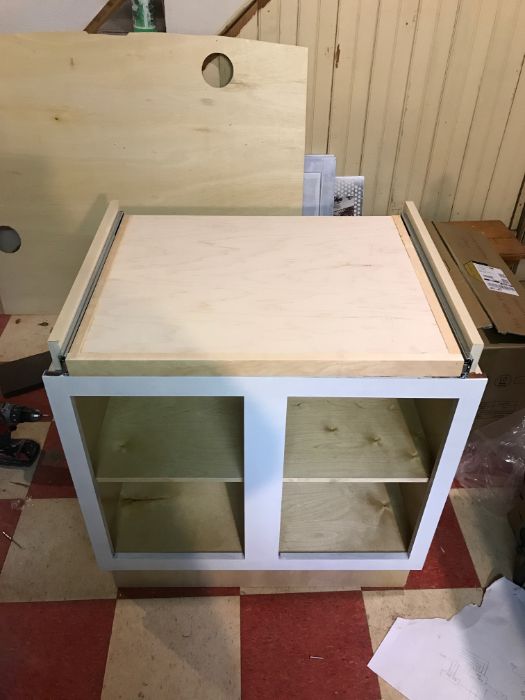
The cabinet that I built the table on top of
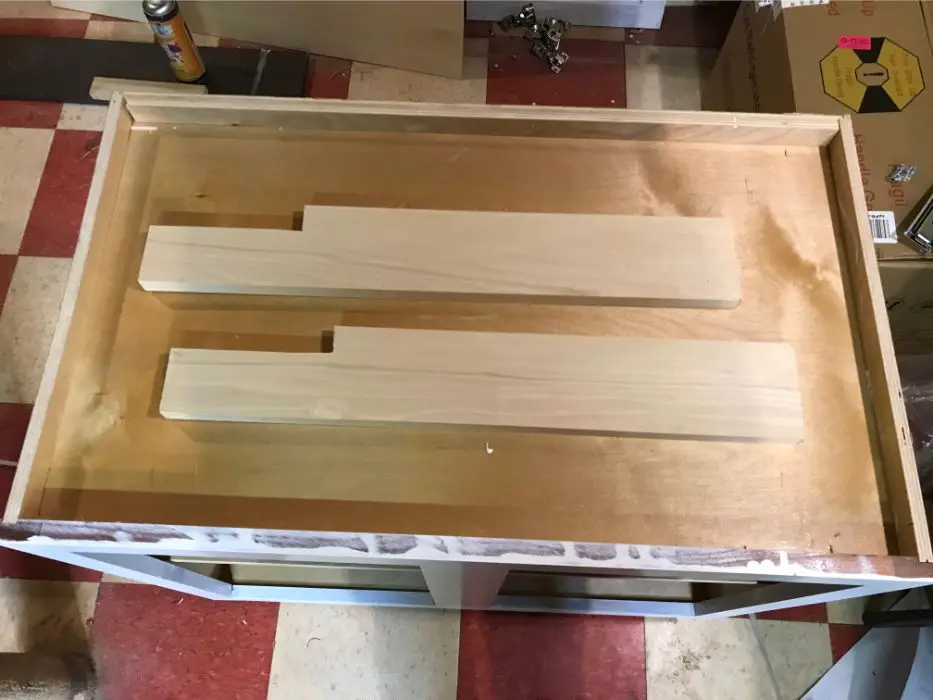
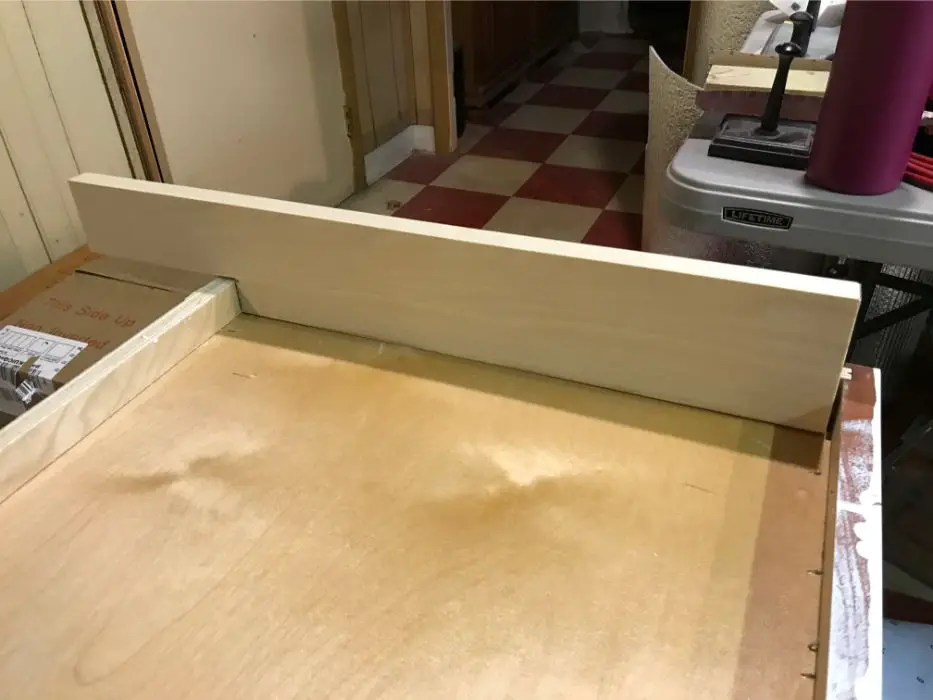
The first thing you will need to do is build two “walls” to attach your slides to. My slides are 22″ long so I cut a ¾” piece of lumber 22″ long and 4″ wide. I then notched out a piece as long as the cabinet, like you’ll see in the picture below. Using 1″ screws and wood glue along the bottom, I attached each wall to the cabinet.
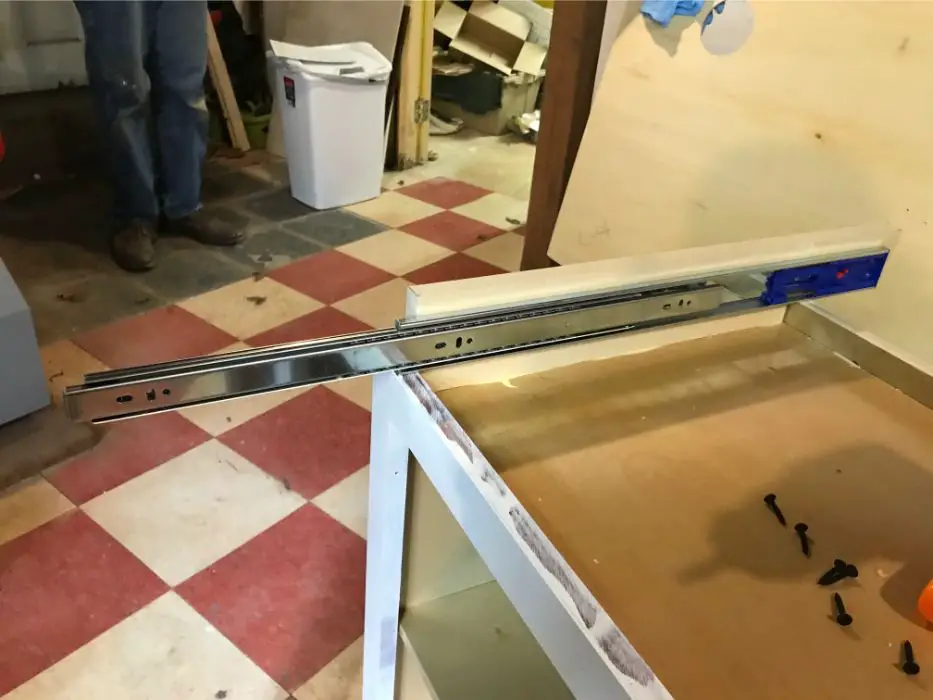
From there, all I had to do was attach the slides to the wall with the screws provided.
Once my slides were in place, I had to build the actual table to go in between them. I knew the table would be 22″ long to fit the slides and my cabinet size meant it would be 19″ long. I simply cut a 22 x 19″ square using ¾” plywood and it fit perfectly. In the end, my dad suggested adding a trim to make it look more like a finished table so we cut ½” off each side and attached a trim using furring strips. My dad was right (much to my dismay) and it looked a lot better. This is an optional additional step but it definitely adds to the professional vibe!
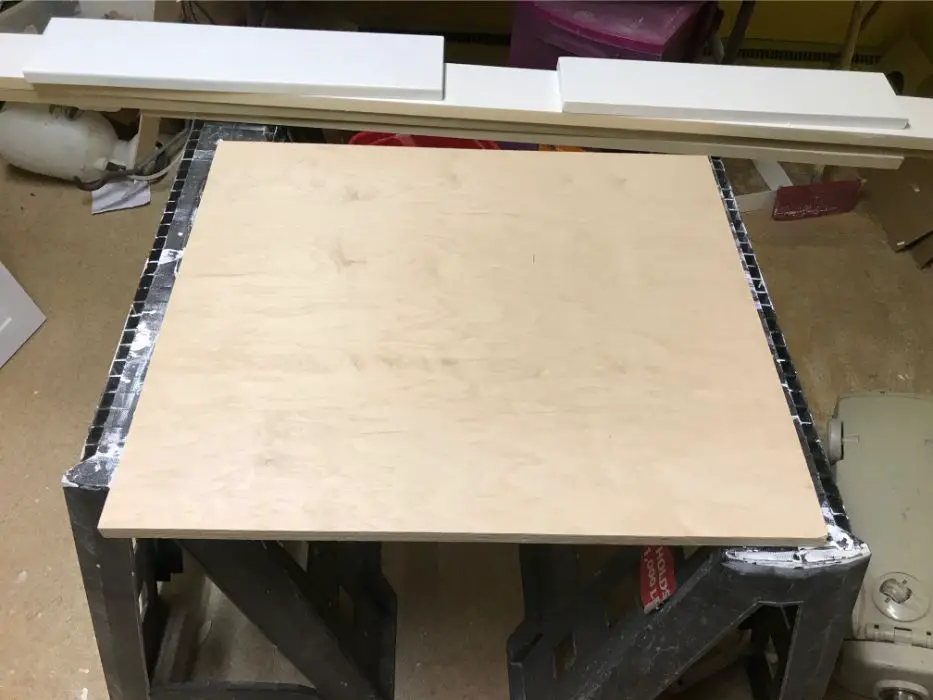
The original slab for the table
The final table with the added trim
With the table finished, sanded, and polyurethaned, I simply extended the drawer slides and screwed the table to the slides using ¾” screws. The table fit super snugly and it was tight enough that it doesn’t slide out when I’m driving. Once it was installed in the van I added a drawer pull to make it easier to open and shut.
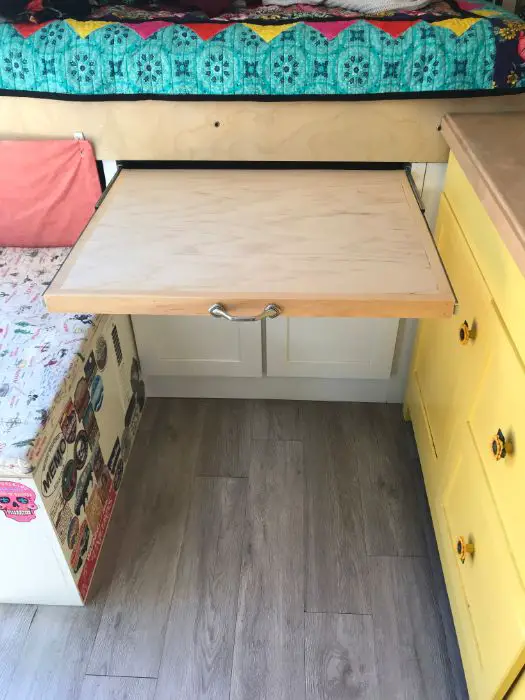
Tah-dah! You have a beautiful sliding table perfect for working on a computer or enjoying breakfast in your kitchen.
Afterthoughts
I struggled for a while with exactly how this seating area was going to work. I recognized that having a box with a lid that came off instead of working on a hinge was less than ideal because I would have to take the whole top off each time I wanted something out of the fridge. However, because of the layout of other aspects of my van (mostly a storage area behind the fridge for my toilet), I didn’t have many options. Although it’s not as convenient as other fridge storage options, it has worked really well to have a permanent seat for eating, working, and having friends come hang out in the van. If you’ve got other kitchen/seating area options, let me know in the comments below!