Hey! This site is reader-supported and we earn commissions if you purchase products from retailers after clicking on a link from our site.
Ahh, the bed frame. In general, figuring out the layout of the van rested a lot on where the bed was going to go because that takes up the bulk of the space. There are also a variety of different options to choose from: single bed, double bed, folding bed, platform height, which way to face – it can be overwhelming! But rest easy, I’ll take you step-by-step on how I built my bed platform!
Table of Contents
- Timing & Level of Difficulty
- Materials You Need
- Tools You Need
- Cost of Installing a Bed in Your Van
- How To Install the Bed Frame:
- Final Tips and Tricks
Timing & Level of Difficulty
5 hours. This project involved a lot of measuring and drilling which can be time-consuming, but not difficult.
2 people needed. This was definitely a 2-person job because there were times when one person needed to hold the platform while the other drilled.
Moderate level of difficulty. Again, because there’s a lot of measuring, you need to think a few steps ahead and make sure it all fits together. But luckily it’s not a physically strenuous project.
Materials You Need
| Material | How Much You Need | Cost Range | Where to Get It |
|---|---|---|---|
| 4×8′ Plywood | 2 boards | $$ | Home Depot |
| 1×4″ 8-foot beams | 4 | $ | Home Depot |
| 2×2″ 8-foot furring strips | 10 | $ | Home Depot |
| Wood glue | 1 bottle | $ | Amazon |
| 8 x 2 ½” screws | 1 box | $ | Home Depot |
Tools You Need
| Tool | Cost Range | Where to Get It |
|---|---|---|
| Table saw | $$$ | Amazon |
| Power drill | $$ | Amazon |
| Phillips head screwdriver | $ | Amazon |
Cost of Installing a Bed in Your Van
Because the materials mainly consist of wood and screws, this was a relatively cheap project. In total, installing the bed in my converted van cost us less than $100.
How To Install the Bed Frame:
Okay, so if you’ve decided to go with a stationary raised bed, you’ve come to the right place! I’m going to show you how to build and attach a secure platform for your bed that will double as your under storage space. It’s important to note that you must have your wall paneling done before doing your bed frame because it needs to be attached to the walls.
Step 1: Side Braces
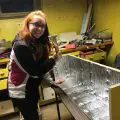
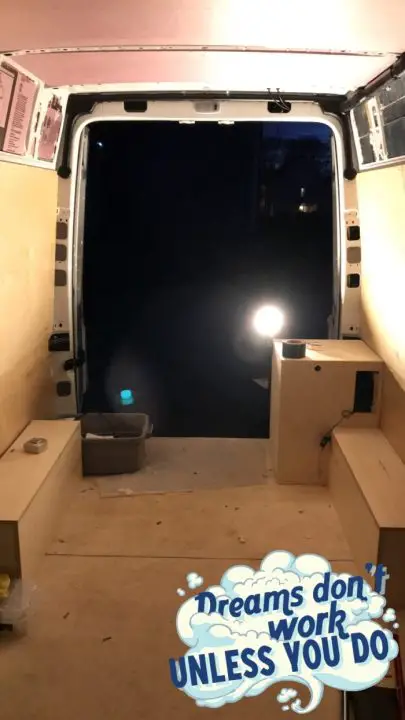
Here’s what the van looked like before we got started:
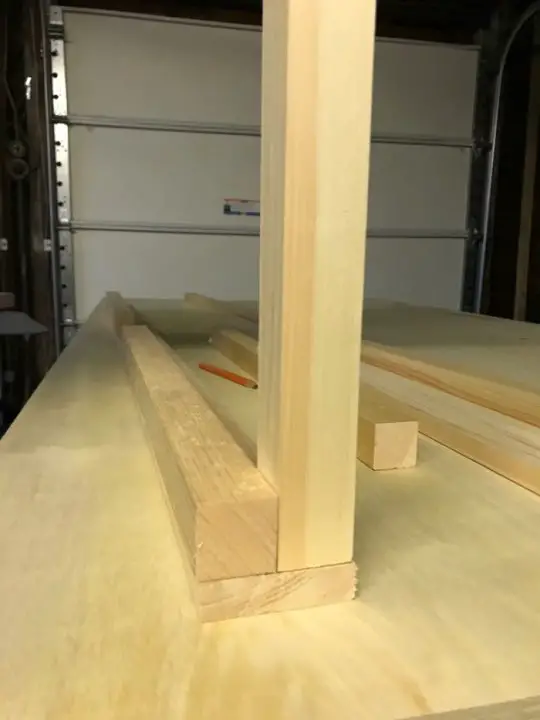
The first priority of the bed platform was making sure it would be secure enough to hold the weight of the mattress and anyone who would be on top of it. I decided to make an L-brace for the support beams and plywood to rest on top of. Using the table saw, I cut two of the 1×4″ beams down to 64 inches which would end up being the length of the bed platform. I did the same with two of the furring strips. Next, using wood glue, I attached the furring strips to the bottom of the 1×4″ beams and followed up by screwing them together using the power drill. Now I had two L-braces to attach to the side of my van!
This was the L-brace with a furring strip on top to show how it would rest.
Again, using the power drill, I screwed the beams directly to my wall paneling 36 inches up from the floor. I knew I had a 6″ mattress to put on top of the platform and I wanted enough head space to be able to sit up in bed, which led me to placing my platform at the 36″ mark. If you need more storage space underneath or want more head space, it’s possible to move the platform up or down as much as you need.
The final length of the platform will be 65″. However, I cut my L-braces (and eventually plywood pieces) at only 64″ long because the final inch would be covered by the front face of the platform. Attach the L-braces in line with the back wall panel but leave an opening at the front end of the wall for the front face of your under-bed storage.
Step 2: Horizontal Supports
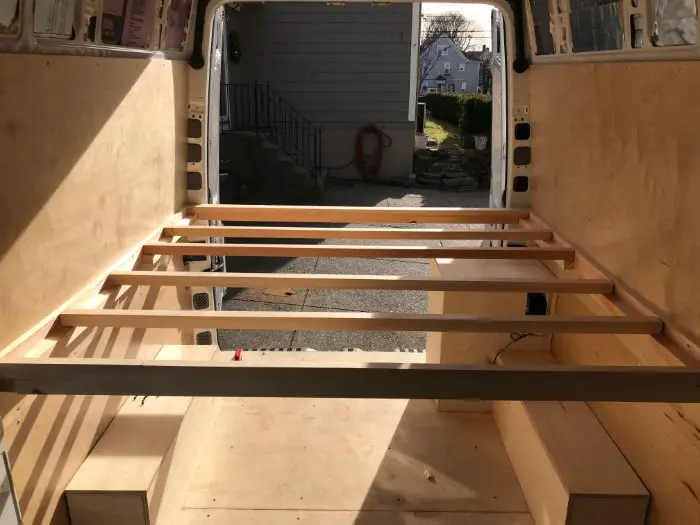
Once the L-brace was securely attached to the wall, we had to add the support beams to go across the base of the platform.
I decided to have 7 beams going across the platform and measured how long each beam needed to be to fit on top of the L-brace. For the most part, they were around 67″ long but because the van bows in some places, it varied. In addition to the 7 furring strips, I used two 1×4″ beams at the front and back end of the platform for extra security. I cut a 2″ notch on either end so that it would fit in with the L-brace and attached it with the power drill and 2″ screws.
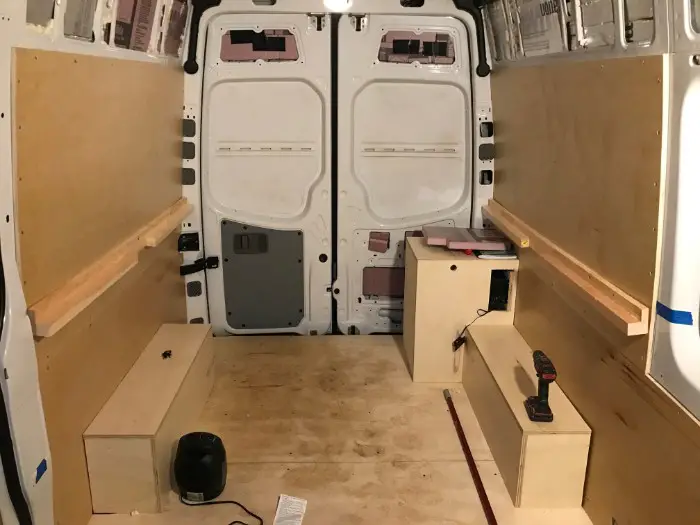
With the beams in place, all we had to do was screw them into the L-brace. Ta-dah! The support beams were all in place and ready to add the plywood platform.
Step 3: Attaching the Platform
The final step was to attach the plywood to the support strips. I cut each of the plywood sheets at 64 inches using the table saw (again, leaving that last inch to be covered by the under-bed front wall). I placed the first sheet on top of the beams and all the way to the left side of the van and it fit perfectly! I marked on the plywood where the furring strips were located and used the power drill to screw every 6 inches or so. I then cut the second plywood sheet to fit the remaining space on the platform which ended up being a sheet that was 64″ long and 19.5″ wide. Just like with the first sheet, I screwed this one every 6 inches on the beams and finally I had a full platform!

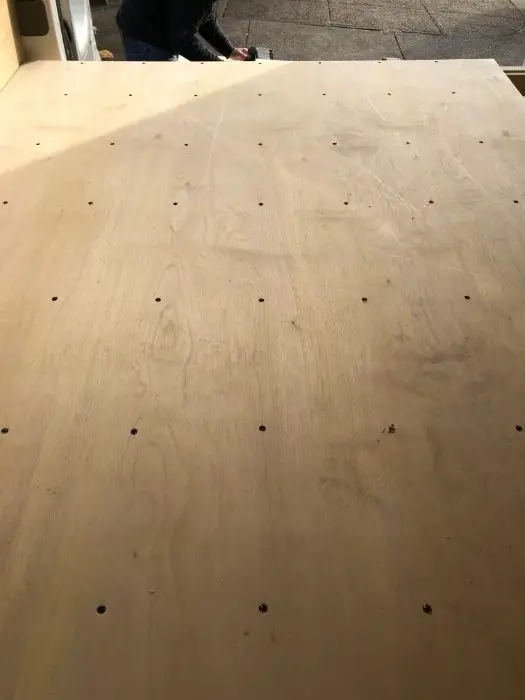
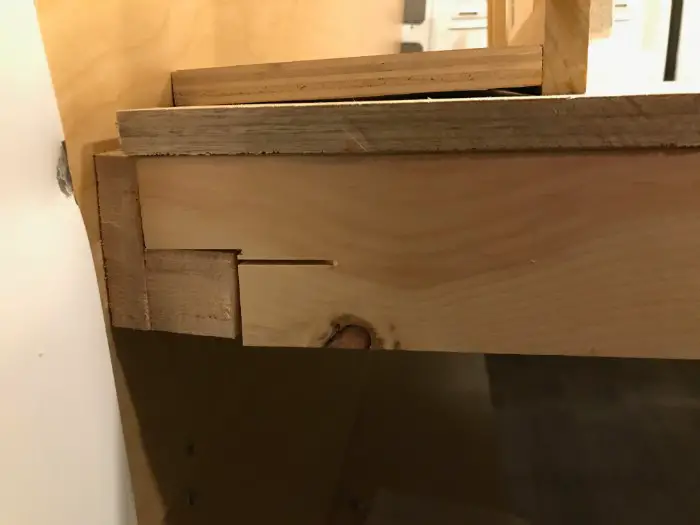
A close-up view of the alignment and amount of screws used to attach the platform.

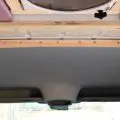
A view of the underside of the platform.
The ultimate test – would it hold me? I hopped on top (carefully) and it felt secure! My dad looked under the platform and there wasn’t a significant amount of bowing so we deemed it a-okay. I think that later I’ll add a vertical support beam in the middle of the platform underneath, but for now it was good to go. With the bed platform done, a major part of my van setup was out of the way!
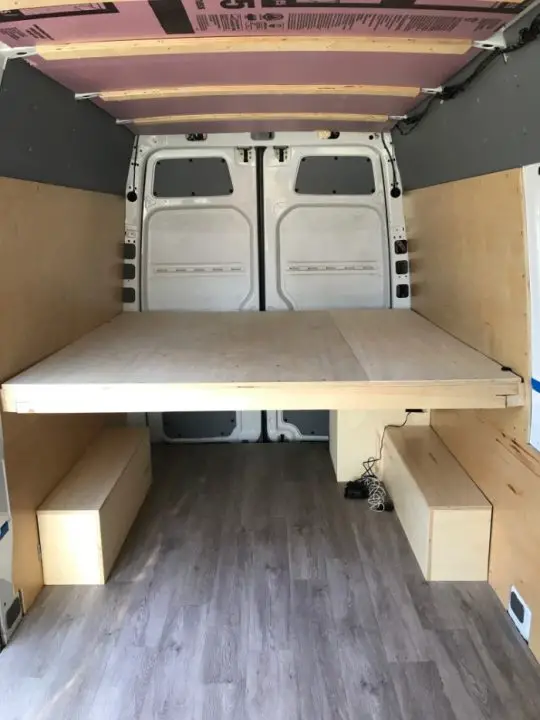
The platform completely finished a few weeks later with the finished flooring – it was starting to look like a real house!
Final Tips and Tricks
Tip #1: Invest in Good Plywood
Invest in good plywood!!! Yes, it is possible to get the absolute cheapest plywood to save some money, but remember that this is going to be the foundation of a major part of your van and you want it to be secure. We opted for plywood that had been sanded and treated and it made it easier to work with (no splinters!!). We also ended up sitting on the platform for a ton of our ceiling and electrical work and I don’t know how we would have survived crawling up on that thing if it was rough and splintered.
Tip #2: Think Carefully About Height
Really think about the height of your bed and how it will best fit your needs. Like I mentioned, I knew I wanted to be able to comfortably sit up in my bed but I’m also 5′ 2″ so I don’t require a ton of head space. Are you going to have to fit a bike under your bed? Are you going to have a step to get up on your bed? Will you have a 6″ or 8″ mattress? Think about all your factors before deciding on your height!