Hey! This site is reader-supported and we earn commissions if you purchase products from retailers after clicking on a link from our site.
Although it’s possible to leave the natural wood finish on the interior of your van, I opted to paint my walls and cabinets for a more personal touch. Why be basic when you can be one-of-a-kind? In this post, I’ll cover some basic tips and tricks for a solid paint finish and making your walls and cabinets easy to clean.
Table of Contents
Materials and Tools You Need
When it comes to paint and brushes, this is not an area you want to skimp on. Considering you don’t have that much space to cover, it’s worth it to invest in quality paint that will last through heat, cold, humidity, and dryness. It also helps to invest in a really good primer. Some of my favorite paints and primers are:
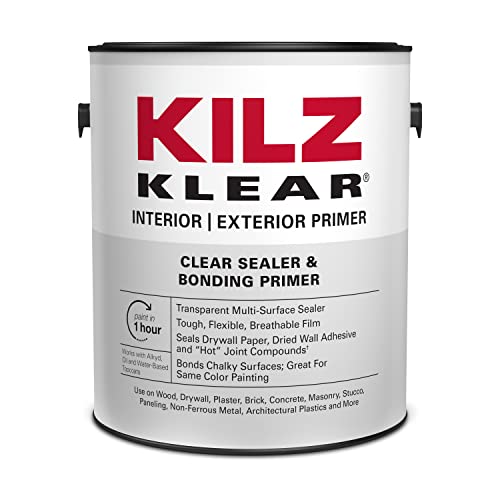
- PRIMER | CLEAR SEALER | BONDING PRIMER: A high-performance clear primer that is formulated to bond...
- ADVANCED FORMULA: This incredibly versatile styrene acrylic primer can be used to seal porous...
- MULTIPLE SURFACES: Suitable for sealing torn drywall facing paper, dried wallcovering adhesive,...
Last update on 2025-06-29 / Affiliate links / Images from Amazon Product Advertising API
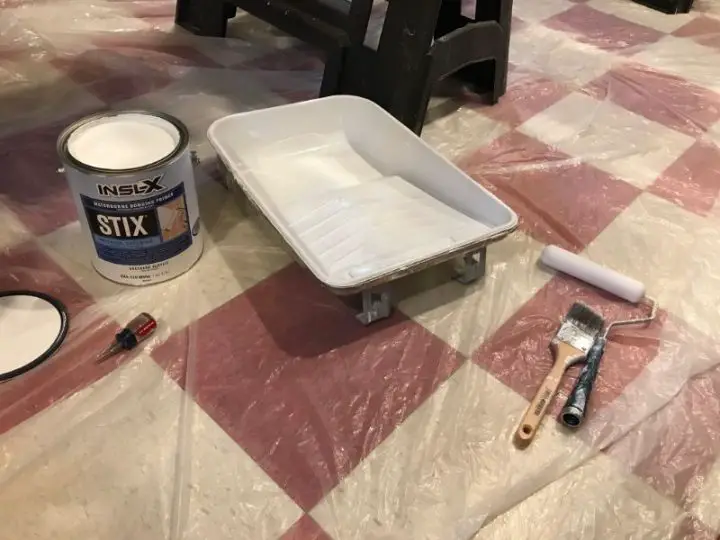
This primer goes on really smoothly and dries quickly. Primer will help your first coat of paint stick better and go on more evenly.

- Great tools at an affordable price
Last update on 2025-06-29 / Affiliate links / Images from Amazon Product Advertising API
Behr has amazing color options! You can choose your gloss level and I opted for a Satin or Semi-Gloss finish to give my cabinets a little bit of shine without looking like linoleum. Based on your needs, I would recommend starting with a quart and moving up from there if you need more paint. For my yellow cabinets, I managed to get by with just 2 sample jars which were only a few dollars each!
Also, because I knew this paint would be seeing some wear and tear while I was on the road, I finished each job with a coat of polyurethane. I’ve linked it in some other posts but I would really recommend sealing everything in with a waterproof coat!
You’ll also need a variety of brushes, paint trays, and plastic to protect your floors. I’ve included a list here for you for the essentials.
| Material | Amount | Where to Get It |
|---|---|---|
| Foam Paint Roller | 2 | Amazon |
| Extra Foam Roll Brushes | 3 | Amazon |
| Paint Tray | 2 | Amazon |
| Foam Paint Brushes | 2-3 | Amazon |
| Plastic Drop Cloth | 1 | Amazon |
| Sanding Sponge | Varies | Amazon |
| Tack Cloth | 2-3 | Amazon |
| Polyurethane | 1 quart | Amazon |
| Aluminum Foil | 1 roll | Amazon |
| Painter’s Tape | 1 roll | Amazon |
How To Paint the Interior of Your Converted Van
Step 1: Prepping your area
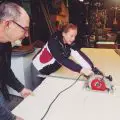
If you’re lucky enough to have space to work outside, you might not need a plastic drop cloth. I was working through New England winter (not ideal) and eventually spring (more ideal) so I moved back and forth from inside to outside. This is self-explanatory: protect your floors/working area and wear good working clothes. As much as you think you won’t spill anything on yourself, you will. Decide what you’ll be painting, lay out your materials, and have plenty of paper towels ready.
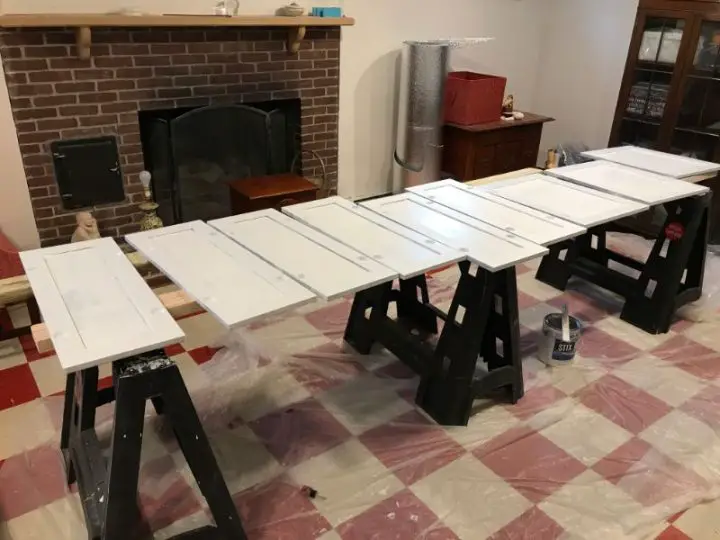
Pro tip: Make sure you have a good area to let your pieces dry! If you’re painting more than one side you may have to prop pieces up to let them dry evenly. I had a second plastic drop cloth just for drying things as well as several cardboard boxes to rest drawers and doors on.
Step 2: Sanding and priming your surface
As a general rule of thumb, it’s never a great idea to start painting your final color right on your surface. If you’re using used wood from previous pieces of furniture, you’ll probably have to sand off the top few coats of paint/finish just to get your own paint to stick properly. For my lower kitchen cabinets, they came with a heavy varnish that required some SERIOUS sanding just to get them back to neutral. Using the sanding sponge, go over your entire painting surface until it feels slightly rough. Obviously you’ll want to get all the sawdust off your wood and nothing works better to get all the little pieces off than tack cloth. Once you feel like your surface has been prepped, apply a layer of primer. This doesn’t have to be very thick and don’t worry if your wood is still showing through a bit. This will all get covered as you add more coats of your final paint. Let your primer dry for AT LEAST an hour before painting again, more so if you are in a humid climate.
Step 3: First coat
Once your primer is dry, it’s time to start painting! If your wood has grooves (such as with my doors), use the small sponge brushes to get in the grooves and corners before going over the entire piece with the larger foam rollers.
Pro tip: Paint going with the grain of the wood for a cleaner finish!
Let your first coat dry for 4-5 hours and then repeat the sanding/tack cloth method to ensure you have a smooth surface before your next coat. Especially when painting with whites or dark colors, it can be hard to see where paint has bubbled or accumulated.
Just call me Picasso
Step 4: Polyurethane coat
Depending on what color you’re using and the color of your original wood, you may find yourself needing 3-5 coats of paint. Once you feel satisfied that you’ve achieved the color you want, add a few coats of polyurethane to seal in that color and avoid chipping.
Pro tip: To save yourself time between coats of paint, instead of washing your brushes each time or ruining your brushes by letting them dry, use the aluminum foil to wrap the brushes and keep them wet before the next coat.
Tips and Tricks
Mind the elements
If you’re painting outside or leaving pieces outside to dry, be aware of leaves, animals, dust, pollen, etc. that could interfere with your paint. Also keep an eye out for rain, as much fun as it is to have to run outside and grab a bunch of wet doors…
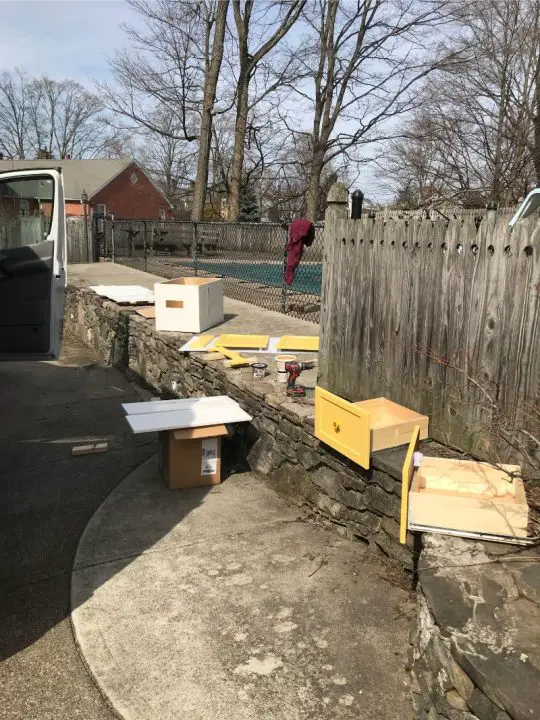
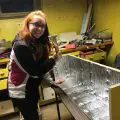
When you’re painting 10 doors, 6 cabinets, and a few drawers, you have to get creative with finding drying space!
Keep it dry
If you can find a dry place to let your pieces dry, do it! Even a mildly humid climate will cause your paint to take twice as long to dry completely. It’s always better to be safe than sorry when it comes to letting your paint dry fully.
Use lighter colors
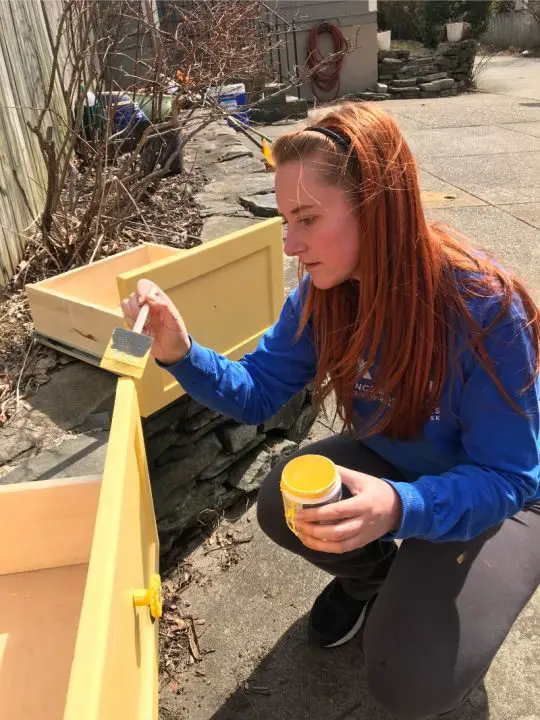
I struggled with color choice for my van. I originally painted my kitchen a royal blue thinking it would match my bedspread (it did not). Even though I had heard this advice before, I didn’t listen and used a dark color in a small space which was a MISTAKE. The blue completely took over my van and made it seem very dark. Unless you’re going for witchy vibe (also very cool), lighter colors will help make your space look bigger and lighter. Every time someone sees my van the first comment they have is how much they love the yellow cabinets and what a warm vibe it gives everything! Before making bold color choices, try them out on smaller areas or find a large piece of fabric in the color you’re thinking of. I was able to drape a big yellow sheet on my kitchen cabinets to see how much better it would look.
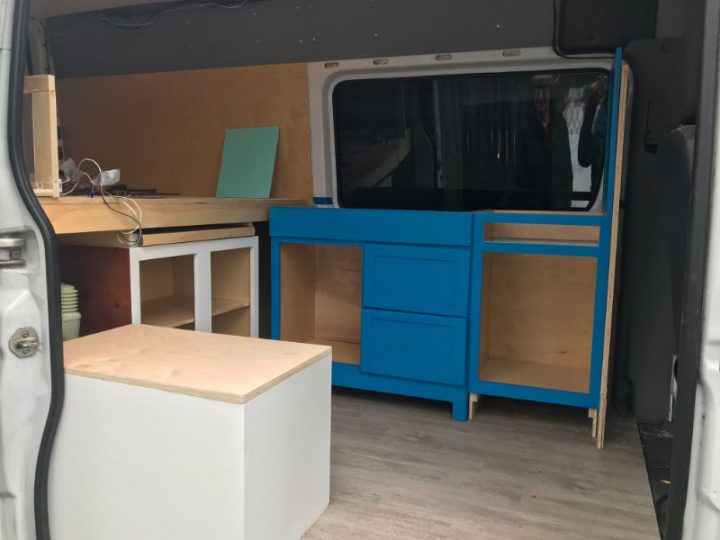
The blue was just not right for this space…
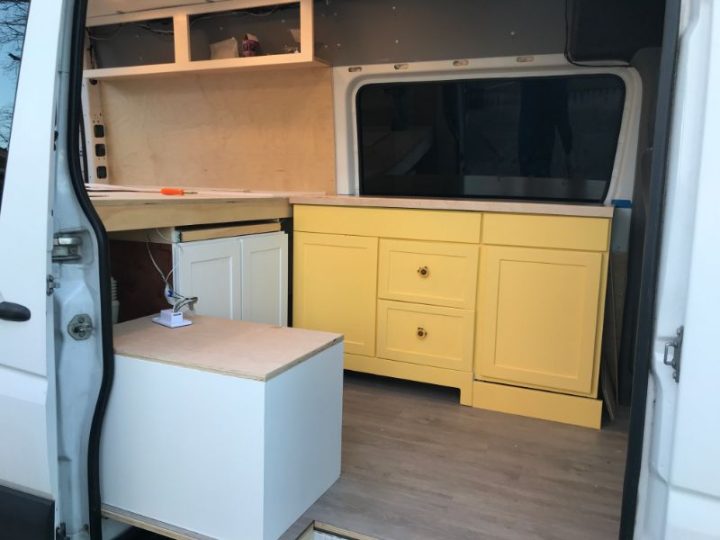
A perfect queso-yellow kitchen
There you have it! Painting 101 for beginners. Good luck on share your color choices below!