Hey! This site is reader-supported and we earn commissions if you purchase products from retailers after clicking on a link from our site.
In this series about building your own teardrop trailer, one of the most important aspects I have yet to address has been how to properly seal your camper from natural elements such as rain, snow, sunshine and even salt from beaches or winter road travel that allow you to camp at during your off grid journeys or your more conventional travels throughout your journeys.
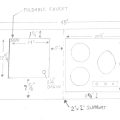
In a previous article, in this series, I walked you through the design and building of your hatch or kitchen area, I never properly walked you through how to seal that area after it was framed and designed. Since this area is going to be constructed and designed before the living area interior walls and the exterior walls of your build, this area should be weatherized, and its wood should be sealed first.
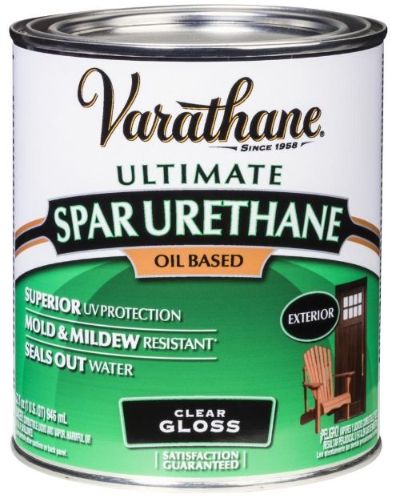
To be clear, finishing the exterior of your new teardrop camper build is not a quick job. I recommend at least 3-4 coats of polyurethane to applied to its exterior and each coat will require at least 24 hrs. to properly cure and bond to the surface.
I personally love a natural wood grain. However, if you prefer to varnish the wood first, then you should do this before you apply any of the clear coat polyurethane. Depending upon the quality and color of the varnish you have chosen, you should also plan on applying 1-2 coats of varnish although varnish dries quickly so you should be able to get this step done in one day.
Once you have applied the varnish, the next step is to use a fine grit sandpaper such as 120 to prepare the surface for the clear coat.
It’s important that you sand your surfaces between the varnish stage and each application of the polyurethane and always remember to wipe the surface clean with a cloth in between applications. The reason you are doing this step is because the polyurethane needs a “tooth”, or simply put, a rough surface that allows the new coat to bond with the last coat during the drying process.
What’s the best way to apply my varnish and clearcoat?
One of the best ways to apply any sealcoat such as paint, varnish or clear coat is with a paint sprayer. However, unless you are well versed on how to properly use this tool, I would advise you to not go out and buy a sprayer for this project.
Using a paint sprayer takes a lot of practice. Without developing the skill necessary to expertly operate a paint sprayer, it’s just not in your best interest to apply your varnish or clear coat without that skill set. Too many things can go wrong. Too much time in one area with your spray gun can cause a run in the applicant and too little time can cause a deficient of the applicant.
Other reasons to avoid the paint sprayer if you’re not experienced with using them is the cost and maintenance. In my opinion, it’s not really a tool that’s essential for your build and remember, between each application the sprayer will need to be thoroughly cleaned with various agents suitable for an oil-based applicant.
With that said, just use brushes.
What brushes are best when sealing my teardrop build?
As a rule, I try to use brushes that are inexpensive and easily replaced. If I plan on varnishing a surface, I will use a soft cloth or sponge brush. These are easily manipulated over the surface and will generally not lay too much applicant in any one part of the substrate or surface.
I buy cheap brushes for applying my polyurethane coating. Why? Because I prefer to not buy cleaning solvents to clean an expensive brush after each oil-based clear coat application. In my opinion, it’s a lot easier to buy 3-4 brushes that cost two dollars each and properly dispose of them after each use, than it is to buy a $25 dollar brush and spend an hour or so properly cleaning it with turpentine or acetone and then soap and water.
Take my advice, buy inexpensive brushes and toss them in the garbage can after each use. Even if you use an expensive brush and clean it thoroughly between uses, the acetone or turpentine you use to clean it will degrade its usefulness and it’s likely it will end up in some pile of tools you “might use again” that will be eventually tossed into the garbage can anyway.
Final thoughts
Always remember to apply your varnish or clear coat evenly. Try not to apply too much in any one area so as to avoid runs and overlay. This is an issue when you begin the sanding process because an overlay or run will dry at a different pace and it will not sand as evenly as a consistent coat of a sealant. In fact, if a run or overlay of sealant has not dried sufficiently, it will be gummy during the sanding process and as a result, this will cause significant cosmetic issues with your campers’ final appearance.
It’s equally important to seal your build with multiple layers of polyurethane clear coat and always sand the last coat you applied to your teardrop before you apply the next coat. If you don’t, it’s likely that at some point over time, natural elements such as sunlight or moisture will separate your layers which will lead to bubbling or cracking of the sealed surfaces. This ultimately leads to water leaks, mold and decay. And nobody wants to deal with that.
As always, my friend’s, thanks for following this series as we build a teardrop camper. I hope this tutorial was useful and I look forward to seeing out on the road one of these days. I wish you safe and healthy travels.