Hey! This site is reader-supported and we earn commissions if you purchase products from retailers after clicking on a link from our site.
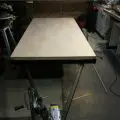
You may remember that in my first lessons here, I stressed the importance of saving most of your scrap pieces of wood as you were cutting out your teardrop camper walls, and this lesson is a perfect example of why you should save those cutouts and scraps.
When we were cutting our outside walls, we scribed out our curvature design and then cut the plywood to that design. At that point, I suggested that you set those pieces aside for use later and at this point we are going to use one of those cutouts as a template for cutting out our gussets.
What are gussets?
The gussets are the curved framing boards that will hold the cross boards known as spars and the outer skin of your teardrop’s hatch. Since most home-built designs vary by what the builder or designer chooses to include in their galley or the curvature of the design, these boards will vary per build but will always equal in each build. Gussets are usually built to fit the design and they are not something you can purchase pre-built. In this lesson, I’ll be walking you through how to layout, cut and prepare your gussets for framing and eventually installing the outer skin.
Timing & People Needs
3-5 hours. This project shouldn’t take took long. Take your time though, you have to make some precise cuts. This time estimate also doesn’t include the drying time for your adhesive, which you should let sit for at least a day.
2 people needed. While you can technically accomplish this project with one person, it is so much easier to have an extra set of hands to hold your boards in place (along with your clamps) while applying cuts and the adhesive at the end.
Materials You Need
| Material | How Much You Need | Cost Range | Where to Get It |
|---|---|---|---|
| 1″ x 12″ boards | 6 boards | $$ | Home Depot |
| Construction adhesive | 1 case | $ | Home Depot |
Tools You Need
| Tool | Cost Range | Where to Get It |
|---|---|---|
| Jigsaw | $$ | Amazon |
| Clamps | $ | Amazon |
| Sander | $$ | Amazon |
Cost of Designing Your Hatch Gussets
Designing and cutting your hatch gussets should cost you about $120-130. The 1″ x 12″ boards are the majority of the cost for this project.
How To Design and Cut Your Hatch Gussets
Cutting your first gusset
First, locate one of the rear cutouts that you laid aside earlier. This will serve as template for your gusset boards.
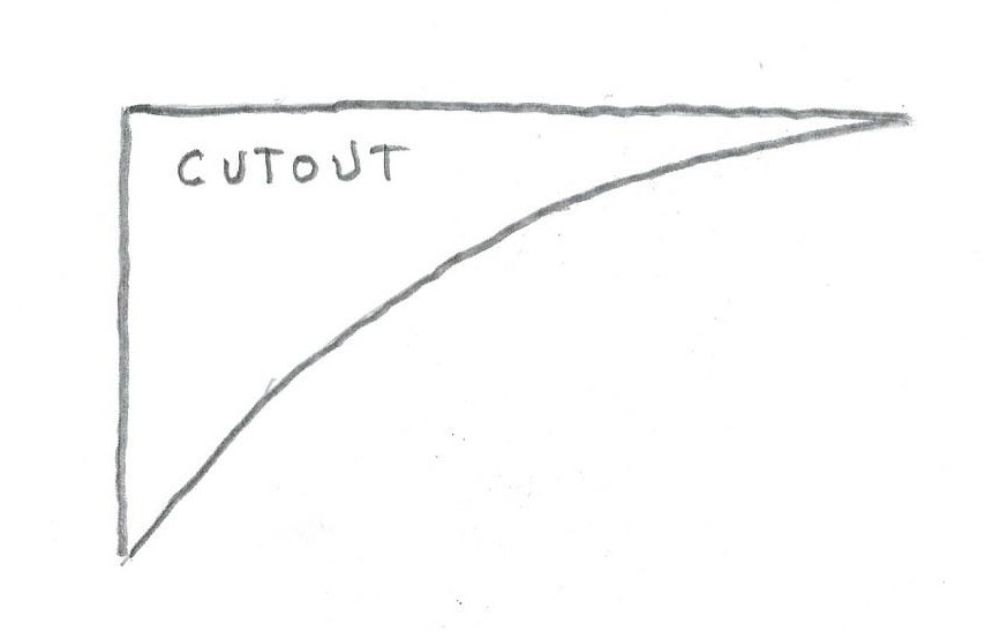
Just as you did earlier when you designed your walls, we’re going clamp our cutout onto a 1″ x 12″ board and we’ll make a cutting mark along the curvature.
This will serve as outer side or skin side of our hatch.
Our next step will be to scribe another line 3″ inside of the outer line on the 1″ x 12″ board and mark that off as well.
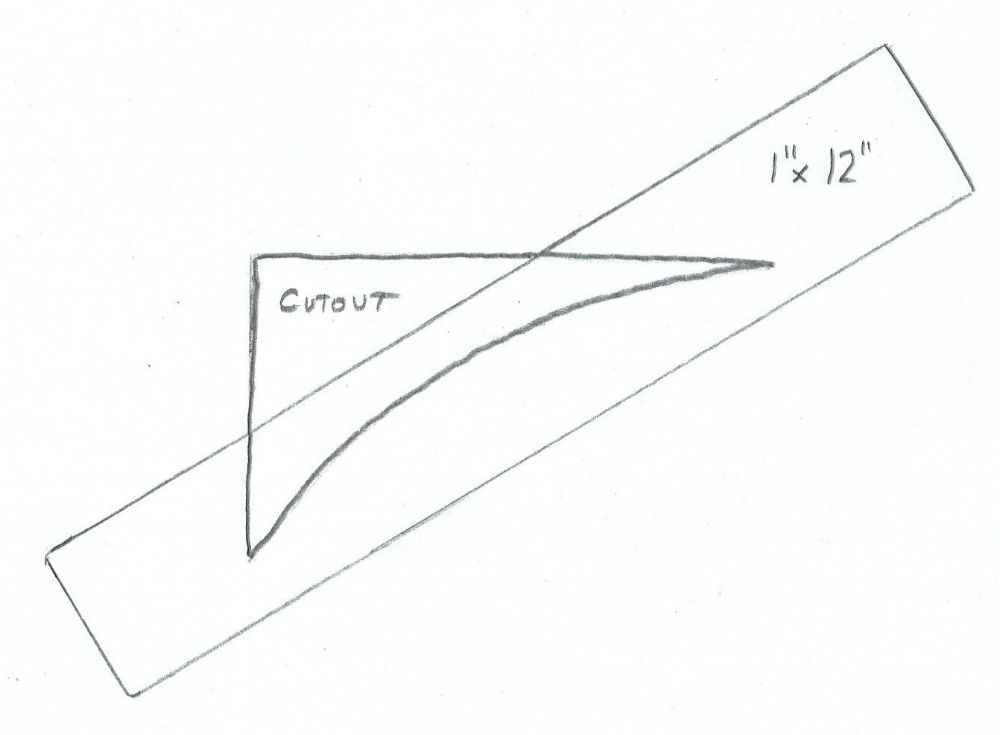
Now you’ll need to make a mark where the top of your gusset will be (basically straight up and down or 0°), and another mark at the base of your gusset which should be 90°.
Note: In this drawing plan, I inadvertently wrote 45° for the bottom cut when it should have been drawn out at 90°.
At this point, use your jig saw to cut out this piece and compare the cut and fit to the outer walls of your hatch. Take special notice of the outer cut to ensure that it closely matches the contour of the wall and do the same for your end cuts.
Replicating the cut
If you are satisfied with the fit, then you will need to use this piece as a template to cut five more exactly like these.
Applying adhesive and drying
Once you have six 1″ x 3″ boards cut the same, you’ll want to apply adhesive and clamp them together two at a time so that you end up with three gussets. I recommend leaving your gussets clamped together for at least 24 hours to allow the glue to set and dry.
Once you have allowed new gusset boards to set, the next step is to clamp the three of them together and sand them evenly just as you did earlier on the outside walls.
In the next part of constructing your hatch wall, we’ll install our spars to square up the hatch door and we’ll look at how to begin laying the outer skin to complete the rear of the teardrop. As always, thanks for following along folks.