Hey! This site is reader-supported and we earn commissions if you purchase products from retailers after clicking on a link from our site.
As much as I like wood grain cabinetry and walls, I sometimes tour new builds or visit my friends in their RVs and quite often my thoughts when doing this is that while wood grain cabinetry is nice, in many cases it is just simply overdone. In my opinion, too much wood grain in any living space can cause people to feel “boxed in” and this is especially true if the wood grain is stained using dark varnishes such as black walnut.
Studies show that for decades, the most popular wood grain for consumers has been an oak grain with a medium finish. RV manufacturers are aware of these statistics, and that’s why most of their builds include this consumer preference when they are mass producing their campers and motorhomes. However, as with any market, times change. Today, most consumers are exploring their options and they are preferring lighter colored varnishes. Yes, you can request different wood grain patterns (or another material like laminate) in a variety of hues when ordering a new RV, but if you bought a used rig and decide that the cabinetry is not to your liking, it’s easy enough to change the atmosphere with a little work and determination.
In this article, we’ll begin with the removal of the doors and drawers, and the best way to prep those components as well as the framework that hold them all together. Don’t expect this cabinet makeover to be a short process. In fact, it’s likely to take several weeks to completely redesign your cabinetry, but once completed, you’ll be happy you took on the project.
Remove your cabinet doors and drawers
The first step when restoring or remodeling your RV cabinetry is to remove the outer components of your cabinetry. To do this, use an electric screwdriver (or in some cases a hand-held manual driver) to remove the doors. Once you have done this, remove your cabinet drawers and set them aside. Do not disassemble your cabinet drawers as this will cause problems when you want to reinstall them.
I recommend using a small piece of painter’s tape to record where every door or drawer was removed from so that you know where they need to be reinstalled once you have restored them to your liking. Use a Sharpie soft tip pen too for the best results.
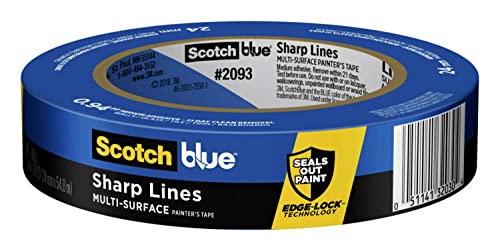
- Use-On Surfaces: Designed For Use On Multiple Surfaces Such As Smooth Or Lightly Textured Walls,...
- PAINT LINES: Edge-Lock Technology seals out paint to deliver sharp paint lines
- Days Clean Removal: 21-Day Interior And Exterior Clean Removal Leaves Behind No Damage Or Sticky...
Last update on 2024-10-21 / Affiliate links / Images from Amazon Product Advertising API
Now that you have removed the cabinetry doors, be sure to completely remove all the hardware from those parts and stow them away correctly. For this part of the project, I recommend using a good quality resealable storage bag to keep each part of the hardware separated from other parts of the same hardware used on different doors or drawers.

- QUART SIZE FOOD STORAGE BAGS—This pack includes one box of 78 quart size Hefty Slider Storage Bags
- CLICKS CLOSED SO YOU KNOW IT’S CLOSED—Patented MaxLock Track ensures your food is being kept...
- SUPER EASY TO USE—Our unique design makes it easy to open and close these BPA-free plastic food...
Last update on 2024-10-21 / Affiliate links / Images from Amazon Product Advertising API
Take your time. Remove the hardware and be sure to correctly label each baggie of hardware with the same name as you labeled the piece of cabinetry that they were removed from. This is essential to proper restoration and to do otherwise will cause a lot of problems once you are ready to reassemble your cabinetry.
Next, we’ll look at the proper sanding and priming techniques for your wooden cabinetry when taking on this restoration project. I’ll also share with you some of the best tools needed for these tasks and how I have used these tools over the years to restore some real dog RVs into top-notch on the road homes.
Set up the proper work area
One of the most important tools when you’re undertaking this type of remodel is to have a work area that is dry and is elevated to help make the restorations more manageable. For this I would recommend a good pair of sawhorses and a couple of eight-foot-long 2’ x 4’s to create a large work surface.
I would also recommend tackling this project in an indoor setting such as a garage or workshop as this task is time consuming and may take several days to complete. It would also be in your best interest to tackle this upgrade one room at a time. In other words, don’t overwhelm yourself and learn the technique one step at a time.
Clean your cabinetry
Now that you have removed your cupboard doors, closet doors and all the drawers that you intend to remodel, the next step is to thoroughly clean them and the framework that hold them in place. For this task I would recommend using simple green® industrial cleaner.

- Concentrated all-purpose cleaner/degreaser/deodorizer is biodegradable and nontoxic, nonabrasive and...
- Does not contain petroleum distillates
- Authorized by USDA for the use in federal inspected meat and poultry plants
Last update on 2024-10-21 / Affiliate links / Images from Amazon Product Advertising API
It’s extremely important to clean any dirt, dust and especially any grease or smoke buildup commonly found in your kitchen area due to cooking inside your camper or motorhome. Because the next part of this process involves thoroughly sanding your cupboards and their framework, this is an essential step to prevent your sandpaper from gumming up. It will also help to remove any unwanted odors that may have permeated the woodwork.
For this task, I recommend first applying your cleaner on the surfaces you intend to paint and then use a microfiber cleaning cloth to scrub and rinse those surfaces. Once you have done this, use another microfiber cloth to dry the surfaces and set the removeable components aside in your work area.
Sand your surfaces
Once you have thoroughly cleaned your cabinetry, the next step is to sand the surfaces you intend to paint. This helps to ensure that your primer and paint will adhere to the cabinets once you begin the painting process.
While some sanders are round and others are square, I recommend using one that has a more triangular configuration. This will allow you get into the corners and will eliminate the need for much hand sanding. You don’t need to use a very abrasive sandpaper as you don’t want to mar the wood, so a 220-grit paper works well for this task.
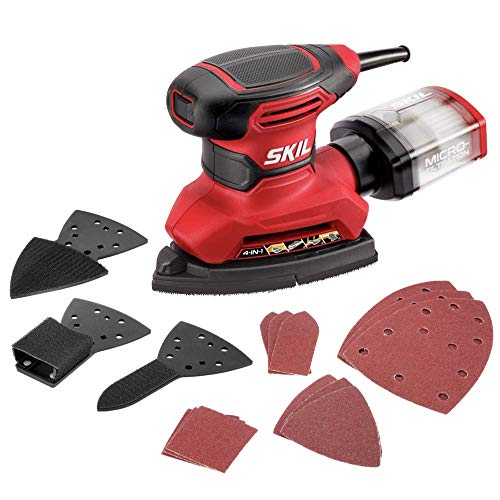
- POWERFUL - With a 1. 2 amp motor and 13,500 orbits per minute, it's able to deliver a smooth...
- VERSATILITY ON THE QUICK - This 4-in-1 detail sander comes with an additional 3 detail attachments...
- TOUGH ON DUST - Between its micro-filtration system and the 1-1/4" dust port for vacuum attachment...
Last update on 2024-10-21 / Affiliate links / Images from Amazon Product Advertising API
Painting your RV cabinets
The first step in this process is to begin by using your painters’ tape along your framework to avoid getting paint on your walls. Now that you have successfully sanded and prepared your surfaces, it’s time to begin the painting process. While some people jump right into this step with paint, I prefer to use a primer first.
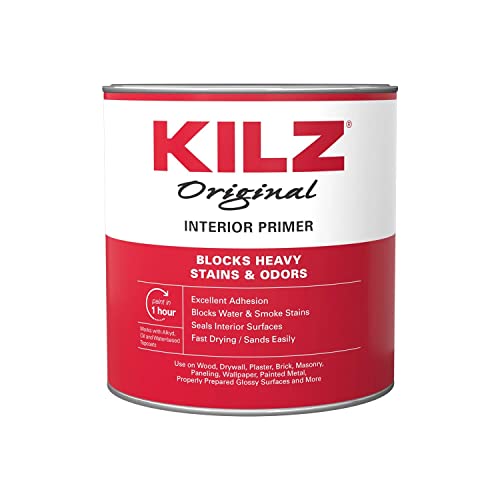
- A good primer makes paint stick better to surfaces, makes paint color truer, and lets you use less...
- KILZ Original oil-based primer blocks most stains including water, smoke, tannin, ink, pencil, felt...
- Use this versatile primer on interior surfaces including wood, drywall, plaster, paneling,...
Last update on 2024-10-21 / Affiliate links / Images from Amazon Product Advertising API
This will help to conceal any odors as well as any stains that might otherwise bleed through your paint. I would recommend at least two coats of primer and I would also suggest that you lightly sand your surfaces in between applications. If you do choose to sand, remember to wipe any paint dust away before you apply another coat.
You’ll also need some paint brushes for this project. I recommend getting a set of various sizes such as these shown here. In fact, I would also suggest that you purchase an artist soft bristle brush that’s has a ½” width as it will make painting the edges where your cabinetry framework meets your walls much cleaner and easier.

- Paint Brush Set Includes 1 Ea of 1" Flat, 1-1/2" Angle, 2" Stubby Angle, 2" Flat & 2-1/2" Angle
- Paint Brushes For Interior Or Exterior Projects. Use Angle Sash Paint Brush For Cutting Crisp Lines.
- Professional Results On Walls, Trim, Cabinets, Doors, Fences, Decks, Touch Ups, Arts And Crafts.
Last update on 2024-10-21 / Affiliate links / Images from Amazon Product Advertising API
Now that you’ve taped off your edges, you can begin painting. Choosing the right paint is extremely important and it should be the right type to work on cabinetry. By that, I mean it should be washable as well as durable.
Skip any paint that is a matte type as this will be dull and hard to clean. The best type of paint for this project would be semi-glossy, glossy or my favorite, a satin finish. These finishes are amazingly easy to clean with just a cloth and some soap and water.
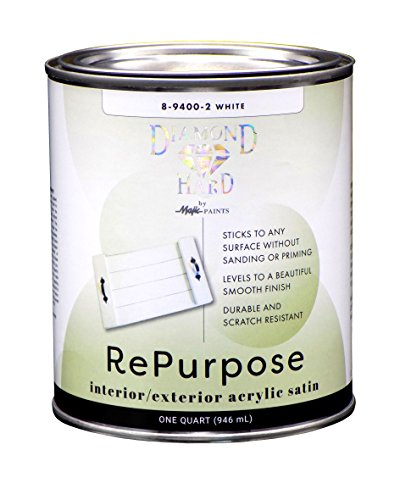
- Color: White
- IDEAL FOR DIY PROJECTS: Repurpose furniture, trim, cabinets, doors, or any project you have in in...
- SUPERIOR COLOR-RETENTION: Levels to a beautiful smooth satin finish
Last update on 2024-10-21 / Affiliate links / Images from Amazon Product Advertising API
I would also recommend applying 3-4 coats of paint to achieve the best quality and a professional look for your cabinets.
Remove painters’ tape and re-install your cabinetry hardware
Once you’re satisfied with your paint job, now is the time to remove the painters’ tape. DO NOT just peel the tape away as it will be bonded by several layers of primer and paint. If you just peel it away without scoring it with a utility knife where it meets the wall, it’s likely that it will peel the paint off your newly painted cabinetry and you’ll need to do additional repairs to hide the chipping which will cause frustration as well as more time to the project.
- Patented interlocking nose to hold blade securely
- Three position retractable blade
- Integrated blade storage in handle
Last update on 2024-10-21 / Affiliate links / Images from Amazon Product Advertising API
The final step for remodeling your cabinets is to re-install or replace the hardware. If you are replacing the hardware, try to find some that has the same screw pattern. If this isn’t possible, then you’ll need to drill some pilot holes for each piece of hardware you intend to install, or you’ll risk the chance of splitting the framework or doors of your kitchen cabinets.
As always, my friends, thanks so much for following along in my DIY segments as well as all my other articles. Stay happy, stay healthy and I hope to see out on the road someday.