Hey! This site is reader-supported and we earn commissions if you purchase products from retailers after clicking on a link from our site.
Window covers: the downfall of all Vanlifers. They are a total necessity for privacy and insulation, but they are a hassle to figure out. My mom, a professional quilter, actually helped me figure out how to make the covers I currently use in my van and they’ve been an ongoing project as I learn what works and what doesn’t. In this article, I’ll bring you through what I’ve found to be the best system. Disclaimer: I haven’t been able to take pictures of my process so I’ll try to bring you through as best as possible.
Timing & People Needs
One full day. This will depend on how many window covers you need to make, but I estimate about 1-2 hours per window cover.
One person needed. Easier with two, possible with one.
Materials You Need
| Material | How Much You Need | Cost Range | Where to Get It |
|---|---|---|---|
| Reflectix Roll | 1-2 | $ | Amazon |
| Quilting Fabric | 10-15 yards | $$ | Fabric.com |
| Magnets | 1 pack (about 50 magnets) | $ | Amazon |
| Fabric Pencil | 1 | $ | Amazon |
| Sewing Kit | 1 | $ | Amazon |
Tools You Need
| Tool | Cost Range | Where to Get It |
|---|---|---|
| Sewing Machine | $$$ | Amazon |
| Fabric Cutter | $ | Amazon |
| Scissors | $ | Any drawer in your house 🙂 |
Cost of the Project
Depending on how many window covers you need to make, the fabric you choose, and whether or not you need to purchase a sewing machine, the overall cost could vary. Because I already had a sewing machine and some of my fabric leftover from previous projects, mine cost about $300.
How To Cover Your Van Windows
As I mentioned before, making the window covers has been a learning curve for me. I’ll let you know what worked and what didn’t. So let’s get started!
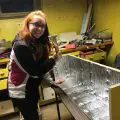
Step 1: Template Your Windows
First things first, you’re going to have to template your windows. There is no great way to template a giant window, so we just used a leftover piece of cardboard to trace along and continued to trim it down until we got the correct shape of the window.
Once you have your templates, use them to cut out each window shape in the Reflectix as well as your fabrics. Make sure to add 3″ around the border of your template in the black fabric for the outside to act as a hem later.
By now you should have Reflectix cutouts that fit each of your windows as well as two fabric cutouts to go along with each Reflectix cutout, one for the outside and one for the inside.
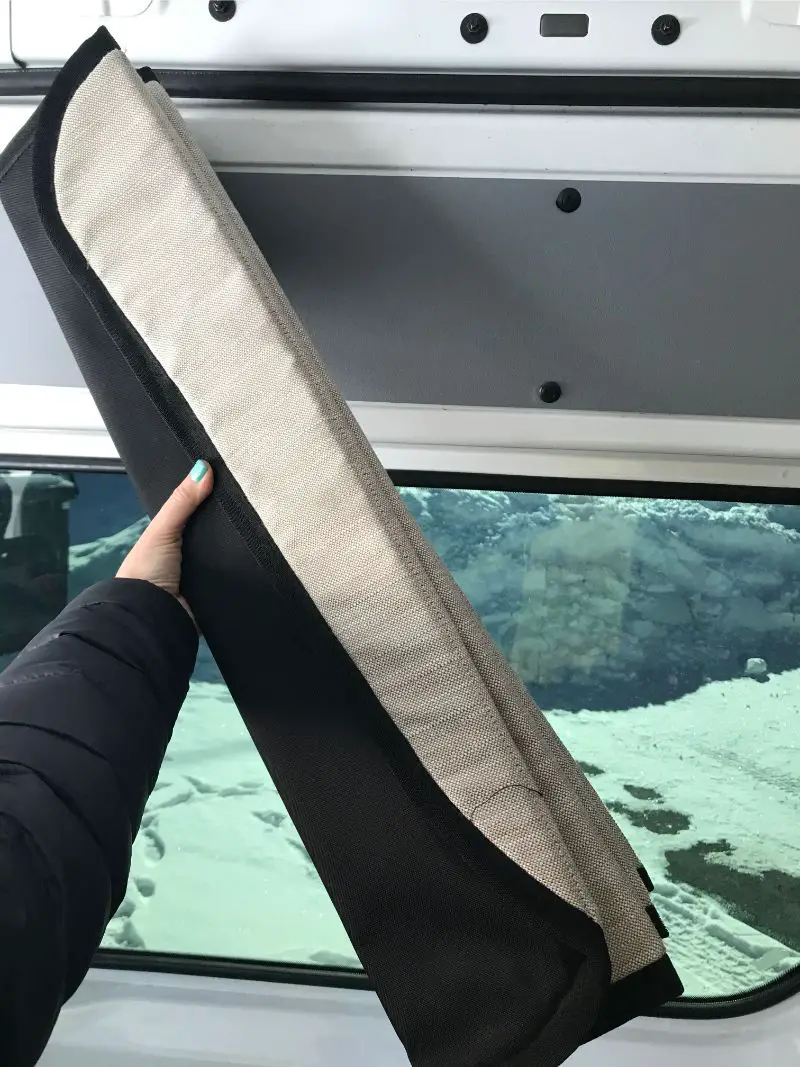
Step 2: Cut and Sew Pockets for the Reflectix
One of the original mistakes I made was having my window covers in one large piece that didn’t fold which was a complete hassle for storage when I wasn’t using the covers. After talking to other Vanlifers and doing some more research, I learned that cutting the Reflectix into strips that would allow my covers to fold was the best method. Once you have your Reflectix cutouts, cut them into 6″ vertical strips using the fabric cutter. Next, pin together your two fabrics and use your strips to mark on the fabric where you are going to sew “pockets” for each strip. With your fabrics still pinned together, use the sewing machine to sew along the lines you have traced. After this is done, you should be able to slip each Reflectix strip into its respective “pocket” and have a folding Reflectix sandwich.
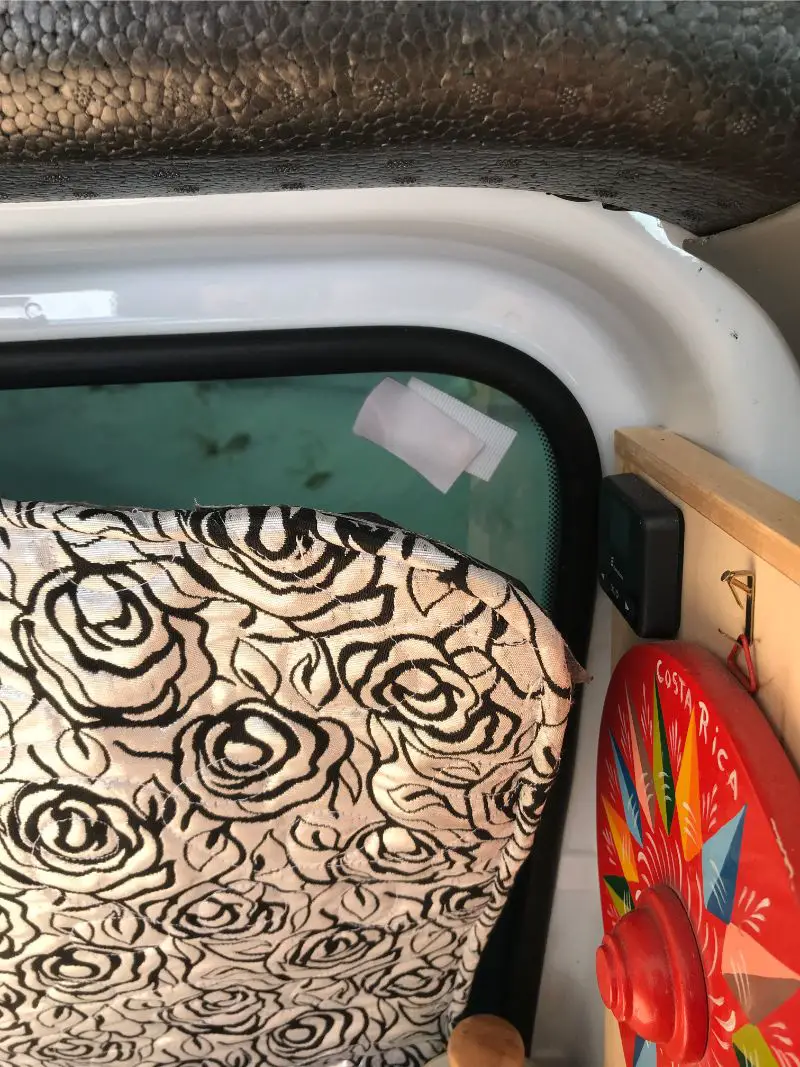
Step 3: Sew the Hem and Insert the Magnets
Now that you have the Reflectix strips inside the “pockets” between your two fabrics, you need to fold over the black fabric to create a hem which will hold the magnets that will hold your covers in place. A common problem people face when sewing the hem is the fact that there are round corners on the window covers and the magnets mess with the sewing machine. The best method I’ve found to negate this is to sew the hem without the magnets inside and hand sew them in later. Using the fabric pencil, mark around the hem where you will be placing the magnets later. There’s no such thing as too many magnets – the more you have, the better it will be held up. I used 10 for the big sliding door windows. Then, using the sewing machine, sew the black fabric over, stop where you have marked for the magnets, and so on.
With your hem completed except for the spots where the magnets will go, insert them into the pockets that have been left and complete the hem by hand-sewing. Because you don’t want the magnets sliding around the hem, hand sew a stitch on either side of the magnets to keep them in place.
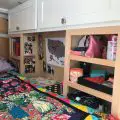
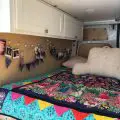
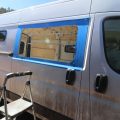
For the window covers, the Reflectix area should fit inside the pane of the window while the hem holding the magnets should reach the metal of the van in order to hold them in place. With each step, continue to fit your panels in the window to make sure everything is still lining up.
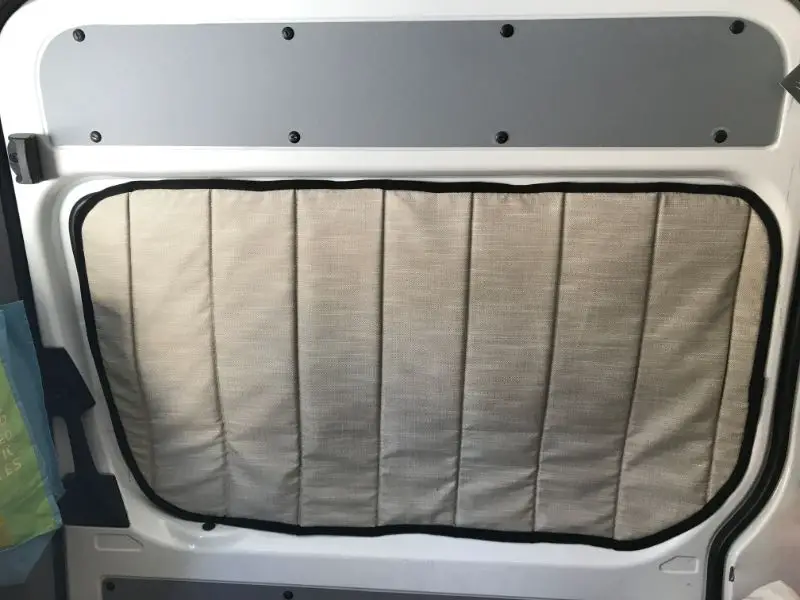
This is ideally what your panels should look like when they’re done!
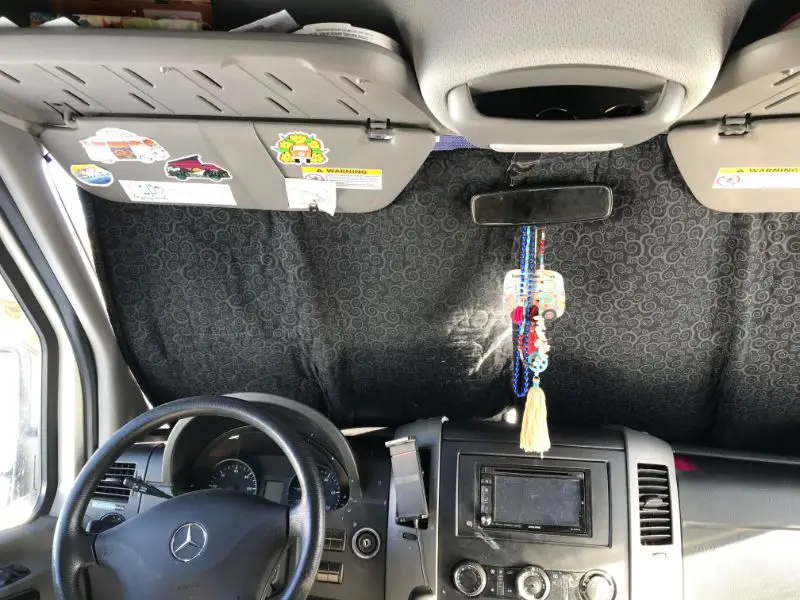
Step 4: Install the Front Windshield Covers
Because no part of building a van is easy, of course not all the window covers could have the same method. In the body of the van, the window covers will be able to be held up through magnets. Unfortunately, the front windshield doesn’t have metal close enough to it for magnets to work. I decided to keep out the magnets in the front windshield window covers and instead hold them up with my visors. I split the covers into two halves (driver and passenger) and they slide right into the windshield and are held up really nicely by the visors. I took the rearview mirror into account and templated the covers around it.
Mistakes I Made
Mistake #1: Not Using Magnets
One of the original mistakes I made was not using magnets and instead using velcro squares on my windows. This worked great until I parked my van in the sun and the heat melted the glue on the velcro and left a horrible residue on my windows. I would not advise using velcro as a permanent method.
Mistake #2: Not Folding My Covers
As I mentioned before, my original window covers did not fold and they became huge, bulky items that needed to be moved and stored every day. Folding is always better for minimal living!
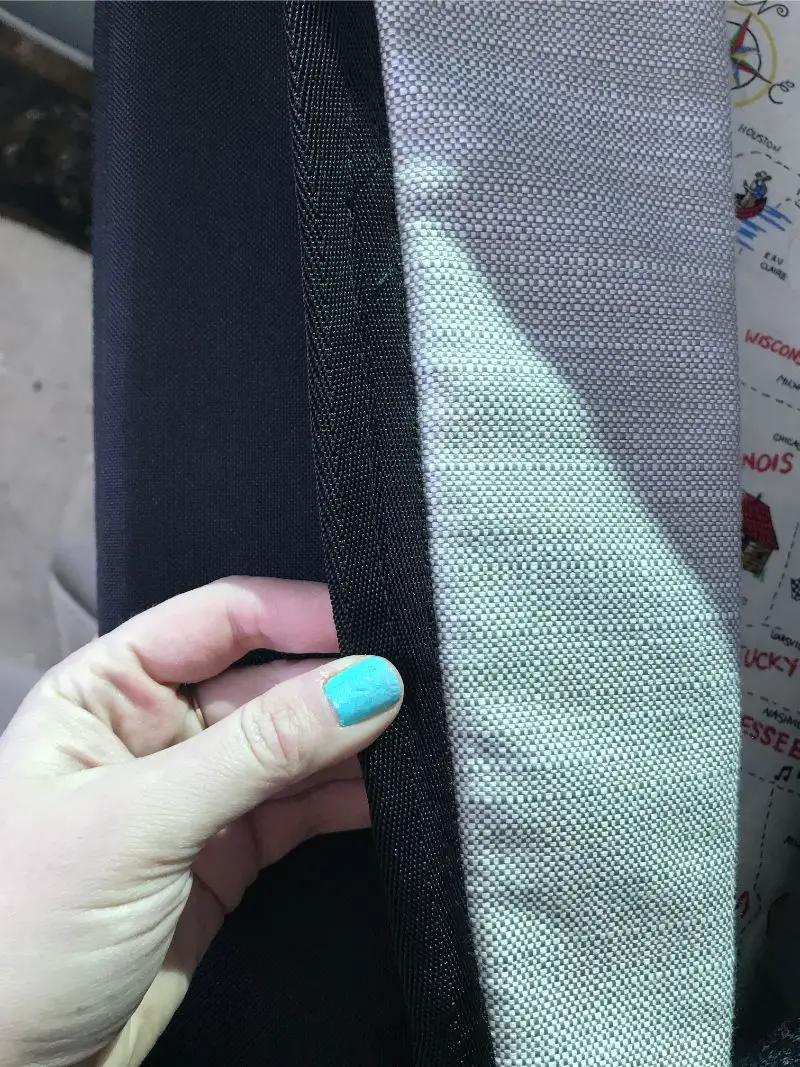
Mistake #3: Choosing the Right Fabric
I originally chose a fabric that wasn’t strong enough to act as the hem for my black outer side. While quilting fabric should do the trick, a lighter outdoor fabric will also act great.
Hope this outline was able to help someone who is also struggling to make window covers! If you have any other ideas, leave them in the comments below!