Hey! This site is reader-supported and we earn commissions if you purchase products from retailers after clicking on a link from our site.
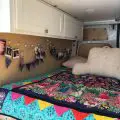
Insulation was never something I thought about, but after some research, I realized it is really essential for comfortable van living. Just like in a house, insulation helps trap the heat to stay warm in colder weather and reflect out heat to stay cool in warmer weather. It’s also a big help in preventing sound from exiting when you’re hanging out in the van and quiets some of the outside noise when you’re driving. Before I had the insulation it sounded like I was driving in a wind tunnel and it was miserable. Now I’m peaceful and toasty, so definitely don’t insuwait to insulate!
Table of Contents
- Timing & Level of Difficulty for Installing Insulation
- Materials You Need
- Tools You Need
- Cost of Insulating Your Van
- How To Install the Insulation
- Bonus Tip: Be Aware of Other Parts Around Your Wheel Wells
- Wrapping Up
Timing & Level of Difficulty for Installing Insulation
4 hours. This will vary based on which materials you go with but it definitely took some time.
One person needed. Obviously this process will go faster with two people but it is possible to do solo.
Easy to moderate difficulty. It can be frustrating to fill all the little cracks and holes but it’s definitely not difficult.
Materials You Need
| Material | How Much You Need | Cost Range | Where to Get It |
|---|---|---|---|
| 1.5″ XPS Foam Board | 4-6 sheets | $$ | Home Depot |
| Foam Spray | 2 cans | $ | Amazon |
| Reflectix | 1 roll | $$ | Amazon |
| Gorilla Tape | 1 roll | $ | Amazon |
| Staples | 30-40 | $ | Amazon |
| 4×8′ ¾” Plywood | 2 boards | $$ | Home Depot |
| Wood Glue | 1 bottle | $ | Amazon |
Tools You Need
| Tool | Cost Range | Where to Get It |
|---|---|---|
| Jigsaw | $$$ | Amazon |
| Power Drill | $$$ | Amazon |
| Staple Gun | $$ | Amazon |
| Nail Gun | $$$ | Amazon |
Cost of Insulating Your Van
Not considering tools, insulating your van will cost you a little over $200 for materials. Overall, this was one of the more expensive parts of the van build, but this is not an area where you want to scrimp or skip.
How To Install the Insulation
- Filling your major areas on the walls and doors
- Insulating the ceiling
- Filling the cracks and crevices
- Insulating the wheels
So, I had a bit of an interesting situation with my van because when I bought it, the previous owner had already insulated it (awesome)! However, I had never done any sort of insulation before (on a van or home or anything, really) so I had no way of knowing if he had done an adequate job. He had been using his van strictly to transport his motorcycle back and forth from Florida so it was enough to keep the bike at a good temperature, but not necessarily to live in. When we removed the plastic wall paneling, we found he had used Polyisocyanurate (Polyiso) Foam Board for the major spaces and fiberglass for the nooks and crannies. This was exciting because all the blogs had recommended this Polysio board and half the work was already done for us! However, when we did a little more exploring we found that the fiberglass was soaking wet. We read that this was a risk factor of using fiberglass and I’m really glad we found this out firsthand before hitting the road. We removed as much of the fiberglass as we could and decided we had to re-do some of the insulation. Here’s what we did to ensure my van would remain a livable temperature.
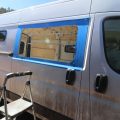
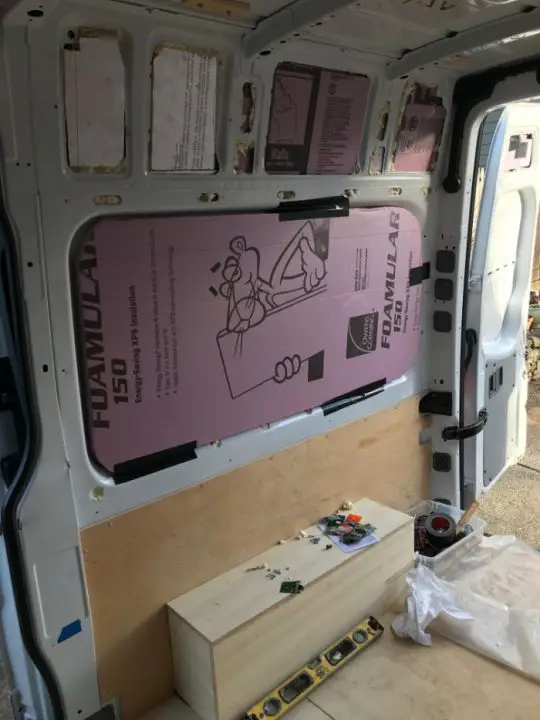
Step 1: Fill Your Major Areas on the Walls and Doors
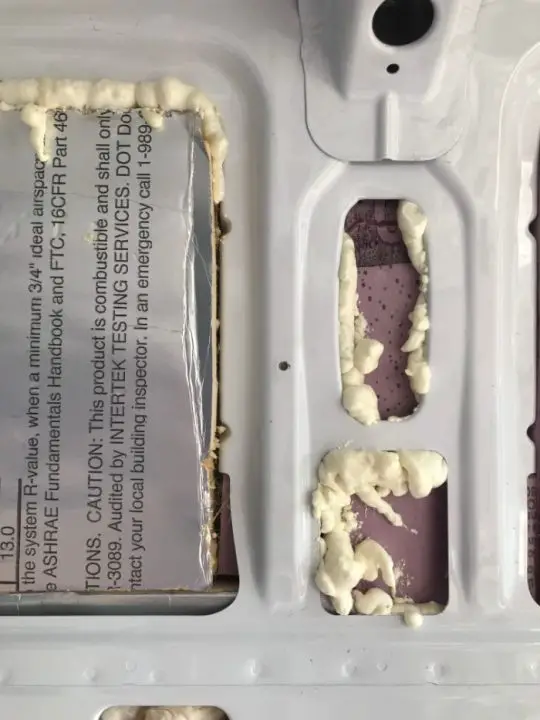
This is what some of the previous insulation looked like:
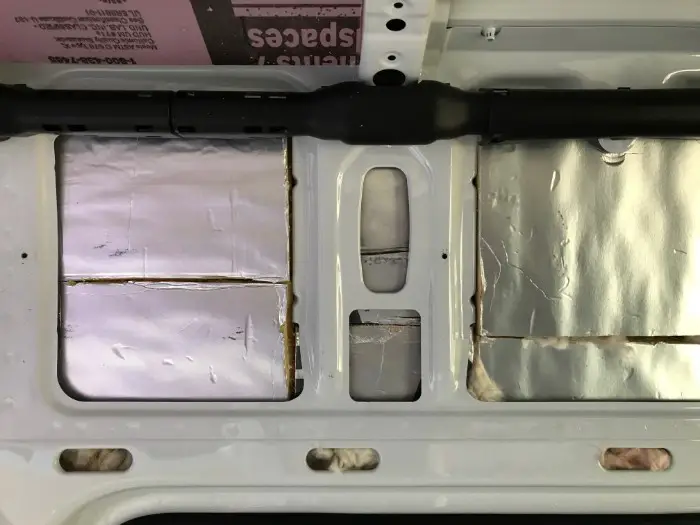
The shiny sections are the Polysio board and the fiberglass is poking out of the little holes.
As I mentioned before, the work was about halfway done for us, so we just had to fill in the little cracks and redo some of the larger spaces. Using a tape measure, I measured the general dimensions of the wall panels. Then, using the jigsaw, I cut out a rough shape. Once I had a smaller panel to work with, I continued to cut off bits and pieces of the edges until it fit into the groove/hole of the walls and back doors. It was a pretty snug fit, but I used the gorilla tape to hold it in place, knowing that later wall panels would be screwed on top to keep it in place.
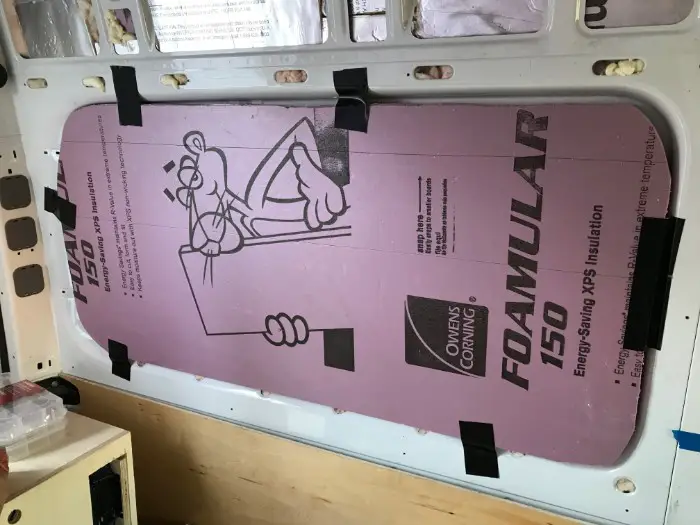
Pro tip: If you don’t want to use the jigsaw to cut the little edges, sandpaper works just great!
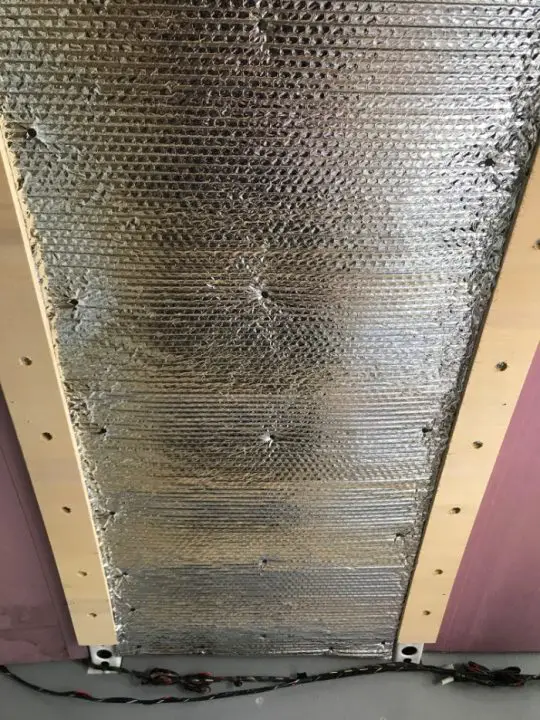
Step 2: Insulate the Ceiling
Because the ceiling was the only part of the van that wasn’t insulted when I bought it, it was also the only section I was able to build from scratch. The walls were a challenge because of the different shapes and the wires that were going through the walls (as I’ll discuss in the next step). However, the ceiling was relatively straightforward and I didn’t have to worry about filling any strange holes.
Just as with the walls, I measured each of the rectangle sections on the ceiling and cut the XPS board to their relative shape. We sanded and sawed away until they fit into place and used the Gorilla tape to keep it in place.
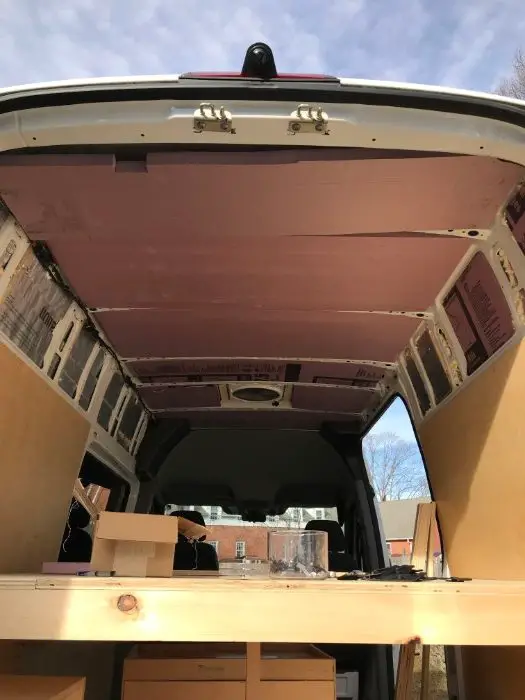
Because I had the time and space to add more insulation, I decided to actually add an additional layer of Reflectix on top of the XPS board. Again, I measured the size of each rectangle section and cut out a piece of Reflectix to go with it. We thought about using the Gorilla tape to keep it up but it would have required a lot of tape. Instead, we used drywall nails to just pierce the Reflectix and stick it right into the XPS foam board that was already up there. It worked perfectly and it looked great! So shiny…
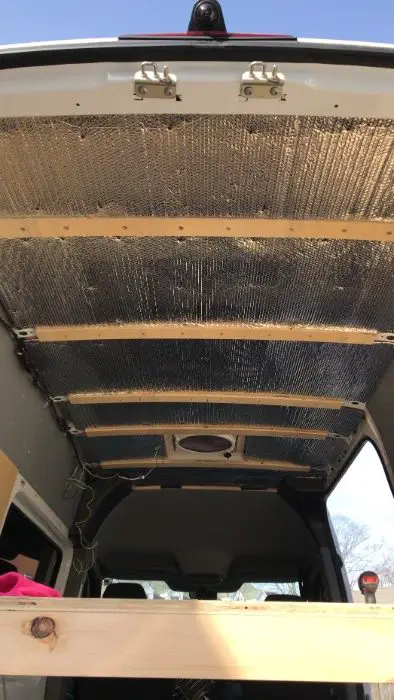
At this point we had started to work on installing some of the pieces for paneling the ceiling but they didn’t interfere with our final insulation steps.
Step 3: Fill the Cracks and Crevices
Now that I had the major sections out of the way, it was time to fill in the little gaps and crevices in the walls. I could have used spray foam to fill in all the spaces, but I was nervous about using too much because I’d read some horror stories about people that had used it and it had expanded so much when it dried that it morphed the body frame of the van. As much as I would enjoy having a lumpy van, I decided to use it as sparingly as possible.
Pro tip: if you use spray foam to fill cracks, remember that is expands considerably, so apply it lightly.
I’m sure there was a more formal and efficient way of filling the gaps, but I obviously had no idea what I was doing, so I basically just took scraps of the XPS board and broke them into various sized pieces and put them in the holes as best I could. The problem with the crevices behind the walls is that it’s impossible to tell how deep or far they go. Sometimes I thought it was just a little area and then I found out it reached from the ceiling down to the floor. Once I felt I had crammed as much XPS board into the holes as I could, I used the spray foam to fill the little spaces leftover and to help keep the board pieces in place. As I was going through this process, I could see why people would want to use fiberglass or just foam to make sure they were stuffing the spaces sufficiently. However, as I mentioned before, fiberglass has a habit of absorbing liquid like a sponge and rotting, and foam can also go horribly wrong. My method might have been a little rustic, but it seems to have gotten the job done!
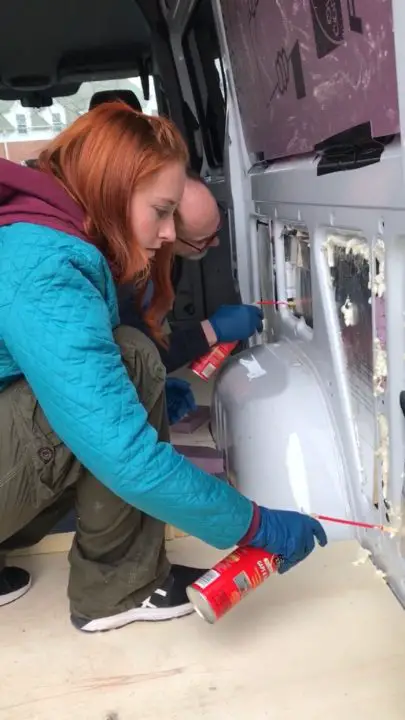
This stuff is equal parts sticky and super fun to squirt everywhere. Make sure to wear gloves!
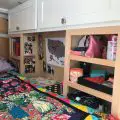
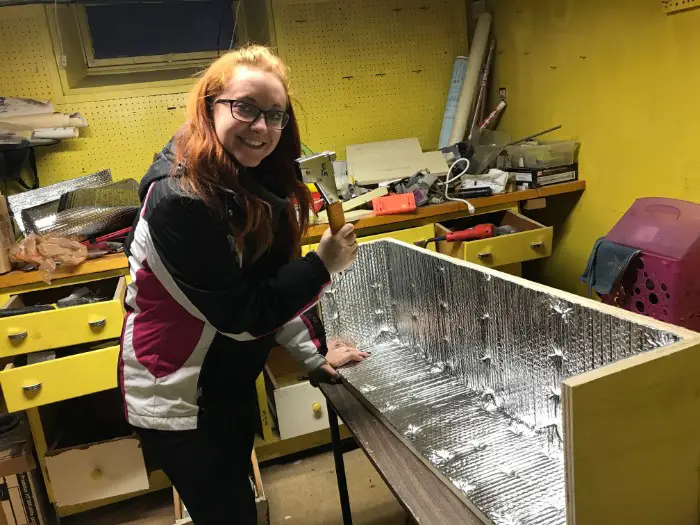
Step 4: Insulate the Wheel Areas
When it came to the wheels, I wasn’t sure how to go about insulating them. Some people recommended using Reflectix to cover them directly, but I didn’t like the way that looked. Instead, my dad and I decided to build a little box to go around them and lined the inside of the box with Reflectix. This provided a cleaner look and also gave me a small shelf on both sides of the van that would come in later for my under bed storage.
We measured the wheels and realized we had to make a box covering the top and 3 sides. The floor and wall paneling would make up the “bottom” and “back wall” of the box.
Using ¾” plywood, we made a box that was 37.25″ x 12.75″ x 9.5″ minus the bottom and back wall. We brought the pieces over to the wheel to test them out and they fit perfectly! Next we used wood glue to glue the sides together and let them dry for about 15 minutes before using the nail gun to firmly attach all the pieces together. If you don’t have a nail gun or don’t want to invest in one, simple hammer and nails will work just fine.
Once we had both of the boxes, we cut pieces of Reflectix to match the dimensions of the box and used the staple gun to attach it to the inside.
Fun fact: staple guns are super fun for helping getting out any pent-up anger you may have! (Shout-out to my ex and the patriarchy in general)
Our wheels were insulated! At this point we obviously hadn’t finished our wall paneling so we weren’t able to attach the boxes yet. Once our floor and wall panels were done a few weeks later, we used an L-bracket to attach the box firmly to the floor.
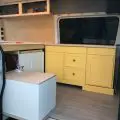
Bonus Tip: Be Aware of Other Parts Around Your Wheel Wells
I should note that we ended up not using one of the side panels on the left wheel well box because it ended up fitting right up against my electrical box. If you end up making an electrical box and wheel well box like me, you’ll be able to attach the two of them together using a power drill and some screws.
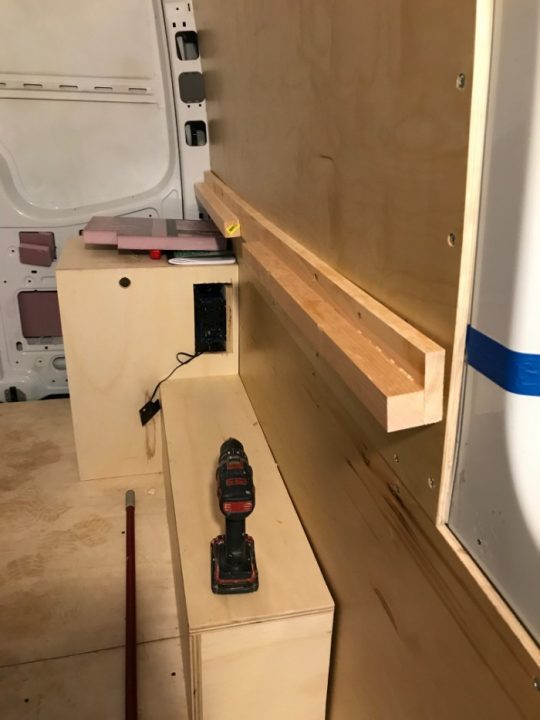
This is obviously a few steps in the build later, but you can see how the wheel well box and the electrical box fit together.
Wrapping Up
Insulation can be a bit overwhelming because there are so many different options and methods. Reflectix was good, and we also looked at insulation from Second Skin Audio. Figure out what your price range is going to be and go with your gut. You’ll be insugreat!