Hey! This site is reader-supported and we earn commissions if you purchase products from retailers after clicking on a link from our site.
One of my favorite (and luxurious) elements I have in my van is the lights! While it would be possible to just use lanterns and flashlights and even battery-powered string lights, have recessed overhead lights offers light equally to my entire living space and makes it feel a little more polished. Figuring out the wiring system can be a little tricky, but stay with me and soon you’ll see the light at the end of the tunnel!
Timing, People & Difficulty
3 hours. You have to go a little slow with the wiring and it can take some trial and error, but once you get the first light in, the rest are gravy.
1-2 people needed. This is not a physically demanding step, but having another person there to make sure you’re matching up the right wires is always nice.
Easy to medium level of difficulty. I thought this would be a lot trickier than it seems at first, but once they’re in you pretty much don’t have to bother with them ever again.
Materials You Need
| Material | How Much You Need | Cost Range | Where to Get It |
|---|---|---|---|
| LED Recessed Lights | 4-8 (depending on setup) | $$ | Amazon |
| LED Dimmer Light Switch | 1 | $ | Amazon |
| Double-Stranded Wire (14 or 16-Gauge) | 25 feet | $ | Home Depot |
| 14-Gauge Wire (red and black) | 5 feet of each | $ | Home Depot |
| 16-14 Gauge Spade Terminal | 4 | $ | Home Depot |
| Wire Connectors | 1 box | $ | Home Depot |
| Electrical Tape | 1 roll of two colors | $ | Home Depot |
Tools You Need
| Tool | Cost Range | Where to Get It |
|---|---|---|
| Wire Cutters | $ | Amazon |
| Wire Stripper/Crimper | $ | Amazon |
| Power Drill | $$ | Amazon |
| Box Cutter | $ | Amazon |
| Gorilla Tape | $ | Amazon |
Cost of Installing Conversion Van Lighting
Luckily, lights and wire are relatively cheap, so I was able to put up the whole system for under $150!
How To Install Lights in Your Converted Van
- Set up the wiring under the ceiling panels
- Re-attach ceiling panels
- Install the lights
- Attach the light switch
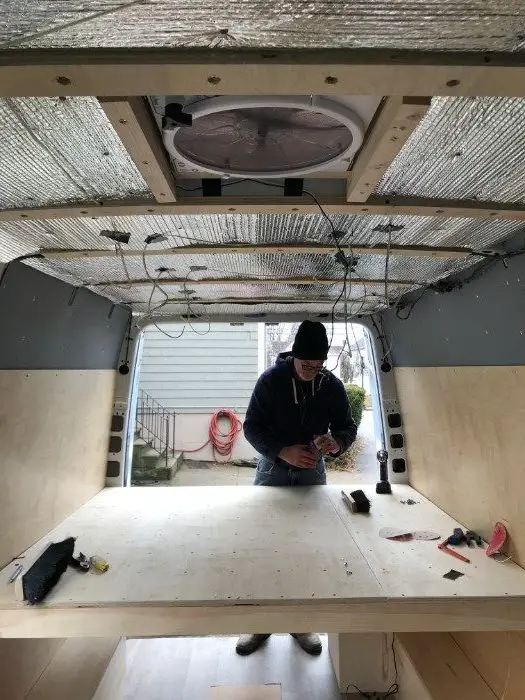
Step 1: Setting Up Wiring Under the Ceiling Panels
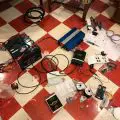
When it comes to your lights (and most other elements of your build), you’re going to have to think and plan a few steps ahead and pay close attention as you go. Too easily you can lose track of which wire is supposed to attach where and whether it’s positive or negative. First things first, if your ceiling panels are up already, take them down. Before doing so, trace a circle on your insulation to make a relative mark where your lights are supposed to go. Now, starting at the back of the van, you are going to make an ‘S’ with the wiring so that all the lights are connected on a continuous circuit. It was hard for me to snag a picture that clearly showed all the wires so I drew a picture to make it clearer.
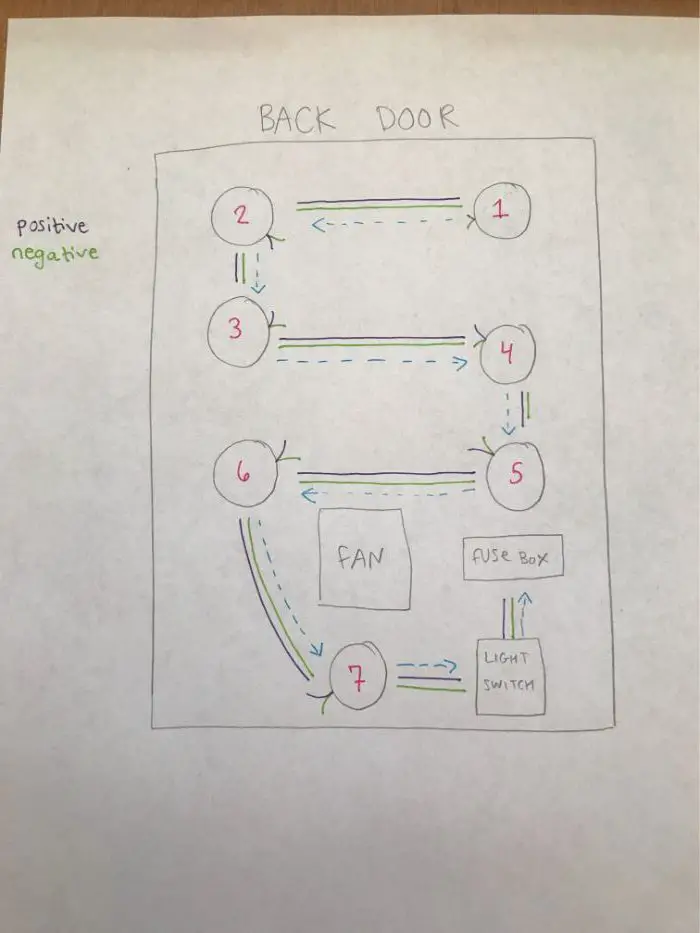
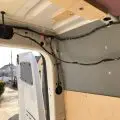
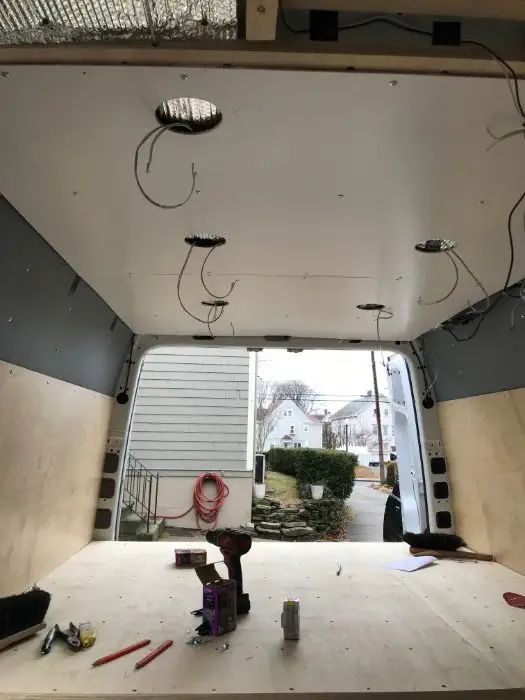
Between lights one and two, using the wire cutters, cut a positive and negative wire long enough to reach between the two lights and duct tape them to the ceiling. Continue the same process between lights two and three, three and four, etc. Notice here that I used double-stranded wire; it’s possible to use one long positive wire and a separate negative wire but having the double-stranded wire saved me a lot of time and effort. Unfortunately, with the double-stranded wire it is hard to tell which side is positive and which side is negative so I used a sharpie to keep track of the positive side as I went along. Once the wire is in place, use the wire strippers to get the ends ready to be attached to the lights.
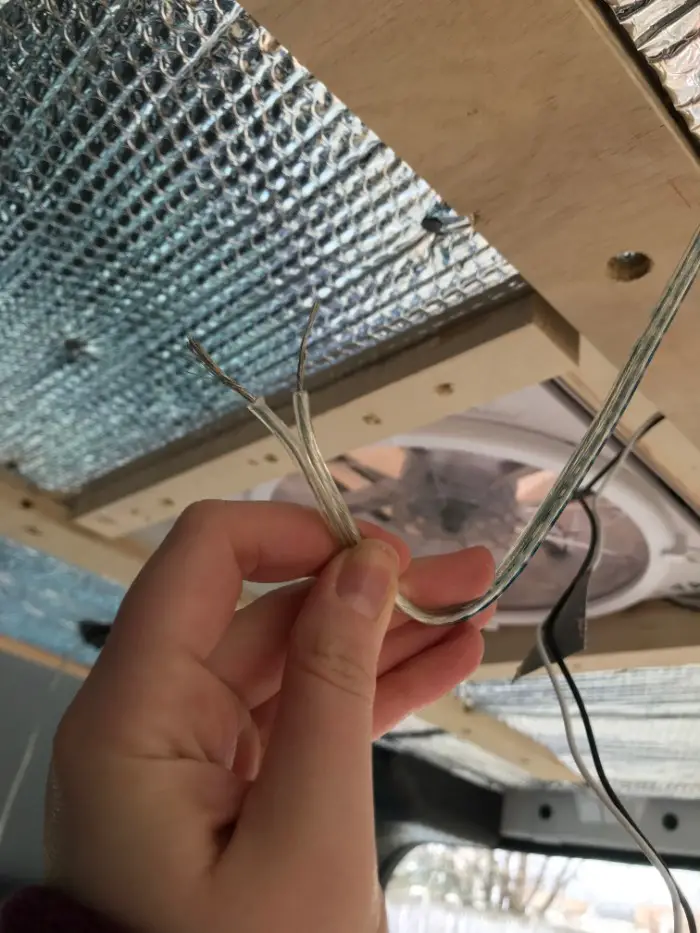
Since you’ll be connecting up to three wires, give yourself about an inch of exposed wire to connect them really tightly.
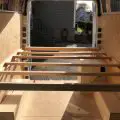
This is an additional step, but I wanted the panels to eventually lay as flat as possible. This is what they looked like filed through:
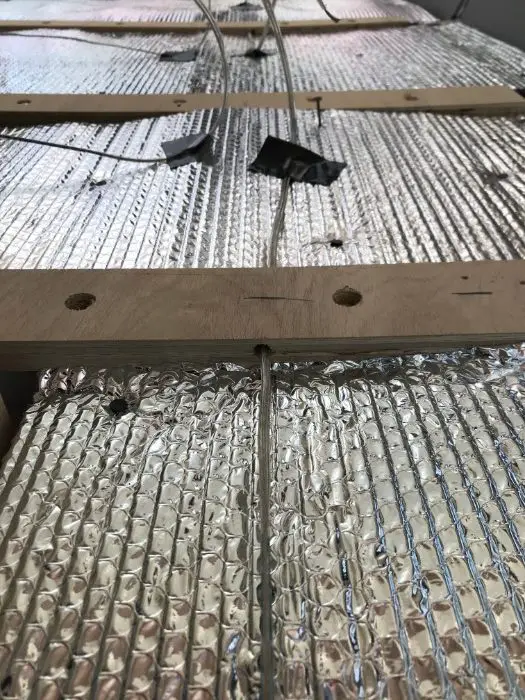
With the wire taped to the ceiling and the ends stripped, you’re fully prepped to re-attach the ceiling panels and add the actual lights.
Step 2: Re-attaching the Ceiling Panels
This step was where it would be helpful to have two people. While one person is holding up the ceiling panels, the other can be screwing them in with the power drill.
Step 3: Installing the Lights
You are finally ready to install these lights! Starting at the back of the van, set up your first light. On the back of each light, there is a black and white wire meant to be for positive and negative. Using the wire connectors, begin connecting your system. Except for the first light, each light should have three wires connected to the positive and negative sides: the bulb’s wire (positive or negative), the matching respective wire from the light before it, and the matching respective wire to connect to the next light. Bulb two is connected to one and three, bulb three is connected to two and four, etc. Essentially, make sure all your lights are “holding hands” and it makes a complete system!
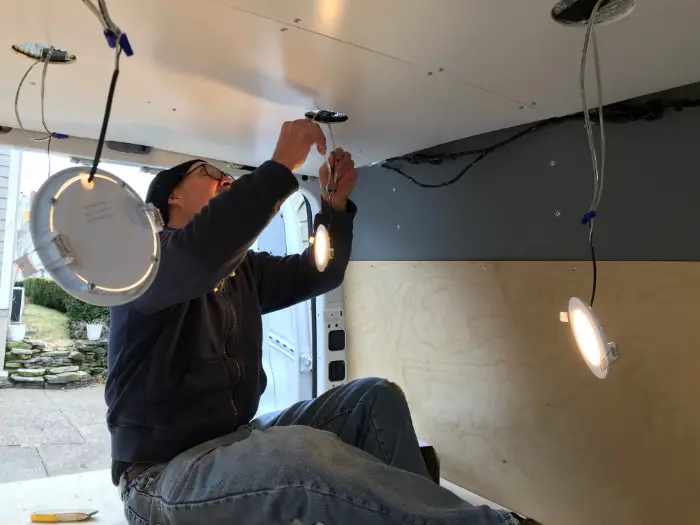
It’s okay for the lights to be hanging down while you’re testing out your system. Once you know it’s all working, simply pop them in the holes on the ceiling!
Step 4: Attaching the Light Switch
With all the lights attached, you’ll obviously need a way to turn them on and off. The wire that is connected to the last light in the system will make its final connection to the light switch. On the back of the switch, you will see a spot for two positive wires and two negative wires. One pair will attach to your final light and the other pair will be connected to your fuse box. The exact method of attaching them will depend on what light switch you opt for, but if you used the same light switch as me, the positive and negative wires will squeeze right in their little slots in the back.
Once your lights are attached to the light switch, your switch now just needs some power to get everything lit! Using the 14-gauge separated wire, screw them in to the back of the light switch in the remaining slots and file your wire over to your fuse box. The length of this wire will depend on where exactly you want to mount your light switch; at the time of setting up the lights I wasn’t sure where I wanted to mount my switch so I gave myself a ton of extra wire before attaching it to the fuse box. Once I knew where I wanted to mount it, I simply cut down the wire to the right length. If you’ve already installed your fan, then you’re familiar with attaching wires to the fuse box. Luckily the lights are exactly the same! Use the wire crimpers to attach a spade terminal to the positive and negative wires and screw them in to their respective sides on the fuse box. Insert a 10-amp fuse and if all goes to plan, your lights should turn on!
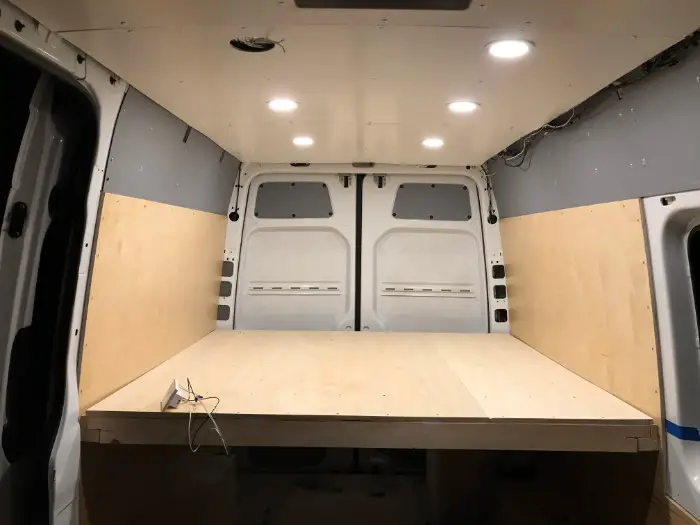
We were short one light when we first got them on, but you get the idea. Let there be light!
“My Lights Didn’t Turn On”: How to Troubleshoot
Pluses and Minuses
Re-check that all your positives are connected to positives and negatives are connected to negatives.
Check Your Connectors
Re-attach your wire connectors. While they’re usually pretty tight, giving a little tug can let you know if any of your wires have come loose in the process.
Power On
Turn on your light switch. This may seem obvious but it just might not be in the “on” position.
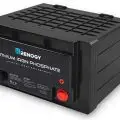
Check the Charge Controller
Make sure your charge controller is set to “on” for the lights. If you press the button with the arrow pointing right, you should see a light come on next to the light bulb icon. This means that your lights can be used in connection to your solar panels.
Check for Error Messages
Make sure it is not a problem with another aspect of the system, such as the solar panels. Take a look at your charge controller for any error messages. If you already have your fan installed, try turning it on. If it turns on, it’s a problem with your lighting wiring and not the whole system.
Switch It Up
Try a different light switch. One of the wires came loose in my first light switch and I had to order another one.
Check for Wiring Issues
If all else fails, you may have to go through your circuit one by one and see if it’s a wiring problem with one specific light. Go backwards and attach each one directly to the light switch until you discover the culprit.