Hey! This site is reader-supported and we earn commissions if you purchase products from retailers after clicking on a link from our site.
In another post, I talk about how to figure out and set up your electrical system. Obviously the solar panels are part of that electrical system but I wanted a separate post just for actually installing the panels on the roof of the van. Since these are delicate pieces of equipment and they’ll just be out and exposed on your roof, you definitely want to make sure you’re installing them securely. Solar get started!
Table of Contents
- Timing and Level of Difficulty
- Materials You Need
- Tools You Need
- Cost of Installing Solar Panels on Your Van
- How To Install the Solar Panels on Your Converted Van
- Final Words
Timing and Level of Difficulty
4 hours. This project requires a decent amount of measuring and lining up which can be time consuming. Take your time and do it right!
2 people needed. At some point you will need to lift the panels up onto your roof – this is something you absolutely want help with.
Moderate level of difficulty. This requires a decent understanding of wiring and electrical work. Hopefully after figuring out your battery/electrical system it will be a bit easier.
Materials You Need
| Material | How Much You Need | Cost Range | Where to Get It |
|---|---|---|---|
| 200-watt Solar Panel Kit | 1 | $$$ | Amazon |
| Remote Switch | 1 | $$ | Amazon |
| Renogy Cable Entry Mount | 1 | $ | Amazon |
| Lap Sealant | 1 | $ | Amazon |
| ¾” Self-Sheathing Screws | 1 box | $ | Home Depot |
| Spray Adhesive | 1 | $ | Home Depot |
| 1″x2″x 8′ Wood Furring Strips | 1 | $ | Home Depot |
| Red Electrical Tape | 1 | $ | Home Depot |
| Gorilla Tape | 1 | $ | Amazon |
| Grommet | 2 | $ | Home Depot |
Tools You Need
| Tool | Cost Range | Where to Get It |
|---|---|---|
| Power Drill | $$ | Amazon |
| Jigsaw | $$ | Amazon |
| Hole Saw | $$ | Amazon |
| Measuring Tape | $ | Amazon |
Cost of Installing Solar Panels on Your Van
When included with the rest of the electrical portion, the solar panels/electrical were the most expensive aspect of the van. Overall the whole system cost about $2,000, but it’s totally worth it to be off-grid!
How To Install the Solar Panels on Your Converted Van
- Prep (attaching the mounting brackets, marking the panel placement, gluing the wood base inside)
- Connecting your panels in parallel
- Attaching the panels to the roof
- Attaching the cable entry mount
- Connecting your panels to the charge controller
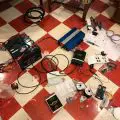
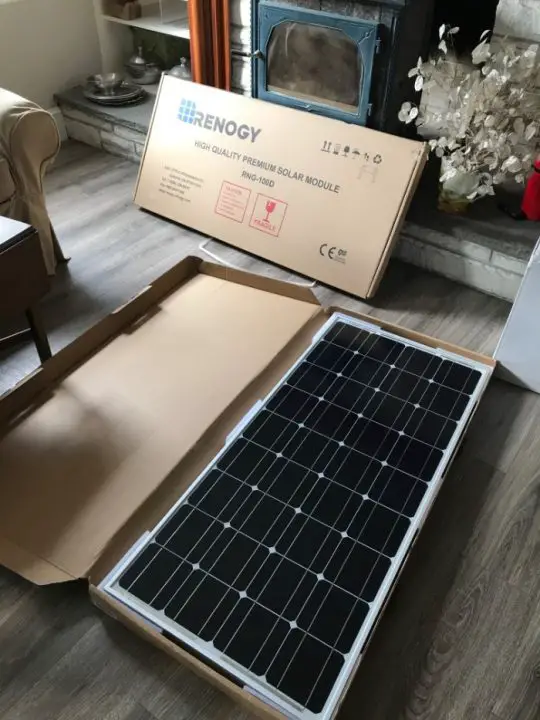
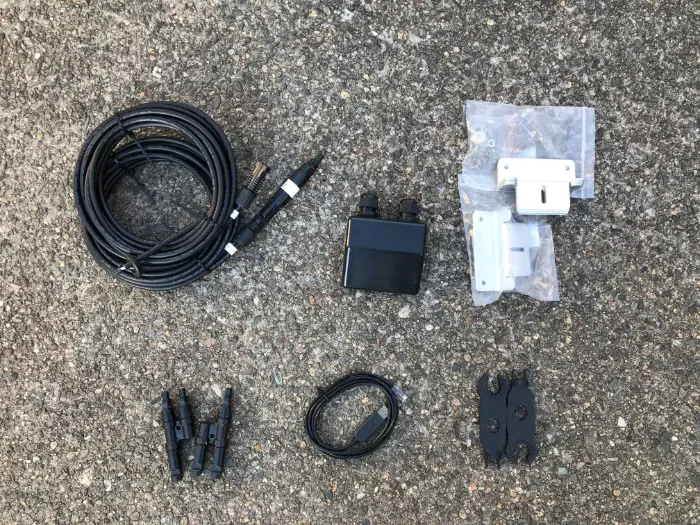
So, if you got the same solar panel package as me, it came with two 100-watt solar panels, an MPPT charge controller, mounting z-brackets, an MC4 adaptor kit, tray cables, and a fuse set. This is all you need for your basic solar panel installation.
Step 1: Prep
The first thing you need to do is attach the z-brackets to the solar panels so that you can securely attach them to the roof. The kit comes with 4 brackets for each panel and all you need to do is use the screw/nut/bolt for each one and attach them!
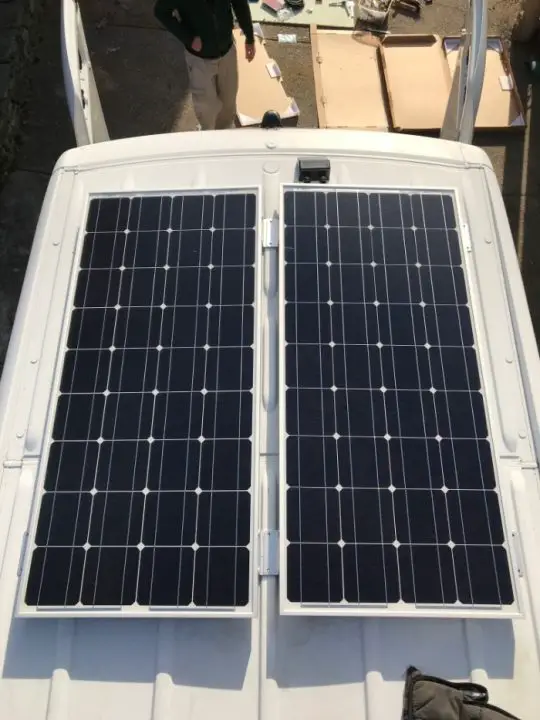
Now you’re going to want to (CAREFULLY) raise the panels on to the roof to choose and mark where you will eventually attach them.
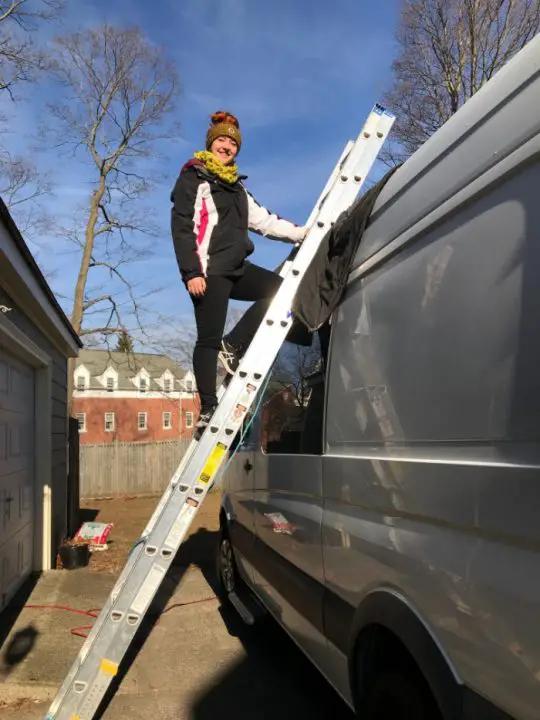
It doesn’t look that high up until you’re up there…
Pro tip: Use an old blanket to protect your van when you’re resting the ladder on top of it.
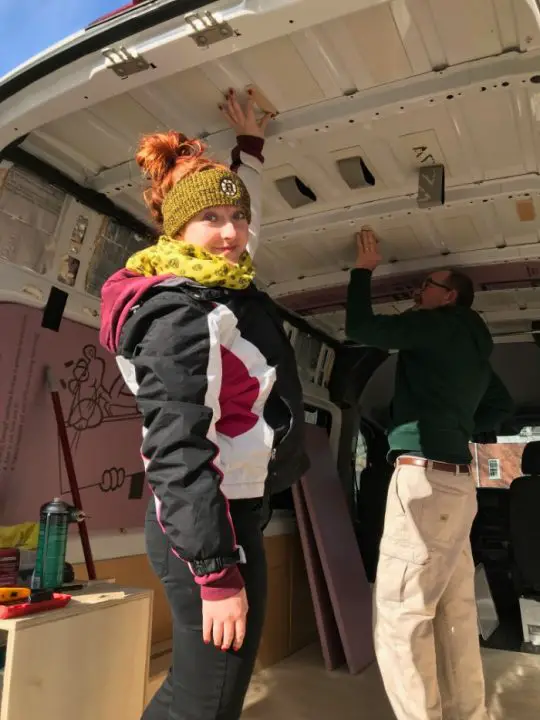
Using a sharpie, we colored a hole where each screw was going to go and used the power drill to drill the hole. We then took the panels back down to wire them in parallel (the next step). While we could have screwed them in directly to the roof, just like with the fan, my dad and I wanted an additional base for the panels to screw into so we attached wood strips to the ceiling.
Hopping back inside the van, we could see the holes in the roof where the eventual screws for the panels would go. I cut the furring strips into 6 smaller strips about 4 inches long. Using the super glue spray, we glued the wood strips right under the holes.
Just waiting for our strips to dry!
When lining up our panels on the roof, because of the grooves on the roof, we discovered that it made more sense to overlap the center holes for the panels, therefore requiring less holes/screws. This is why we only needed 6 strips of wood instead of the assumed 8.
Step 2: Connect Your Panels in Parallel
Everything has been prepped and you’re ready to attach the panels in parallel before installing them on the roof!
What does “in parallel” mean?
Because I have more than one panel, just like with the batteries, I needed to connect them. I could have connected them in series (connecting the positive of Panel A to the negative of Panel B) or in parallel (connecting all the positive terminals together and the negative terminals together). While it sounds like it should accomplish the same task, the flow of energy is different with each and it seems that connecting in parallel is the safest route.
Basically, I had to take the positive wires from Panel A and Panel B and connect them into one wire using the MC4 adaptor; likewise for the negative wires.
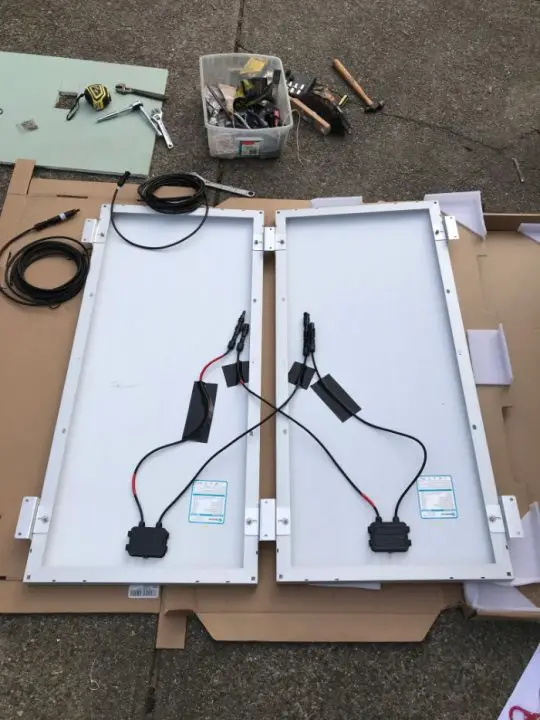
Using the red electrical tape, I marked the positive wires. You can see in the photo above how the two positive wires are now connected into one and same with the negative wires.
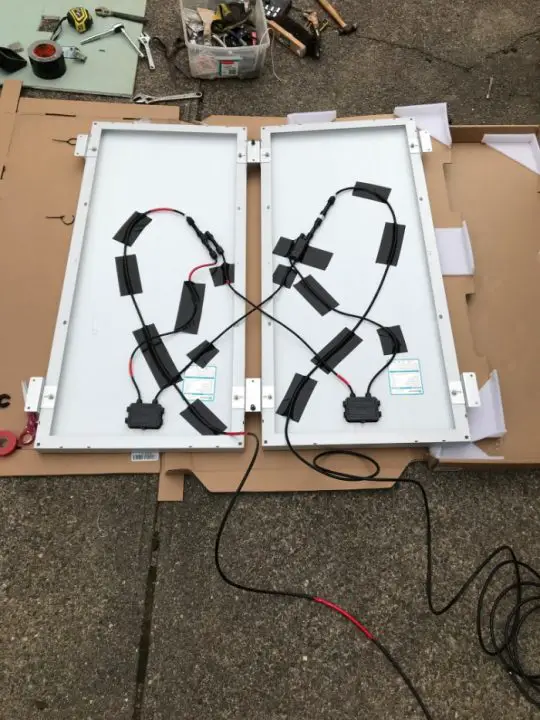
Once the positive and negative wires from Panel A and B were connected with the MC4 adaptors, it was time to attach the tray cables that would eventually filter through the roof via the Renogy cable entry mount and attach to the charge controller inside the van. The photo below looks a bit overwhelming at first because of the overlap of the wires, but it helps to keep in mind that the positive wires are marked with the red electrical tape. The wires are connected in parallel from the two panels, funnel into one adapter, and continue down through one cable. To help keep it in place, we used the Gorilla tape to attach it to the panel.
Here’s a quick video walkthrough of how I connected everything:
Step 3: Attach the Panels to the Roof
Okay, so the panels are connected and ready to be officially attached to the roof! The last time we lifted the panels onto the roof we were able to bring them up one at a time; now my dad had to pass me two large, heavy panels connected through several wires to place up together. Long story short, somehow we did it and nobody got hurt and nothing broke.
Now in theory, when we placed the panels back on the roof, they should have lined up perfectly with the holes we had previously marked and drilled and we should have been able to just screw them in. However, when we got up there our holes didn’t line up…we determined that we had marked one of the panels on the left and one on the right and when we took them down and brought them back up, they got swapped. It honestly never even crossed our minds that this would be an issue because in theory, the panels should have been identical and it shouldn’t have mattered which one went where. I guess even minor manufacturing differences and placement of the Z brackets was enough to make our holes no longer line up.
Pro tip: If you are following this same method and marking panels and moving them on and off the roof, mark one Panel A and one Panel B and make sure they stay on their respective sides.
After about an hour of wiggling the Z brackets and drilling a couple new holes, we were finally able to screw in our solar panels!

Until we attached the cable entry mount to funnel the wires into the van, we just kept the cables neatly out from the panels.
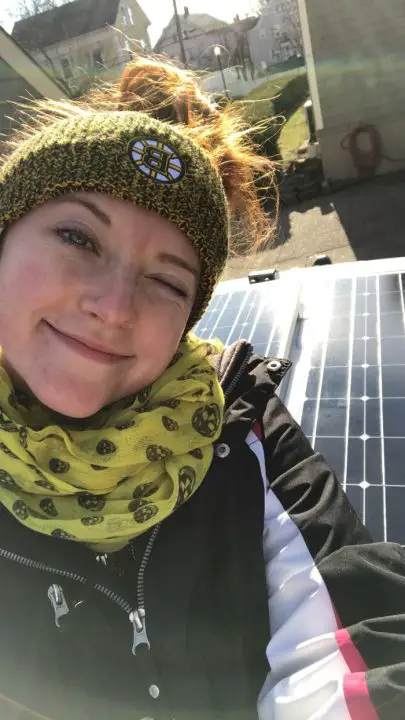
Me and my friends, soaking up the sun!
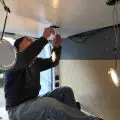
Steps 4 & 5: Attach the Cable Entry Mount and Connect to the Charge Controller
With the panels attached to the roof and the cables ready to go, next we had to attach the cable entry mount to the roof so that we could bring the cables inside the van to attach to the charge controller. Using a hole saw attached to our power drill, we drilled two holes in the roof for the positive and negative wires. Once we filed them through the two ports on the cable entry mount, we filed them down into the van. We put two rubber grommets in the holes to protect the wires. It was a snug fit but they went in nicely! Once the wires were in place, all we had to do was firmly attach the entry mount. Using lap sealant, we glued the entry mount to the roof. I held it in place for a couple minutes to let the sealant dry and then I put another layer around the edge to make it completely sealed.
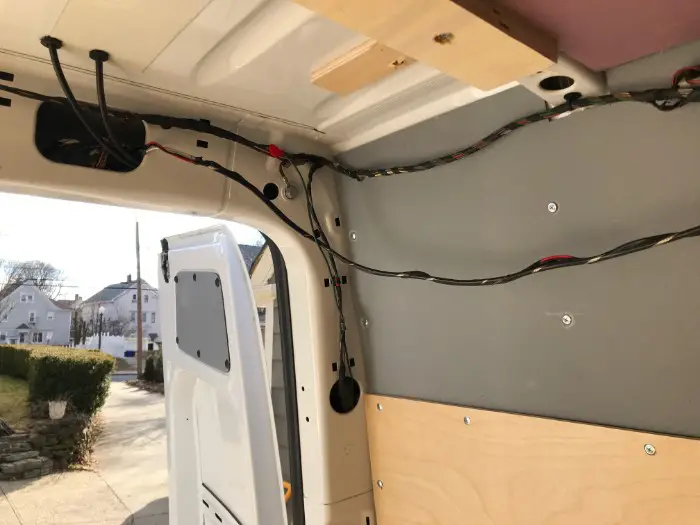
These are the two solar panel cables entering through the roof.
Final Words
If everything goes according to plan (which it won’t – nothing ever goes according to plan when it comes to converting a van), you will have functioning solar panels attached to your roof! It can be a bit daunting and it’s important to go slow because the panels themselves are delicate, but if my dad and I can do it, so can you!