Hey! This site is reader-supported and we earn commissions if you purchase products from retailers after clicking on a link from our site.
Installing the floor was the very first step I took on my van build and it’s a great place to start! There are a few options for your flooring and I decided to go with a two-step process that involved installing a solid plywood base and then adding an additional layer of vinyl stickers that had a stained wood pattern. I am incredibly happy with how it came out and everyone that sees the van comments on how gorgeous the floor looks!
Table of Contents
- How Long Van Floor Installation Will Take (& Level of Difficulty)
- Materials You Need
- Tools You Need
- Cost of Installing a Floor in Your Converted Van
- How To Install the Van Floor
- Final Tips and Tricks
How Long Van Floor Installation Will Take (& Level of Difficulty)
4 hours. Both the plywood installation and vinyl sticker top part took two hours each to complete.
2 people needed. Certain steps of this process could definitely be done by one person but two people were needed for removing the original flooring and lifting the cut panels into the van.
Easy/moderate level of difficulty. Measuring the plywood floor pieces and using the jigsaw was a bit tricky but applying the vinyl stickers on top was easy peasy lemon squeezy.
Materials You Need
| Material | How Much You Need | Cost Range | Where to Get It |
|---|---|---|---|
| 4 x 8′ ¾” Plywood | 2 sheets | $ | Home Depot |
| 8 ¾” Self-Drilling Lath Screws | 1 box | $ | Home Depot |
| Vinyl Floor Stickers | 2 boxes | $ | Home Depot |
Tools You Need
| Tool | Cost Range | Where to Get It |
|---|---|---|
| Measuring Tape | $ | Amazon |
| Power Drill | $$ | Amazon |
| Jigsaw | $$ | Amazon |
| Circular Saw | $$$ | Amazon |
| Table Saw | $$$ | Amazon |
Cost of Installing a Floor in Your Converted Van
Overall, this was one of the cheaper sections of the build and the materials cost us under $150 altogether. It’s important to remember that this will be the base of your vehicle/home but the quality of the plywood and the vinyl stickers is completely up to you. If you’re on a tighter budget, you could save money on lower grade plywood and avoid the vinyl stickers completely.
How To Install the Van Floor
- Remove the previous flooring
- Measure and cut your plywood
- Install the plywood panels
- Apply the vinyl stickers
Okay, so clearly this is a pretty straightforward process with just a few steps (even less if you decide to skip the vinyl stickers). For each step we have pictures and videos as well as some tips and tricks to make the process go more smoothly. Soon enough you will be floored by how great your van looks!
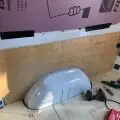
Step 1: Remove the Previous Flooring
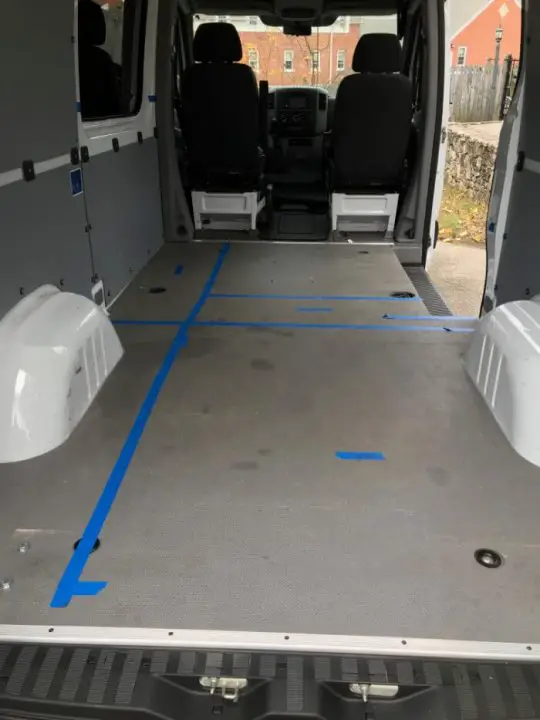
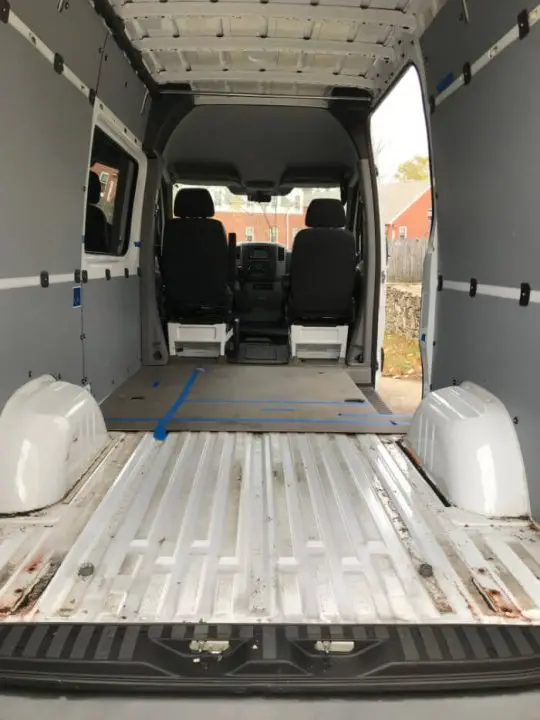
Here’s what the van floor looked like before we got started. I’ve included a picture of what it looked like with the original flooring that had been installed and when we removed it.
A lot of people wondered why I bothered to go through the work of putting in the plywood flooring when the previous owner of the van had already put in his own floor. While that would have been easier, I wasn’t thrilled with the look of the floor because it looked like the inside of a van – not a home. It also didn’t provide a great base for me to attach my bed frame and under bed storage. With the ¾” plywood, I had a solid (and much more beautiful) base.
Basically, my dad and I used a cordless power drill to remove the bolts that were holding down the original floor. This was NOT easy and required one of us to be under the van, gripping the bolt with the wrench while the other unscrewed from the top. But once we got all the bolts out, we were able to lift up the flooring super easily. That led us right into step two!
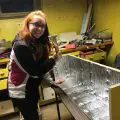
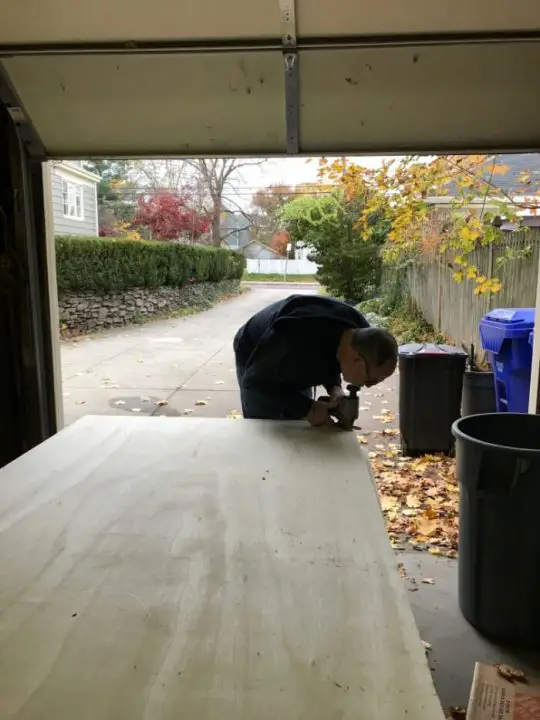
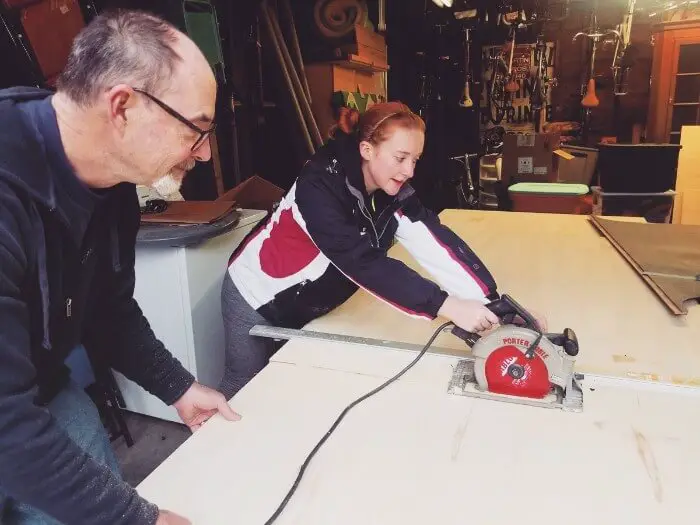
Step 2: Measure and Cut Your Plywood
Once we removed the original flooring, we realized that it was the perfect stencil for our plywood. We simply traced the two pieces on each of our plywood sheets and used the jigsaw and the circular saw to cut out the shapes. We had to make a few adjustments in spots where we were a little off with our cutting but eventually the plywood fit in perfectly and covered our floor!
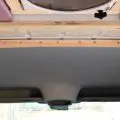
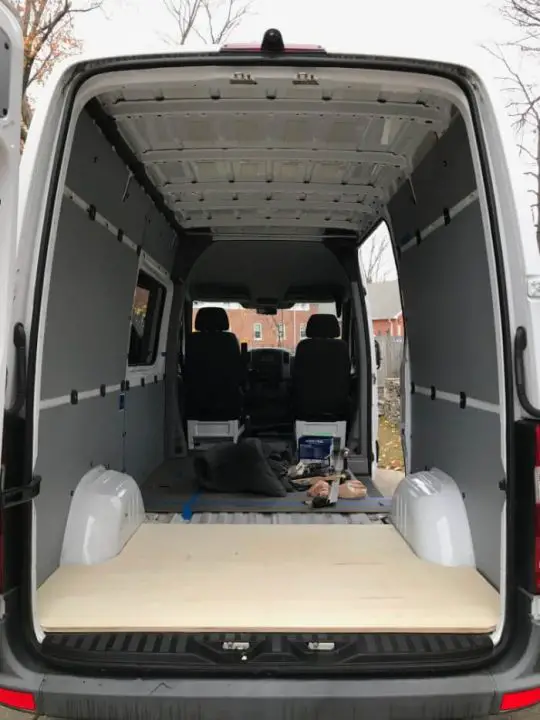
Step 3: Install the Plywood Panels
After we had our pieces correctly cut out, we re-installed the original flooring with all the screws and bolts to act as a bit of insulation for the floor. Then we put the plywood back on top and used the power drill to screw the plywood into the base of the van.
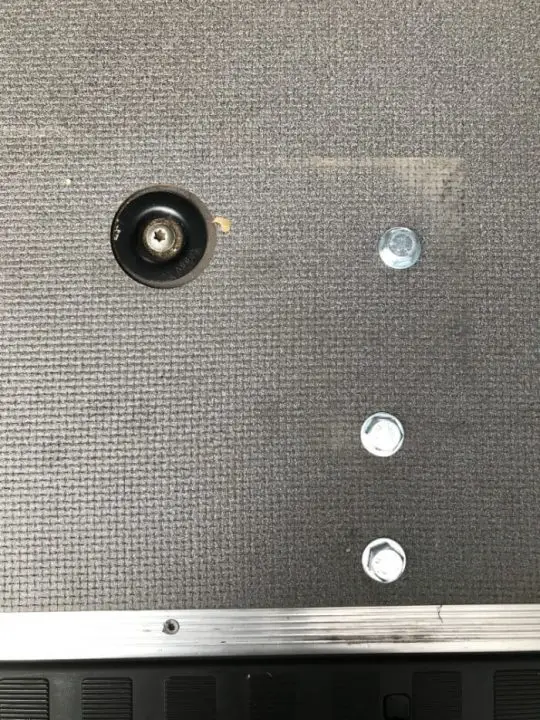
Pro tip: Make sure to mark on your plywood where you shouldn’t have screws.
If you are in a situation where you are installing plywood on top of previous flooring or there are things on your floor besides just the sheet metal such as bolts or screws, make sure you mark on your plywood where to avoid screwing. We forgot to take note and had to remove several screws to start over again once we realized our mistake.
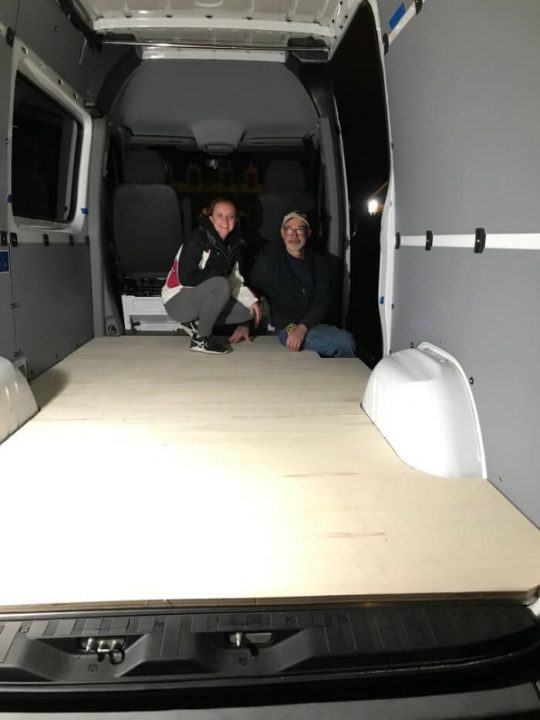
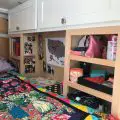
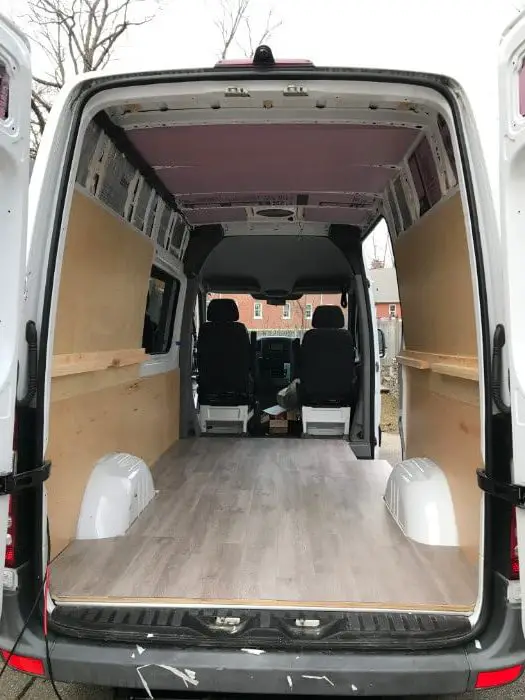
Our floor is finally done!
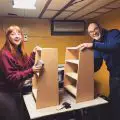
Step 4: Apply the Vinyl Stickers
As I mentioned before, at this point it would be possible to just leave the plywood as the floor. However, I wanted a more attractive floor that would fit better with my eventual decorative theme. Starting from the corner/edge closest to the sliding door, we simply lay down our first strip.
Pro tip: Make sure you apply the strips slowly and fit them tightly together to keep straight lines.
A novice like myself would have simply taken the strips out, removed the plastic from the back, and stuck them right to the floor in a single line all the way across the van and not thought twice about it. Luckily, my dad has done actual flooring in houses before and a trick is to actually cut the strips in different lengths to make them hit at scattered points across the floor. This prevents having a giant line going through your floor and it also prevents the possibility of the flooring starting to bow up at the crack. It also just looks WAY more professional and aesthetically appealing.
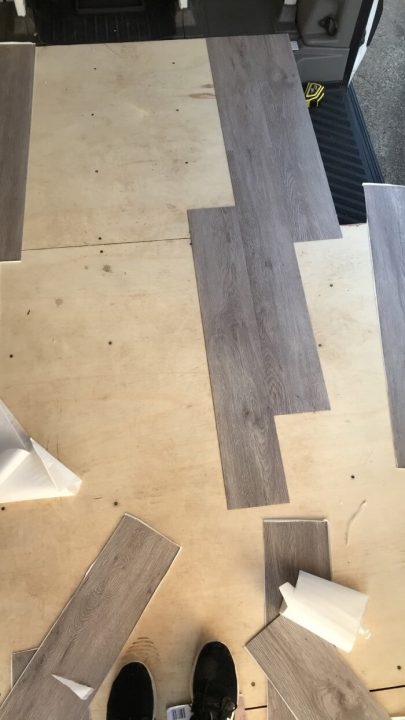
It took us some time to measure the ends and make sure all the pieces fit, but it was also pretty fun. We weren’t sure what tool to use to cut the strips since they are vinyl, but eventually we settled on the circular saw since it was the fastest and the straightest.
Watch out: Inspect each piece before you put it down.
Because they are manufactured pieces and not real wood, often times it’s a pattern that repeats itself. We didn’t have any problems but you wouldn’t want to have the same “patterned” wood right next to each other.
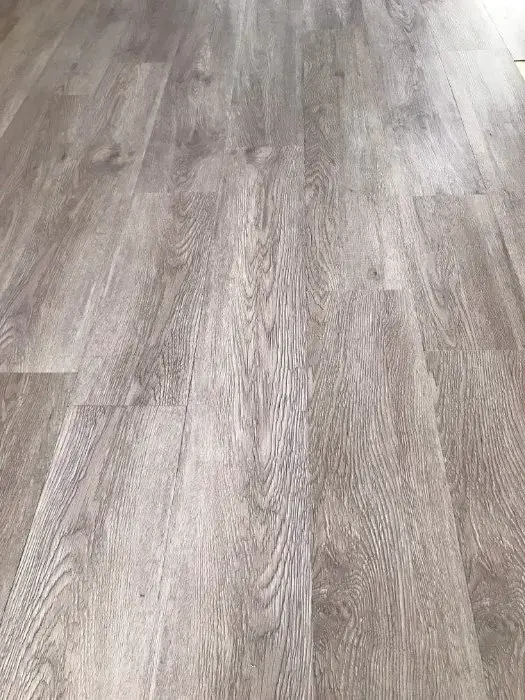
For a puzzle-lover like myself, this was one of my favorite aspects of the van to do and it was the first part of a “finished” home that made it start to feel like it was coming together!
Final Tips and Tricks
Tip #1: Watch Out for Weather
When we were applying the vinyl stickers, it was about 40 degrees outside. The stickers adhered perfectly and we didn’t have any problems but I wouldn’t advise working in temperatures any colder than freezing because the adhesive on the stickers may not work as effectively.
Tip #2: Celebrate!
I highly recommend having a dance party on your new floor to make sure those vinyl stickers are on securely and to celebrate a major accomplishment.
More videos coming soon!