Hey! This site is reader-supported and we earn commissions if you purchase products from retailers after clicking on a link from our site.
When I originally started paneling my van, I was under the impression that I would be able to panel my ceiling in about the same method as I paneled my walls. However, after further research and analyzing the ceiling, I realized it would have to approach it a little bit differently and consider cost, ease of installation, and how I would include my lighting in the panels. While there are several different methods you could use, I’ll break down exactly what I went with and how I made it look so fly. Stick with me and soon you’ll be ceiling great results!
Timing & Level of Difficulty
8 hours. Because you want a really secure ceiling that can hold up your lighting system, this step of the project took a while because there were so many steps to it. We broke it up into several days but it definitely took a while.
2 people needed. At some points you’ll need to have one person holding up a 4×8′ panel while another screws it in so this is absolutely a 2+ person job.
Level of difficulty. Moderate. This required a lot of planning ahead and getting creative with the angles and bends of the ceiling. It wasn’t impossible for us, but it was definitely a challenge.
Materials You Need
| Material | How Much You Need | Cost Range | Where to Get It |
|---|---|---|---|
| ½” 4×8′ Plywood Sheets | 3 | $$ | Home Depot |
| 1″ x 2″ x 8′ Furring Strips | 6 | $ | Home Depot |
| 1″ Self-Lathing Screws | 1 box | $ | Home Depot |
| Paint Primer | 1 | $$ | Home Depot |
| White Paint | 1 | $ | Home Depot |
Tools You Need
| Tool | Cost Range | Where to Get It |
|---|---|---|
| Jigsaw | $$ | Amazon |
| Table Saw | $$$ | Amazon |
| Power Drill | $$ | Amazon |
| High Speed Wood Spade Set | $$ | Amazon |
| Hole Saw | $$ | Amazon |
| Paint Roller Cover (2) | $ | Home Depot |
| Paint Roller Frame | $ | Amazon |
| Paint Brush | $ | Home Depot |
| Paint Tray | $ | Amazon |
| Plastic Tarp | $ | Amazon |
Cost of Installing Ceiling Panels
We invested in good plywood for the ceiling, so it was a little bit more expensive than some of the other options, but overall it was under $250. Also, some of the materials such as the paint and primer can be used for your cabinets and kitchen!
How To Install Ceiling Panels in Your Converted Van
Now that I’ve given you a list of the tools and materials we ended up using, let’s get started on how to do this thing!
Step 1: Attach the Furring Strips
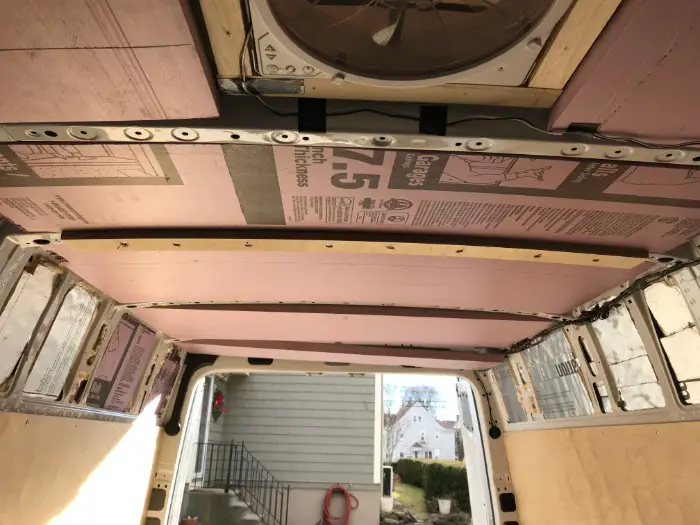
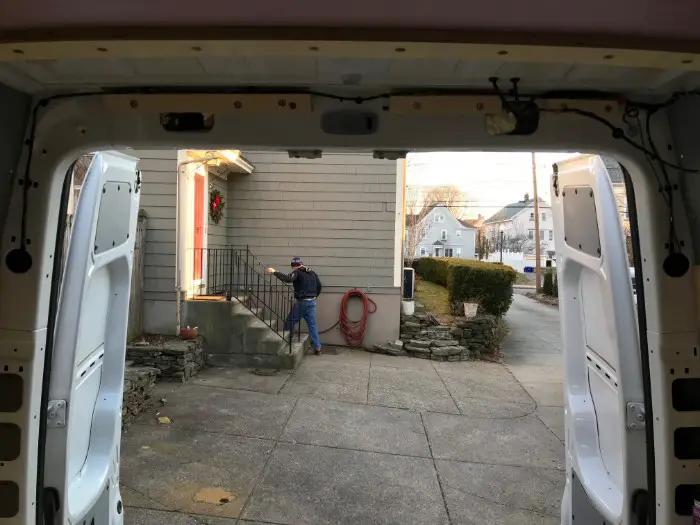
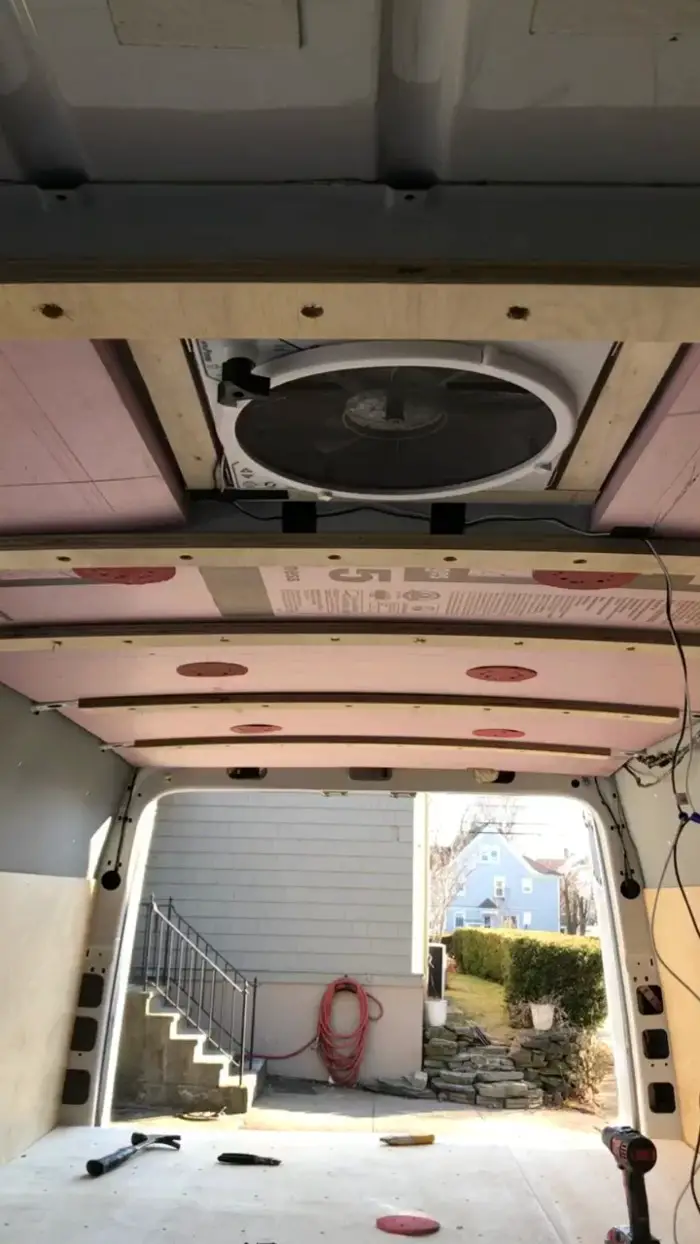
In another article I outline how to go about insulting your vehicle, including your ceiling. Once it’s all insulated. You’ll be ready to start paneling! This is what the van looked like with our first layer of insulation done:
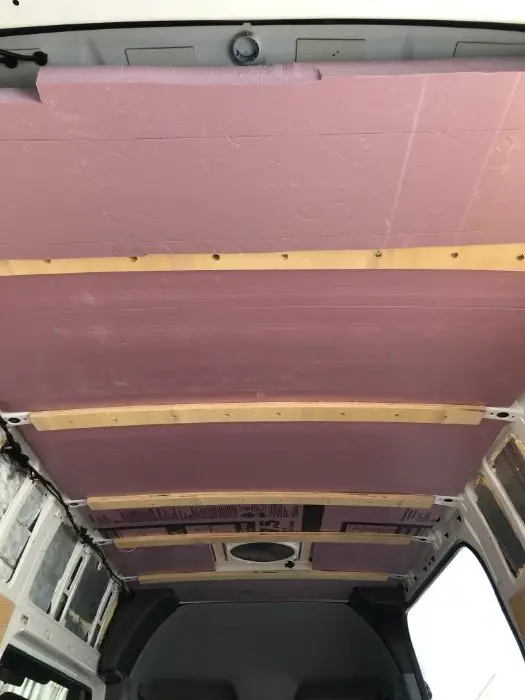
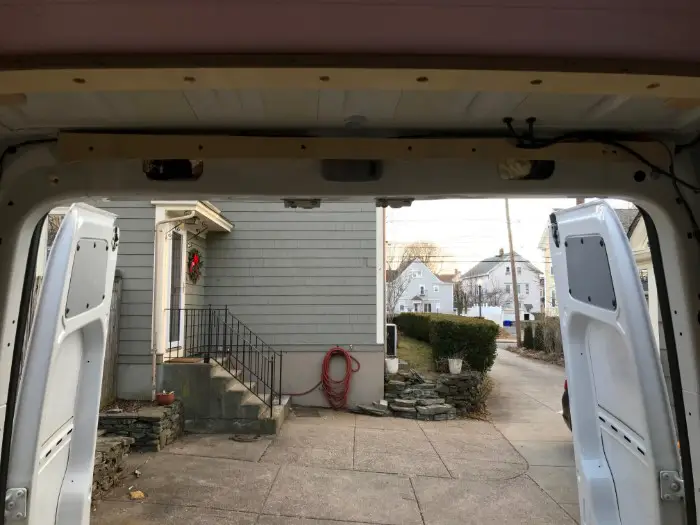
Before we finished the last of our insulation, we actually got started on some of the base work for the ceiling panels while we waited for the last of the materials to be delivered. The first step we took was to attach furring strips that we can attach the panels to later. This is what they looked like when they were all up:
Before they could be attached, we had to measure and prep them. We wanted them to basically reach from one side of the van to the other, so using the table saw, we cut them down to 48″. The length of your furring strips will depend on which vehicle you are converting, so use your best judgement for these. Next, we knew we had to attach them to the metal bars that were separating the ceiling, but we had to make sure that when we went to drill, we were going to hit actual metal and not one of the holes.
We held up the strips and kind of eye-balled where we knew we had to drill and marked those spots with a permanent marker. From here, it would have been possible to just take the power drill and screw the strips into the ceiling. However, because my dad is master of all minor details, he advised that we pre-drill our holes and actually create a groove next to the hole to ensure the head of the screw would lay not only flat against the wood, but would actually go in a bit. This would help us down the road because it would ensure that the final wood panels would be easier to attach and would lay completely flat. Using the wood spade, we grooved the wood and then used the power drill to drill our holes for the screw itself. Now we were ready to attach them to the ceiling.
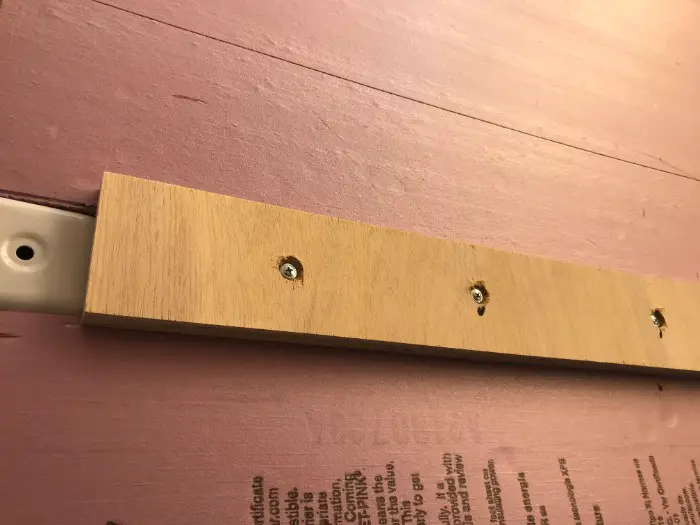
Since our strips were already prepped to go, we basically just held up the strips and screwed them into the ceiling with the 1″ self-lathing screws. Because they were simply the base, it wasn’t essential for them to be perfectly straight and after a few minutes, we had our strips installed and a great secure base for our ceiling panels!
Step 2: Secure the End Bases
The furring strips were going to be the base for the panels in the center of the van. However, at either end of the van we had to get a little creative in how we were going to securely attach the panels there. In addition to taking into consideration the curves and bows of the van at the ends, we also had to figure out how to avoid hitting or blocking any of our wiring. This step was one of the longest steps because it required a lot of measuring and re-measuring to get it exactly right. Because the wall closest to the back door had so many wires, we decided to do two layers of a base strip. Our first layer was simply three 1″ strips that we screwed into the wall wherever we could fit some wood and looked like this:
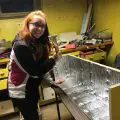
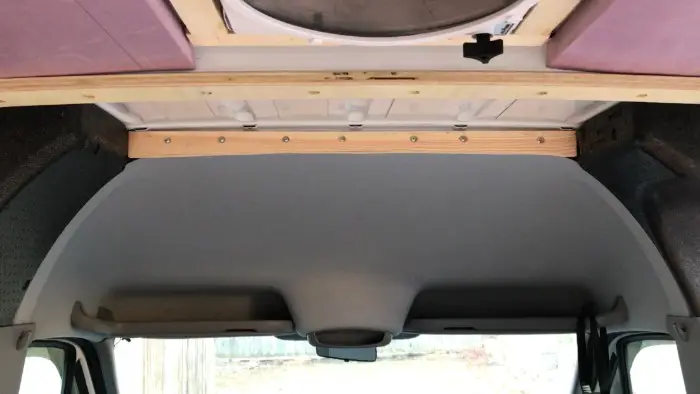
On top of that, we carefully measured another full-length strip that looked like this:
While the center of the van’s furring strips were attached horizontally, this one was attached vertically and the width of the strip (ideally) matched up with the rest of the furring strips. To do this we measured how low the furring strips hit from the top of the ceiling to the bottom of the furring strip and attached the vertical strip to hit at the exact same point. As you can see from the photo, we also had to cut out a notch for some of our wiring, in particular the wires that were coming through the ceiling for our solar panels. Luckily the base strip at the front of the van was much easier to install because there were no wires. This is what our other base strip ended up looking like:
Once it was attached with the 1″ screws, we finally had all our base work done for the ceiling panels!
Step 3: Cut the Ceiling Panels
With the base work done, the next step was to figure out what kind of panels we wanted on the ceiling. With ceiling work, there are a few options. Some people choose to stick with ½”-¾” plywood, but there is also FRP Wall Board which is a type of bendable plastic paneling, and MDF planks which are strips of wood with a tongue-and-groove feature that allow them to just click into each other. After a few trips to Home Depot and a local lumber store, we eventually decided to stick with standard plywood and went with a ½” thickness to keep as much height space as possible. The plywood sheets come in 4×8′ sizes and looking at the setup of the ceiling, we determined we would need to install three separate sheets: back of the van, center panel, and the front. We started with the center panel because it didn’t have any curves or edges and we cut out a sheet 40.5″ x 55 ⅛”. We held it up to try it out, and it fit perfectly! Using the power drill, we very basically attached it to the ceiling in the four corners. The panel was not ready to be officially installed because we still needed to paint it and cut the holes for the lights, but it was necessary to have up to see how it would fit with the other two panels.
Next, we moved onto the back panel because it was the second easiest. Using a similar method to the center panel, we measured the dimensions and realized we needed another panel the same size as the center. There was a little bit of a gap between the panel and the wall itself, but we weren’t concerned because that would later be covered up by cabinets and storage space. The difference with this panel was that the edge closest to the door needed to be a little curved to take into account the curve of the van. But how exactly could we measure it to make it fit right up against the edge of the van? This is where we had to get a little creative. Using a protractor and a spare piece of plywood, we traced the edge of the van ceiling and used that stencil on top of our final square panel. It wasn’t an exact exact fit the first time around, but we sanded it down in places until it fit as snugly as we thought we could get it. Not bad!
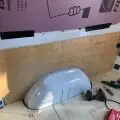
Just like with the center panel, we loosely attached the back panel to see how it all fit together and it looked good. Now it was time to move onto our back panel. This one was going to be the biggest challenge because we had to cut out a hole for the fan and the very front of the van had a funny shape. After a lot of deliberation (arguing?) over the best way to approach it, we broke it up into two sections: the rectangle fan section and the weird triangle/square end. The weird part took a lot of measuring to figure out and I had to wrestle up some old high school math skills. Eventually we got our shape figured out and cut out and it fit perfectly with our other panels.
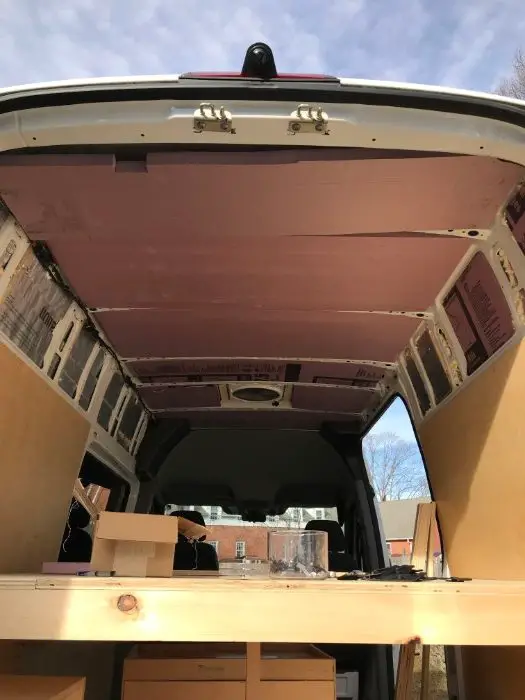
This is what it looked like when it was finally installed, but you can get a sense of how strange a shape it is.
Note: Even if you buy the exact same make and model van as me, all of them are a little different because of custom settings from previous owners. A perfect example is the weird foam corners that are at the front of my van, but I have yet to see on anyone else’s. For this reason, your paneling process is going to be a little different than mine.
Step 4: Paint the Ceiling Panels
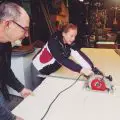
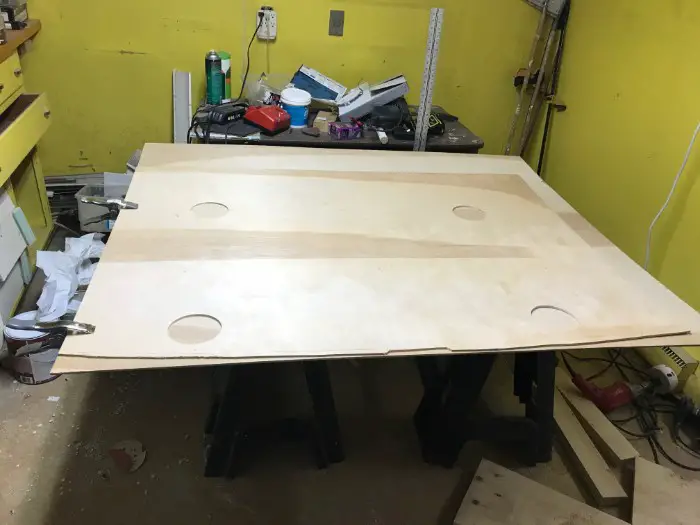
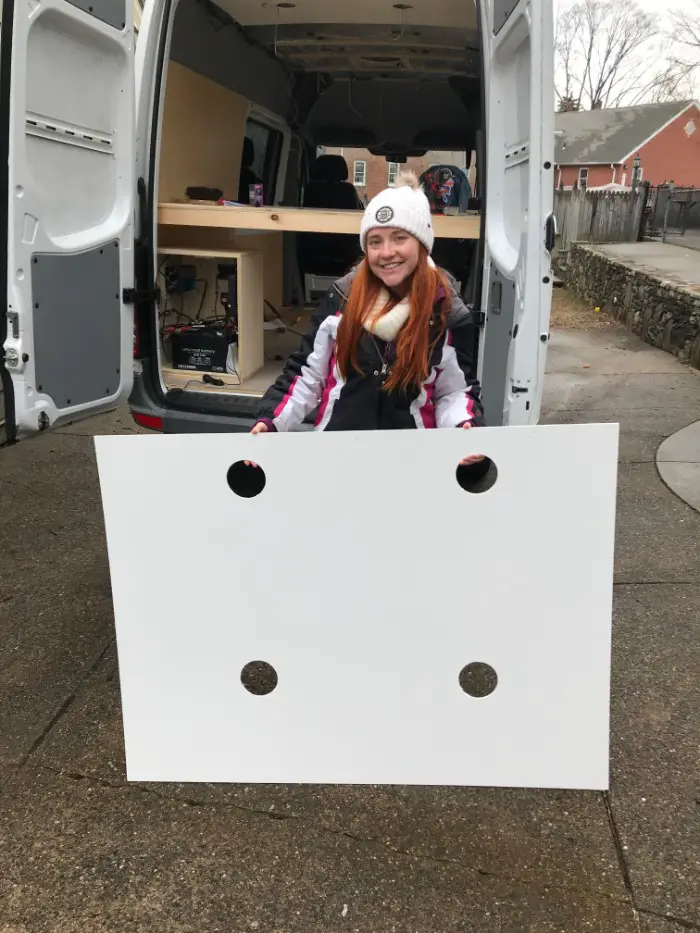
With our ceiling panels all cut out, the next thing we had to do was prep them for their final installation. This meant we had to prime them, paint them, and cut out the holes for the lights. We removed the screws and took the panels down to measure exactly where we wanted the lights to go so that we could cut the holes out. Before we started our paneling, we used circular cardboard cutouts the size of our light bulbs to plan out where we wanted the lights to go. We had to figure out how many lights we wanted and where they would go in regards to the furring strips and the fan. We measured how far in they were from the side of the van and the back wall, and marked the center on the panels. Then, using the hole saw, we cut out 4″ holes.
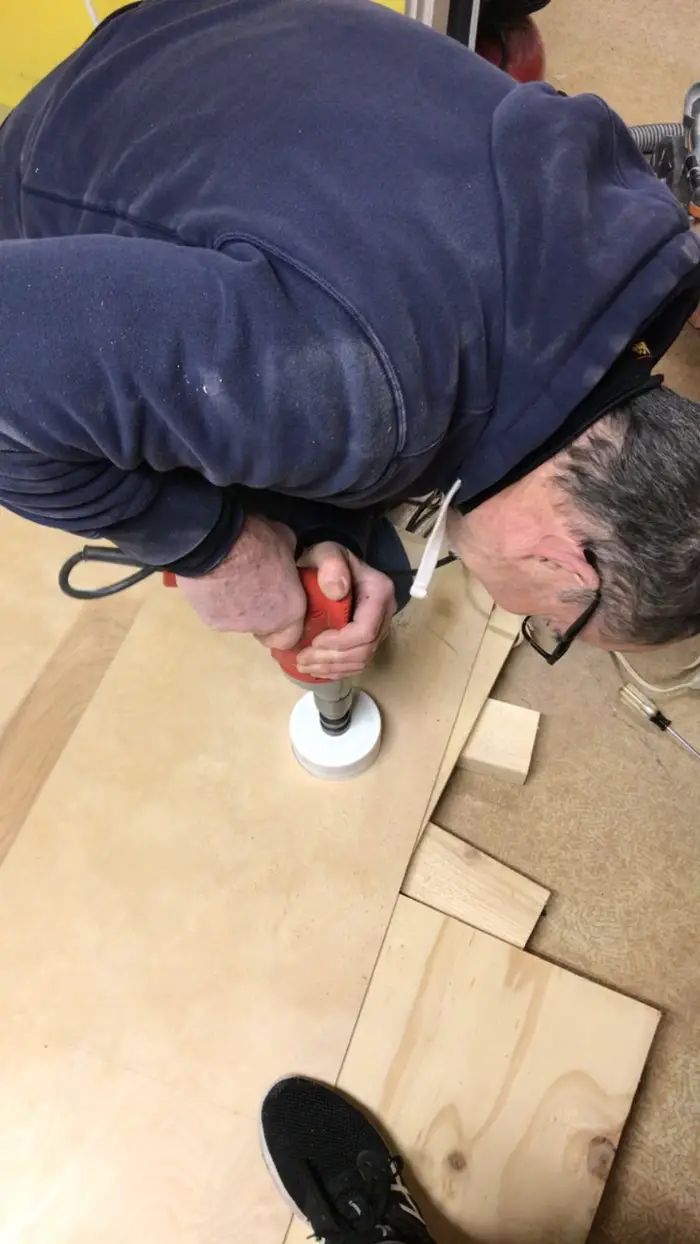
Right after this photo was taken, the saw went rogue and hit my foot, ripping my shoe. Seriously. Use caution.
Before moving on to painting the panels, we held them up to the ceiling one last time to make sure the light holes lined up with where we wanted them. It’s a good thing we did because some of our measurements were off (we measured from the wrong side) and we had to cut the panel and the holes again…luckily we had a stencil ready to go, but it was annoying to have to do it again and waste the plywood.
With our panels FINALLY cut correctly and the light holes taken care of, it was time to paint them! I’ve seen some vans that keep the wood look and just add a coat of polyurethane and others that paint them grey or blue or green. Really, you could paint them whatever color floats your boat! (Maybe a cool mural?…) I decided to stick with white because I thought it added the most light and space to the inside of the van and I also wanted to paint my walls a fun color so it made more sense to keep the ceiling plain. I wanted a nice, even finish so we started with a coat of primer. Using the paint roller, we applied a coat of white paint primer and let it dry. Once it was dry, we added a coat of regular white paint. The paint went on pretty smoothly but in some places we had to touch it up with the paint brush. Once that coat was dry, they all looked fantastic and ready to be attached!
Note: There are several finishes you can select for your paint: flat, matte, glossy, extra-glossy, etc. I went with a light gloss to reflect the light better and to hide any imperfections that are more visible with a matte finish.
Step 5: Install the Panels
FINALLY it is time to attach these bad boys!
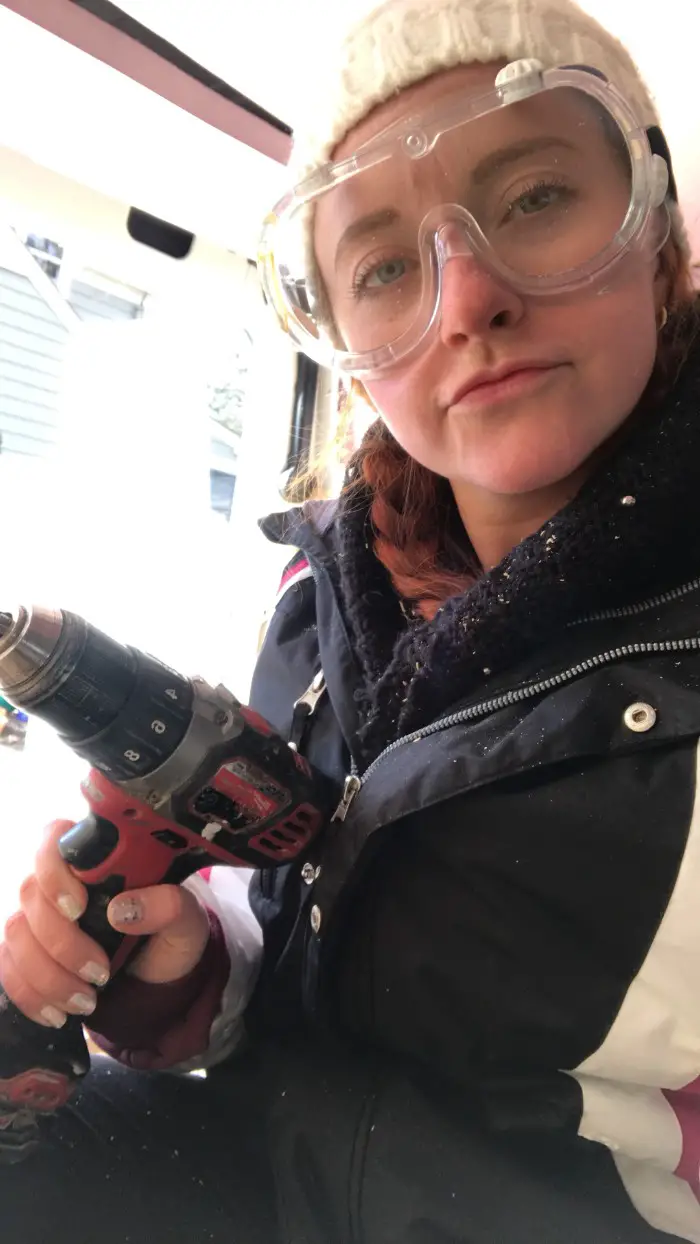
Who said protective eyewear isn’t sexy??
Side note: Before you can attach the panels, make sure you have your lighting system wiring done! I go into detail about lighting in another post. Once that’s done, keep reading below.
In regards to the ceiling paneling process, this was the quickest and the easiest. We simply used the power drill and the 1″ self-lathing screws to firmly screw in each panel. This time, we screwed not only in the corners but along each furring strip.
Two major things to keep in mind here:
- Before screwing in, make sure to mark where the furring strips are and where the screws are located on the furring strips so you don’t overlap!
- Carefully pull the wires all the way through the holes so that you can attach your lights later.
With two of the panels attached and the wires hanging out for the lights later on, this is what our ceiling looked like:
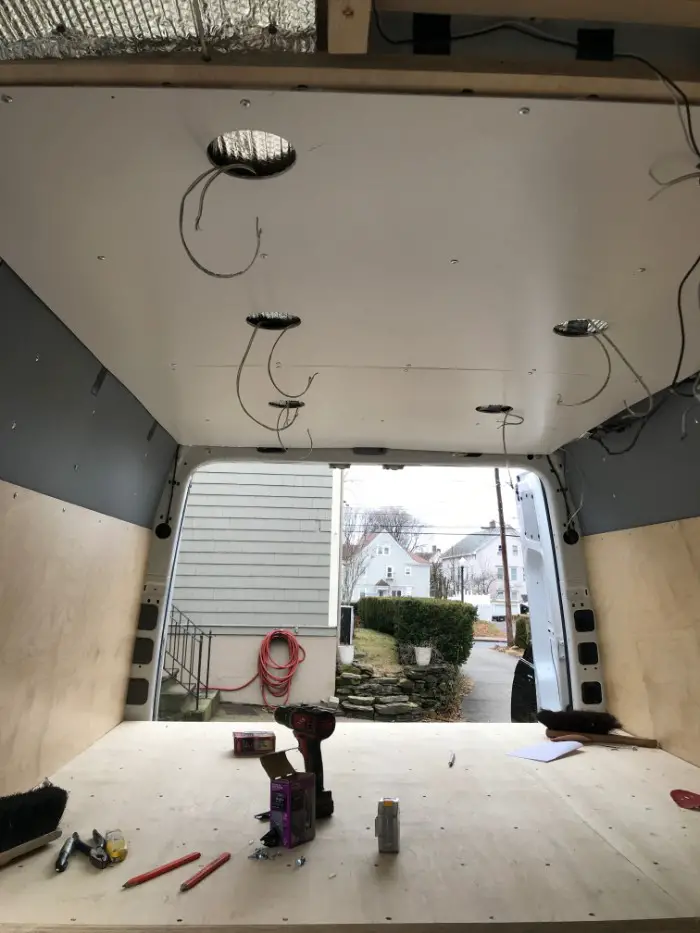
It was looking SO GOOD! Having the ceiling done really started to make the van look more and more like a home. This step was a long process and we had some bumps along the way, but eventually we got there.
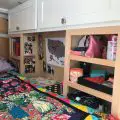
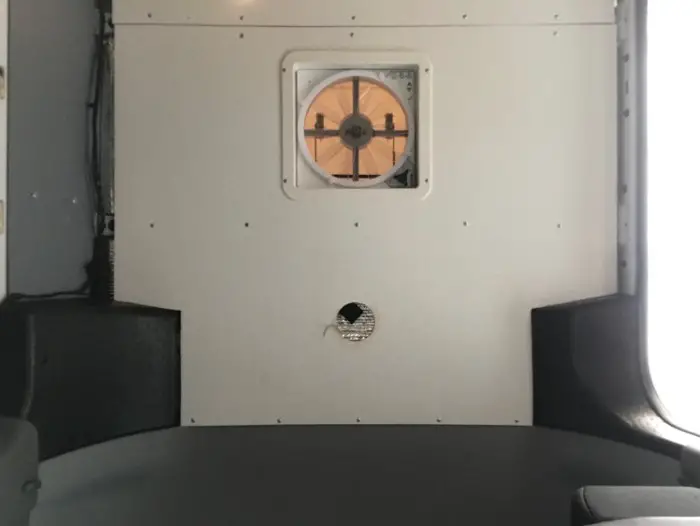
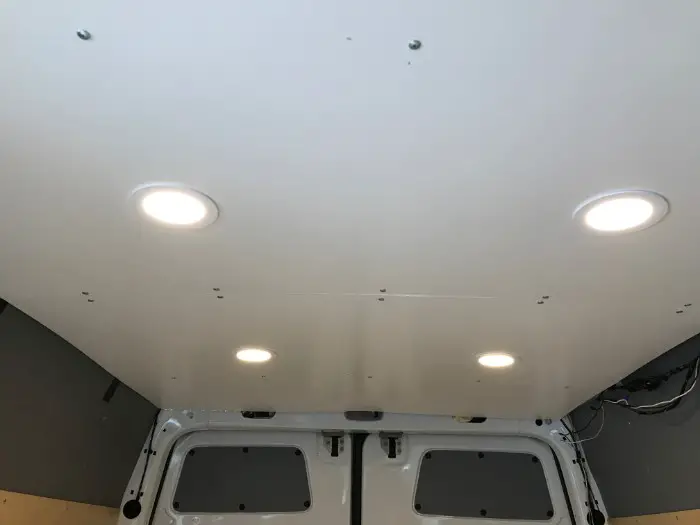
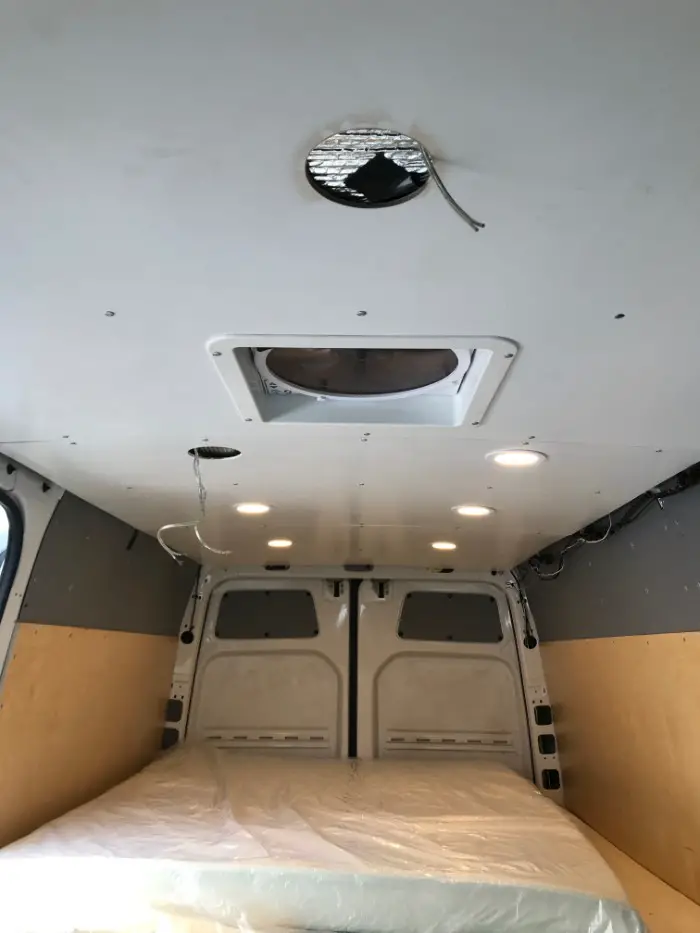
With our lights all installed (except two that broke and we are waiting on a re-order), this is what our ceiling looks like:
Final Tips and Tricks
Mark and Measure Everything
I mentioned this a few times earlier in the article, but with so many pieces of the paneling that need to match up (i.e. making sure the panels are attached to the furring strips and not the insulation), mark and measure where everything is! Also, just like many of the other steps, try out each step of the project along the way to make sure it’s all still where it should be.
Don’t Stress Too Much
I stressed a lot about the size and accuracy of the hole for the fan, but remember that it is going to be covered by the fan’s decorative ring so it’s okay for it to be a little too big or not 100% straight!
Hopefully, if everything goes right, you will have a lovely ceiling to gaze upon. It may not be the most beautiful ceiling in the world, but it’s up there!